Estimated reading time: 8 minutes
I know what you’re thinking: “Badger Potstickers?!” But don’t worry, they’re easy to make 😉
The hard part is hunting the badger. Let me tell you about my hunt, then I’ll show you how to make a tasty meal.
Table of contents
American badgers are cool. They are in their own genetic branch of the mustelids which contains skunks, weasels, and otters. They eat ground squirrels and other rodents almost exclusively — unlike European badgers which also eat insects and even fruit. Nope, USA badgers are straight-up carnivores.

Badger Hunting
You’ll see them hunting squirrels in a cultivated field if the crops are low. Badgers look like a walking carpet — they’re very low to the ground and they have long hair hanging down the sides of their bodies. Look for them when the sun is low, or even on cool days when it’s cloudy. They’re about 20lbs, sometimes larger, and they’re tough. Plan on using a cartridge with appropriate power, and it’s probably not .22 LR. I used .223 expanding bullets.
Badgers are also wary — Golden Eagles are their primary predators, so if they are hunting in the daylight they keep an eye on their surroundings. They notice cars that stop within a few hundred yards and start running for home. Park behind cover and sneak closer, keeping brush behind you so you’re not skylined. Be ready for long shots.
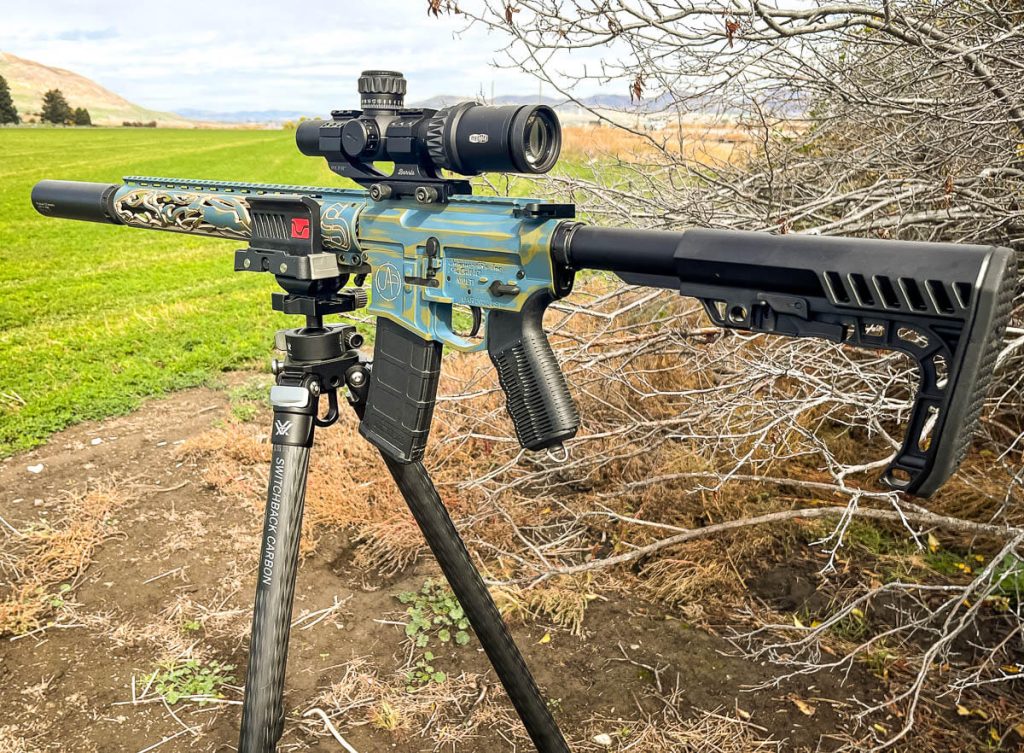
Shooting a flat critter in a flat field is problematic. You’ve got to pay attention to the backdrop. Using a tripod is a great way to get a higher angle so you’re not skipping bullets off a field. I used Vortex’s excellent new Switchback Carbon tripod. I’m 6’2″ and it goes taller than I can use, and it’s a stable platform for shooting. The included ARCA-compatible head is surprisingly good.
I spotted the badger and parked at 400 yards, then snuck closer around the edge of the field. My final shot was 182 yards. My AR-15 is from Unique-Ars, and it has a Meopta 1-6x scope with a Mission Silencers can.
Badger Potstickers
I love potstickers. I love eating them, and I love making them with friends. They’re a terrific party food, and great for watching a game because you can eat as you cook. You can make your own dough for the wrappers, but buying them for a couple of bucks at the grocery market is much easier. Either way, You’ll need to be able to bundle the ground meat inside the wrappers for cooking.
I’ve wrapped potstickers many times, and I’m still not good at making them pretty. But the most important thing is that they seal for cooking, no matter how ugly they are. Watch this video about wrapping, and watch the whole thing if you want to make your own wrappers, too (flour and water are the only ingredients).
You could make badger potstickers with just meat, but it’s nice to have some veggies in there, too, and just about anything minced can work. I went with Chinese friends into a field and picked weeds one time and they made delicious potstickers.
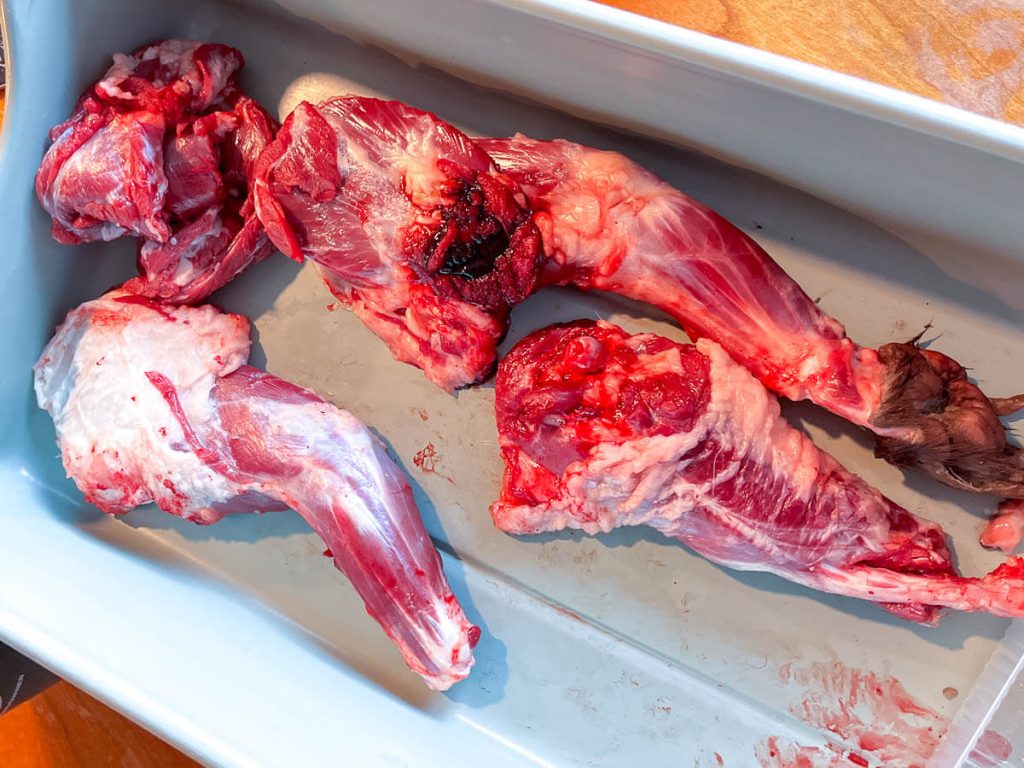
Although badger pelts (also desirable for tanning) can be musky, the meat smells fresh and cooks well. This badger yielded about 2 lbs of meat and a beautiful pelt. If you’re out of badger, you can use just about any meat for these badger potstickers.
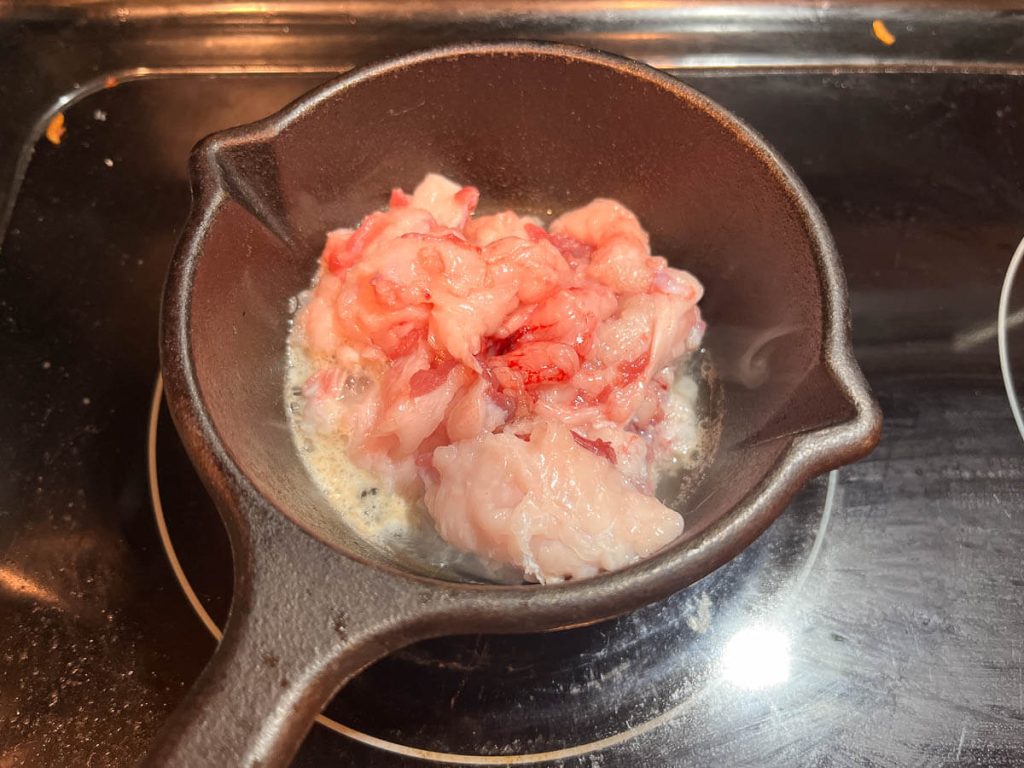
Badger is a fine meat. It’s a bit like bear meat with similar fat. In fact, you can render the fat to make grease that’s good for cooking, too. For the badger potstickers, remove as much silver skin as you can and take the meat off the bones, but since we’re grinding and then velveting, don’t worry if there’s a little fat left in the meat.
Cut the meat into 1″ chunks to prepare for grinding.
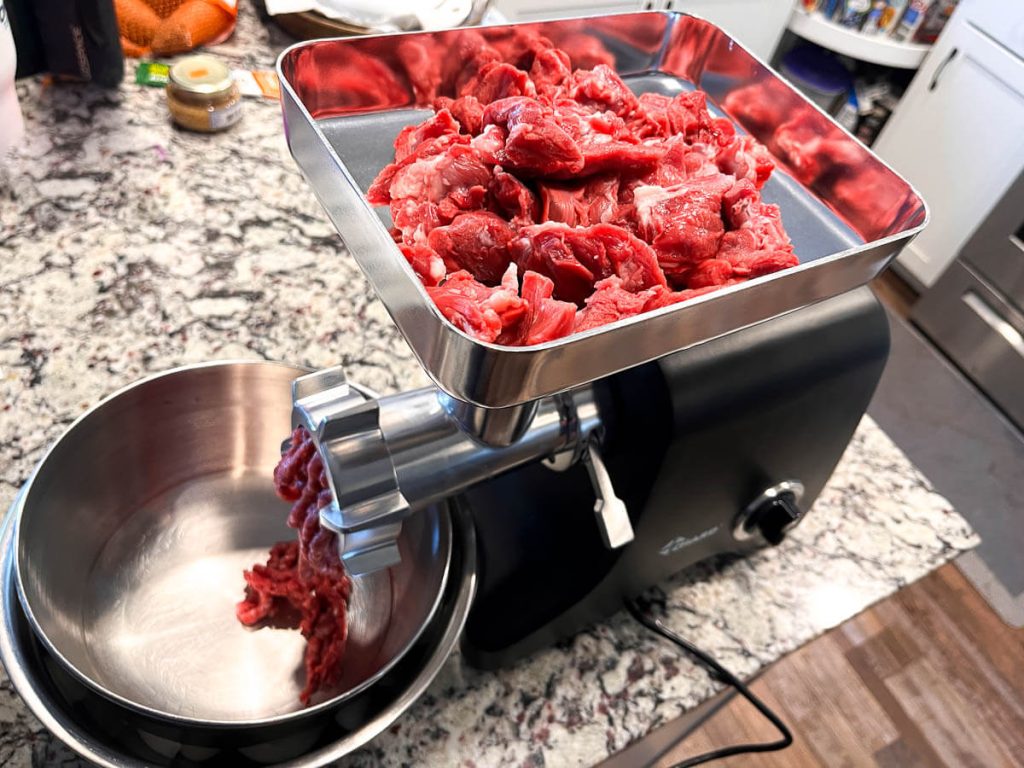
What You Need For the Badger Potstickers
The Badger Potstickers
- 2 lbs meat, ground; Badger is great, but any meat can work well
- Potsticker wrappers (or skins), though they may be sold as wonton or dumpling wrappers, too. They’ll be in the refrigerated section at the store
- 2 teaspoons salt
- 2 Tablespoons garlic, minced
- 4 stalks green onion, minced
- 2 teaspoons ground ginger
- 1 egg
- 1 Tablespoon cornstarch
- 2 Tablespoons oil
- Meat grinder; I’m using this one from Chard.
Dipping Sauce
- 2 Tablespoons Soy Sauce
- 2 Tablespoons rice wine vinegar 9apple cider vinegar could work)
- 2 cloves garlic, minced
What You Do
Start by grinding the meat, and grind it a couple of times with progressively smaller grinding plates to ensure the tendons are well integrated. Remove any tendon or silver skin that doesn’t grind.
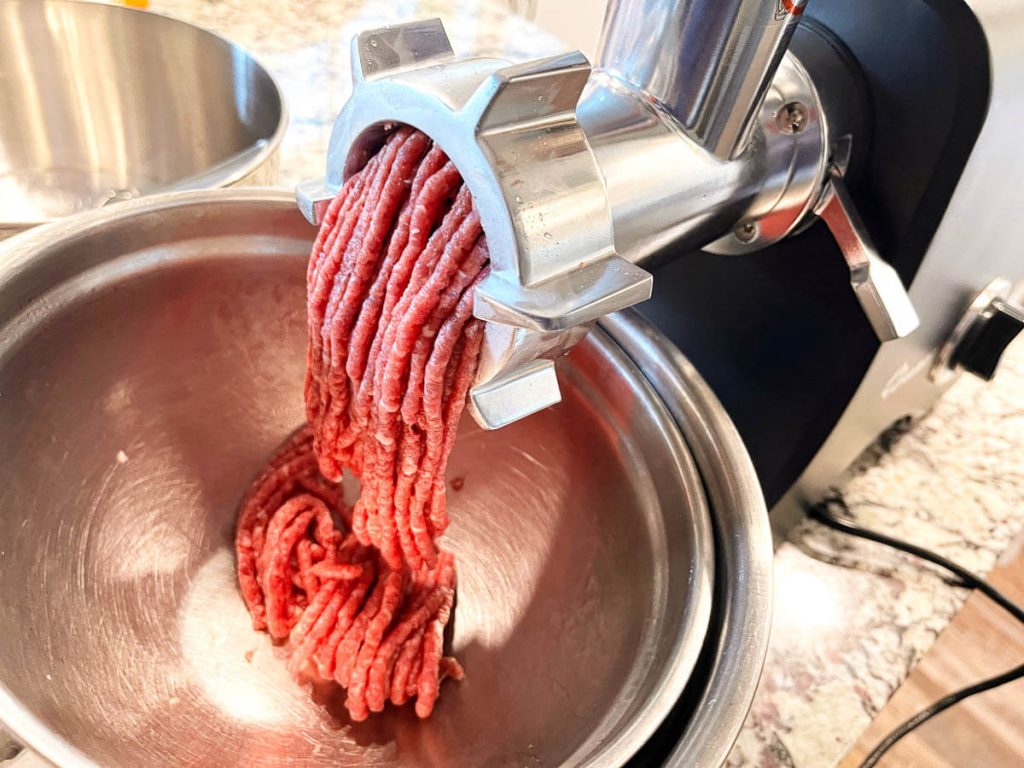
Mix together the meat and all the spices, oil, egg, and cornstarch. The cornstarch velvets the meat and makes it tender. The oil puts a little fat in while the egg also helps bind things together. The meat should become a paste, but you may need to add a little water if it’s too stiff to stir.
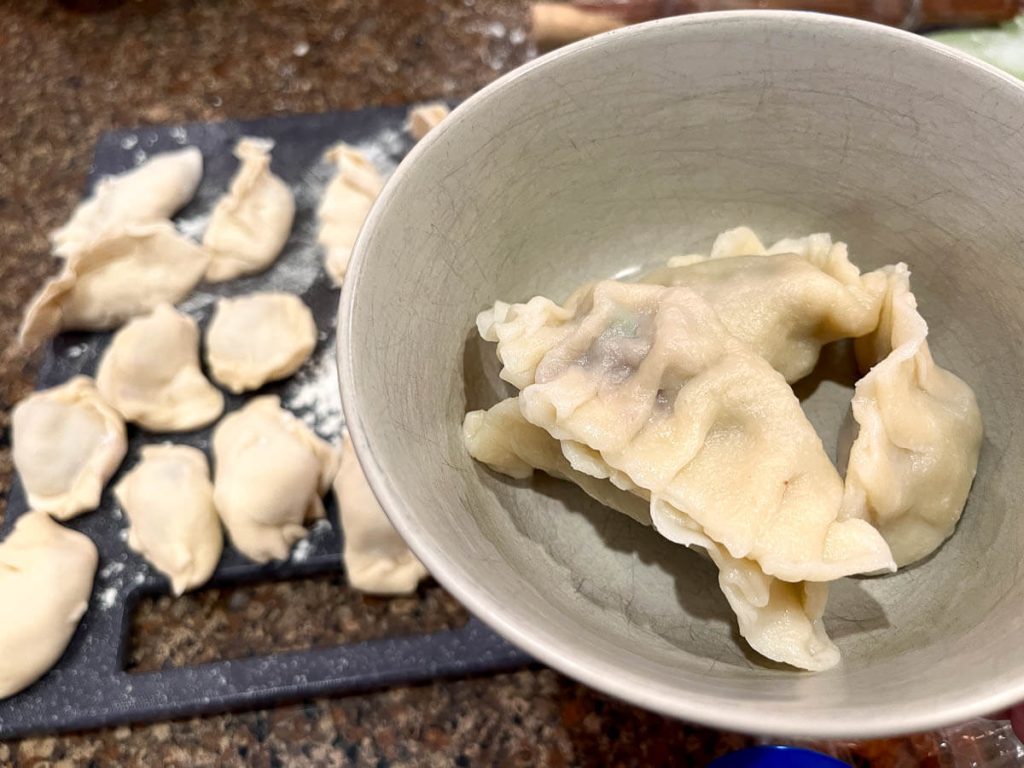
Using a spoon, put a little of the meat mixture in the center of a wrapper taking care not to get the paste on the edges. If you get the oily paste on the edges, it’s hard to seal them together. I highly recommend watching this video for the traditional technique, but the most important thing is getting a good seal.
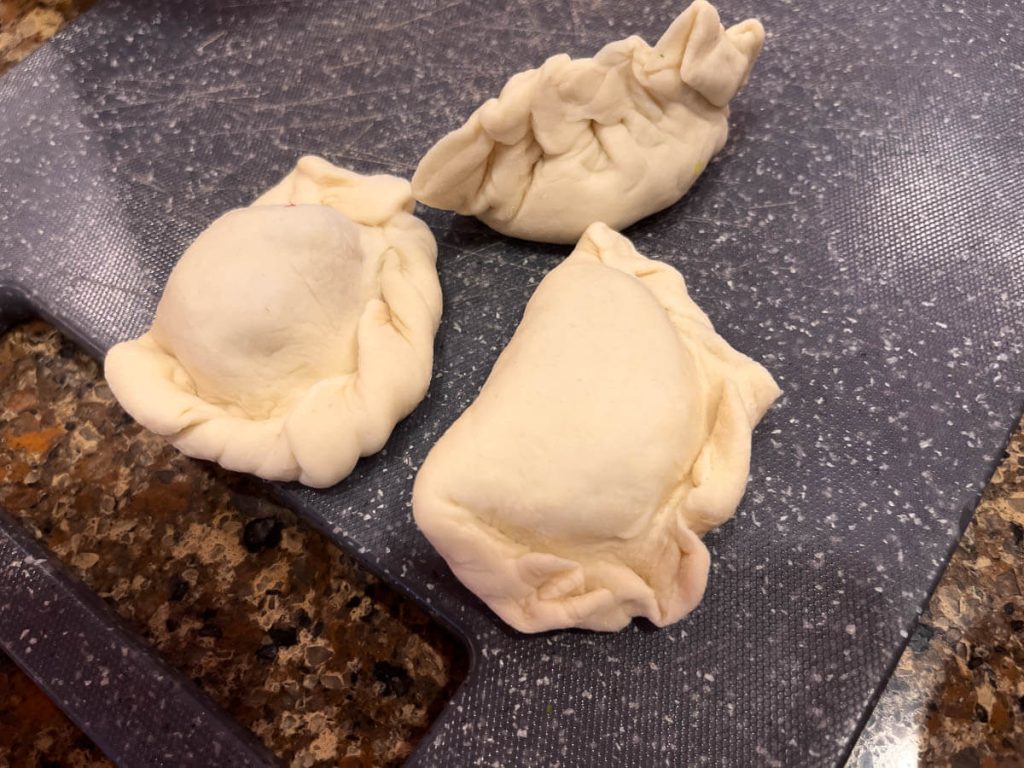
In a hot skillet, add a little cooking oil then stand the potstickers in the pan so they are not touching. Fry about 3 to four minutes until the bottoms are toasted — don’t move them or they won’t get the good brown on the bottom. Then add about 1/4″ water to the pan and cover to steam for 6 more minutes.
READ MORE: Updating Your Gun with Hydro-dipping: How To
Make the sauce approximately equal parts soy sauce and vinegar, though I like a little more vinegar than soy sauce. Just mix it together with the garlic, then dip your potsticker in it. Provide little bowls for everyone to double dip.
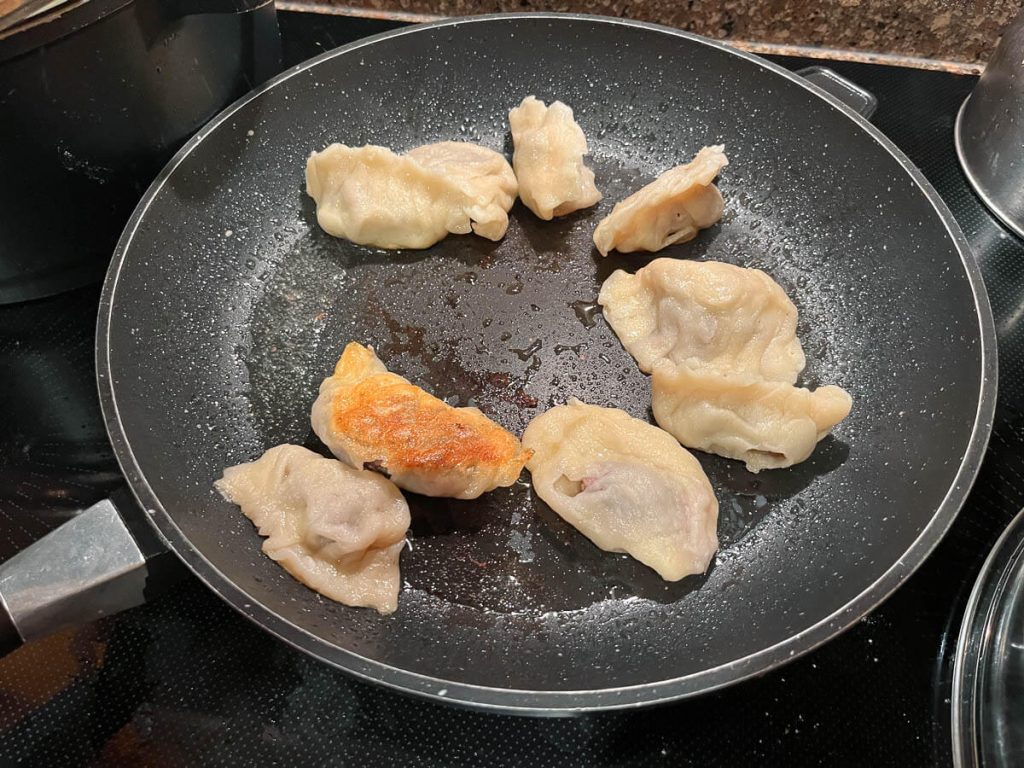
These badger potstickers are ready to dip and eat.
It’s fun to wrap them together and start cooking them while the rest are being wrapped. Then you can eat a couple from each batch as they come out — terrific party food and activity.
Freeze the Extra Badger Potstickers
Scale this recipe up and make extra. You could take the extra uncooked badger potstickers and put them in a zip lock bag in a single layer to freeze them — make sure they don’t touch. Then, cook them by adding 1/4″ water to a hot skillet and standing them in it, cover it, and bring to a boiling simmer for at least 7 minutes, then uncover and continue cooking until the water evaporates and the bottoms brown.
