READ PART 1: How to Assemble an Awesome Bivy-Hunting Setup – Part One: Camping & Sleeping Gear
A relentless sun beat down on me from a brassy sky, brutal in its intensity. My tongue was swollen in my mouth, saliva a distant memory. Every step was an effort, my boots fighting the rocks and drifting sand and fatigue as I hunted water. I was thirstier than I’d ever been before. Even so, I wasn’t in serious trouble. I had some old-but-reliable intel about a water source, and if it proved illegitimate I could always wait till the coolness of dusk and slog my way back to the seep where I’d watered the day before. I was thirsty though, inconceivably, impossibly thirsty. I wanted water, wanted it so bad I’d have considered trading my Utah buck tag for a drink.
This is the second article in a three-part series on the gear needed to be a successful wilderness-territory bivy hunter. In it, I’ll detail good gear and techniques for obtaining and purifying water, and carrying and cooking food. These two things are incredibly critical to staying alive and hunting hard in tough backcountry conditions.

FINDING WATER
When planning and executing a bivy hunt in remote territory, water should be your number one priority. In some regions – like a moose hunt in Alaska – water is available everywhere you turn. In other areas, like desert mule deer or coues deer country, water can be dangerously hard to come by. Even in the semi-tropical backcountry of Hawaii thirst can be a problem. You can stand atop impossibly steep cliffs and listen to creeks roaring through canyons and watch the ocean pounding beaches thousands of feet below, and still, you’re thirsty as a packrat in the Mohave Desert.
If you’re going to hunt where water is in short supply, you need to scout the area pre-season. Study 7.5-minute topo maps and satellite imagery to find potential water sources, and then put boots on the ground to verify that it’s there. And while you’re scouting and hunting, never, ever travel so far from a known water source that you could not physically make it back. Once you find another source of water you can refill your canteens, hydrate thoroughly, and strike out again from there.

PURIFYING WATER
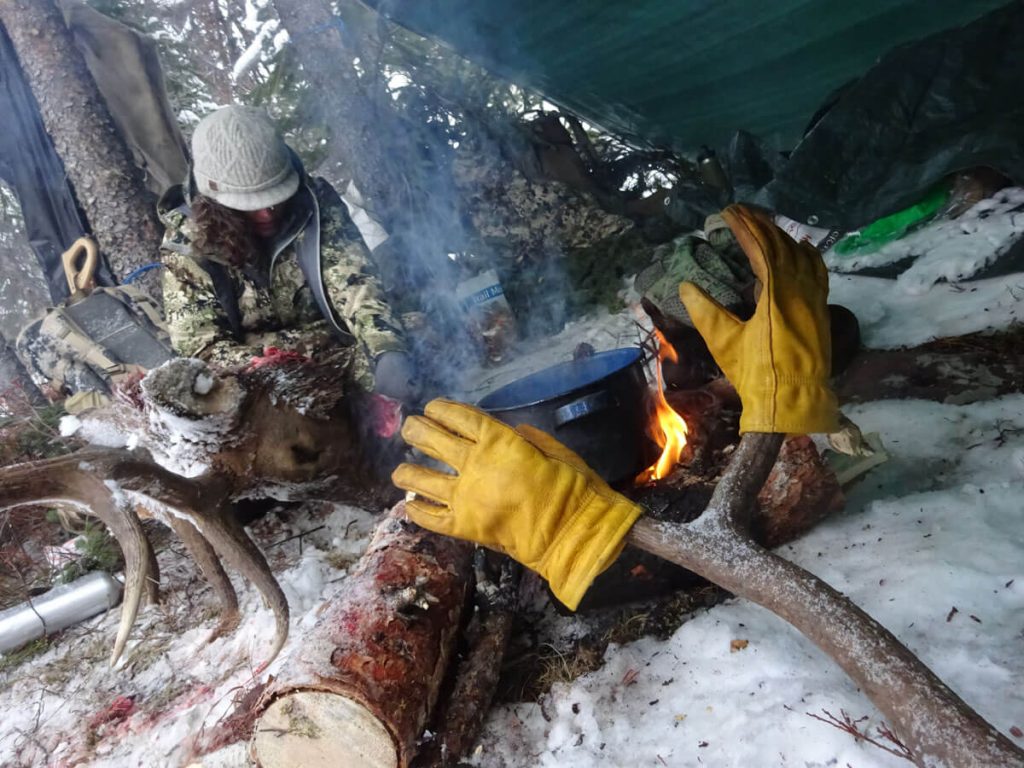
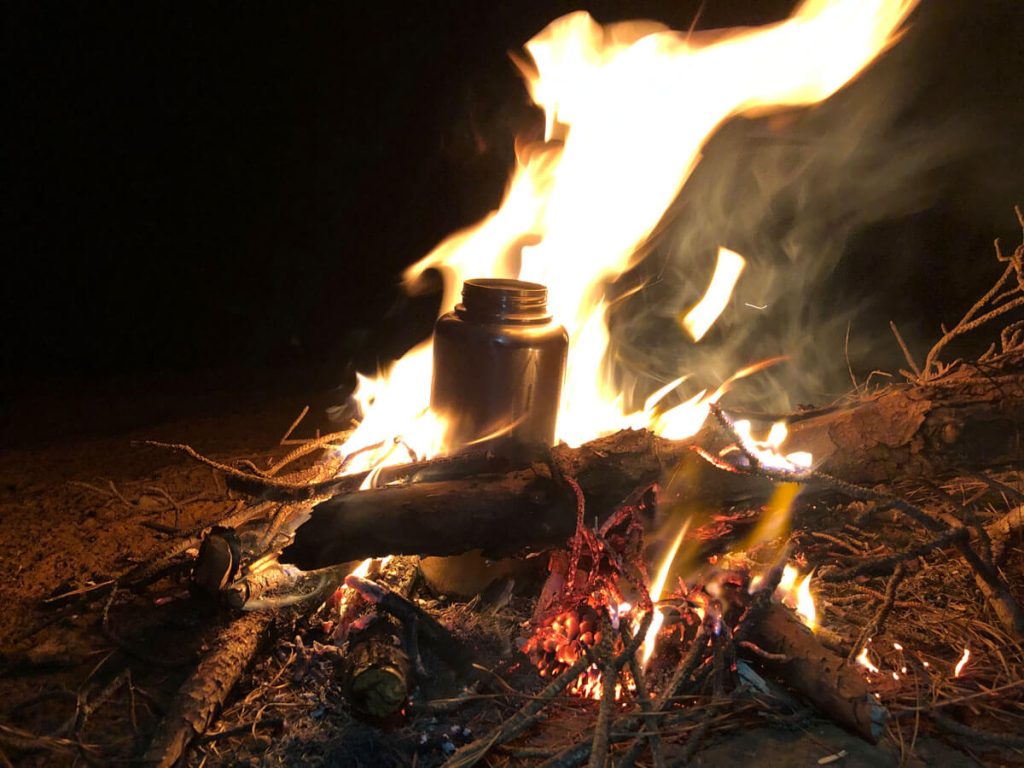
BOILING: When you’re hunting a water-rich area such as an Alaska river bottom or a Rocky Mountain high-country canyon, boiling is often your simplest option. The only caveats are that you will need to have a fire regularly, and you will need a container in which to boil the water. (I like to have a fire for cooking anyway unless I’m camping very close to sensitive hunting areas, in which case I keep a cold camp.) If you’re accessing the backcountry via a raft or horse pack string it’s a simple matter to carry a small pot for boiling water. When backpacking, a liter-sized stainless-steel Klean Kanteen is awesome for boiling and carrying water alike. Just fill your container with water and place it on a bed of hot coals or right in the fire. Bring the water to a good rolling boil to kill all the nasty swimmy things. Boiling will kill bacteria and such in water, but it won’t remove chemicals or heavy metals. If your water source is a pool in an old mine tunnel or something like that, you’ll want to use a water purifier capable of eliminating those things.

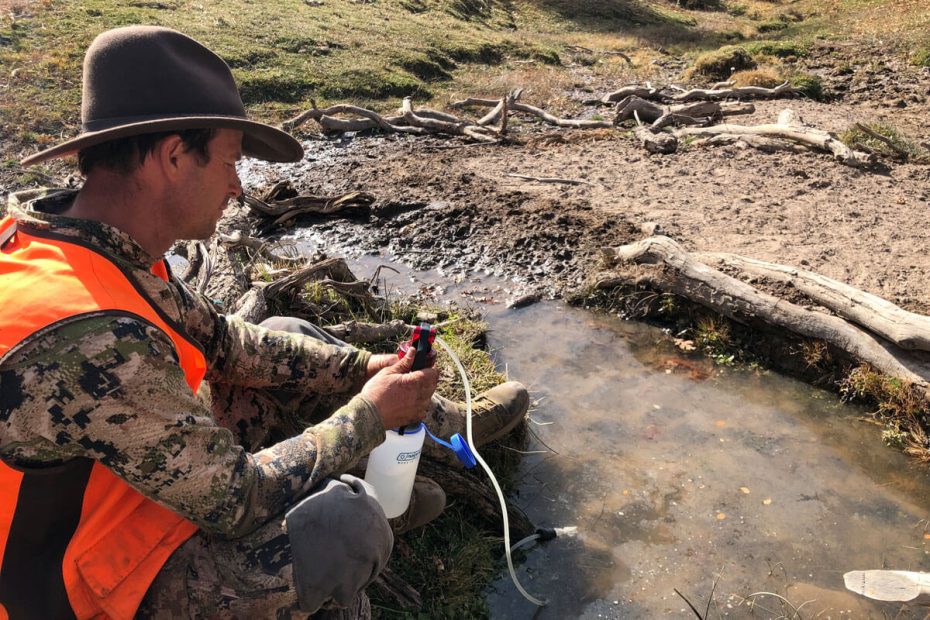
PUMPING: The best way to purify your water when you don’t want to have a fire, or simply don’t want to boil your water, is with a quality lightweight pump. I personally don’t like gravity-feed water filters, because I have had them freeze solid and stay that way for the duration of a backcountry hunt. I like a pump that I can use, drain, and return to my pack. Here again, find a super light super compact pump of superior quality. One huge advantage many pumps offer is that they filter away heavy metals, chemicals, and other toxins that boiling can’t hope to remove. Keep your filters clean, maintain your pump meticulously, and it’ll serve you well for years of backcountry adventuring.

TABLETS AND DROPS: If you’re making a super-hardcore backpack hunt and weight is a primary concern, tablets or drops are your best option. Like boiling, they’re not capable of removing heavy metals or toxic chemicals, but a bottle of iodine tablets weighs next to nothing and will keep you in water for a week or more. I have used them extensively, and in certain cases still do. You can pick up a little bottle of Aquamira or pack of Iodine tabs at any sporting goods store, and in many cases even Walmart carries them. There are three downsides to using purifying drops or tablets: first, the twenty or thirty minutes you must wait after adding the chemical and before drinking your water can be absolutely agonizing, especially when you’re very thirsty. Second, the taste is never particularly pleasant. And thirdly, there is some concern about the effects of the drops or tabs on your health. Regardless, they are my go-to option for superlight, hardcore hunts.
LIFESTRAW: This awesome little tool always lives in my pack, regardless of where I’m hunting or what pack I’m carrying. A simple filter-straw, you suck water directly from a creek or puddle, through the filter, and into your thirsty mouth. It’s work, but brings blessed, immediate relief when you’re thirsty.

BACKPACKING FOOD
MEALS READY TO EAT: Since weight is a primary concern during any wilderness backpack hunt it makes sense to carry only dried or dehydrated foods. One good option is military rations (MREs) if you can get your hands on the good ones. The little chemical heaters in the food packets render a stove or fire unnecessary, and the grub – here again in real MREs, not the consumer-grade imitation – is actually pretty good. They’re a bit heavy though; so pre-hunt I usually open and discard all the superfluous packaging and knickknacks before stuffing the important stuff in my pack. I feel like the cutoff point where the extra weight of the MREs overcomes the convenience is three days. For any hunt longer than three days, Mountain House freeze-dried food and a little Pocket Rocket backpacking stove will trump MREs in terms of weight and carry-ability.

THE FREEZE-DRIED OPTION: I personally like to pack one Mountain House Pro-Pack for dinner every night, a couple of packs of instant oatmeal and some dried fruit for breakfast, and a couple of granola bars, a protein bar, and some trail mix for lunch and snacks each day. A chocolate bar makes an awesome treat and can help boost your morale, so I usually try to toss one of those in for every couple of days as well. Lastly, I like to carry a few herbal tea packets in case of hypothermia or illness, and a couple of packets of powdered energy drinks are great for those hard, late-hunt, heavy-pack pushes. I always keep an ace-in-the-hole in my pack: a little plastic tube full of salt. Anytime I make a harvest or catch a fish I can roast some meat on a skewer over a fire and devour it, sprinkled with a bit of that salt. You’d be surprised how delicious it can taste.
Each day’s rations should be individually packaged in gallon-sized zip-lock freezer bags. That’ll help protect you from eating yourself out of grub ahead of time, and those freezer bags come in mighty handy when you’re boning out an animal preparatory to packing it off the mountain.

HORSE PACKING AND FLOAT TRIPPING FOOD
During a trip where most of your weight is carried on a horse or in a raft, you can afford a bit more luxurious cuisine. I still like Mountain House meals, but now I’ll add some eggs, bacon, soup mixes, and even potatoes. A bit of steak and fish seasoning adds to your possibilities as a backcountry chef, so toss in some durable little containers of your favorite spices. Cookies, biscuit and pancake mix, candy bars; all are fair game on a horsepack or float trip. Just leave the heavy canned fruits and vegetables, spaghetti sauces, and cases of beer at home.

BACKCOUNTRY COOKING GEAR
You only truly need one item of cooking gear: a MSR Pocket Rocket stove. They’re super lightweight, fit in your pocket, and blast heat like a, well, rocket. I usually carry one or two IsoButane canisters, depending on how long my trip will be. I cook my oatmeal breakfast, boil my afternoon tea, and heat water for my MTN House dinners all on that little stove. It’s hunted with me from Arizona to Alaska, Hawaii to Africa. It’s tumbled tail-over-teakettle off a cliff on a foolish packhorse (I had to bend it straight after that episode; the packhorse was fine) and cooked more meals than I could ever tally up. Never once has it failed me. If you don’t have one already, get one. Add a titanium cup/pot and a spork, and that’s all you’ll ever need for cooking while backpacking the backcountry.

If you’re horse packing or float tripping there are three more cooking gear items I recommend: a mid-sized enameled metal pot for heating water and cooking soup, a small enameled metal frying pan for cooking bacon and eggs and trout fingerlings, and a collapsible grill for cooking meat over the fire. You can make one of those from copper pipe and bicycle wheel spokes, or you can buy one at www.ucogear.com. Check out the Grilliput Portable Grill. Add a compact spatula if you wish, and you’ll be set to cook like a wilderness king.
The last item of cooking gear that I highly recommend you carry in the backcountry is a multi-tool. Of course, it’ll do double duty for a myriad of other tasks, but I use mine to remove hot pots and pans from the fire, pour hot water from my canteen, open packages, whittle spoons, and lots more when I’m cooking. Don’t leave home without one.
