If you have ever tried to find your way through the woods in the dark to locate your tree stand or ground blind and do it quietly you need to have a route. Using a headlamp is a must so you can go in and out hands-free. I can remember back in my early hunting days of putting the old mini mag lite in your mouth while trying to climb in your stand. The options are endless now with dozens of light companies out there. I like a lightweight headlamp that uses just simple AAA batteries, as I am not a fan of the rechargeable type. It is strictly a hunter’s opinion whether you use a white, red, or green light. I am old school and use just plain white light but again it’s my choice.
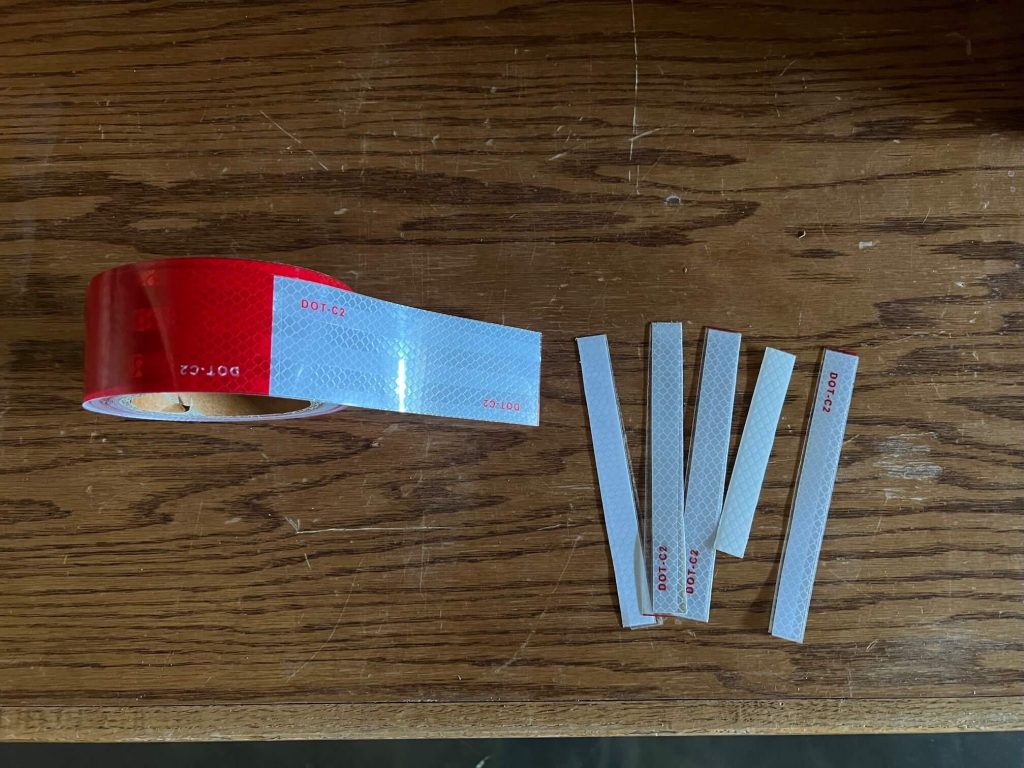
What I do use to get in and out quietly is reflective adhesive DOT tape. You can buy a roll of it rather cheap and by cutting them into narrow strips and peeling off the adhesive backing they can be wrapped around branches and or fence posts etc. at the hunters liking. By placing them roughly every 50 yards or so at eye level you can light up your path to your stand sight. You can also mark your tree stand or ground blind so it can be found quickly and quietly.
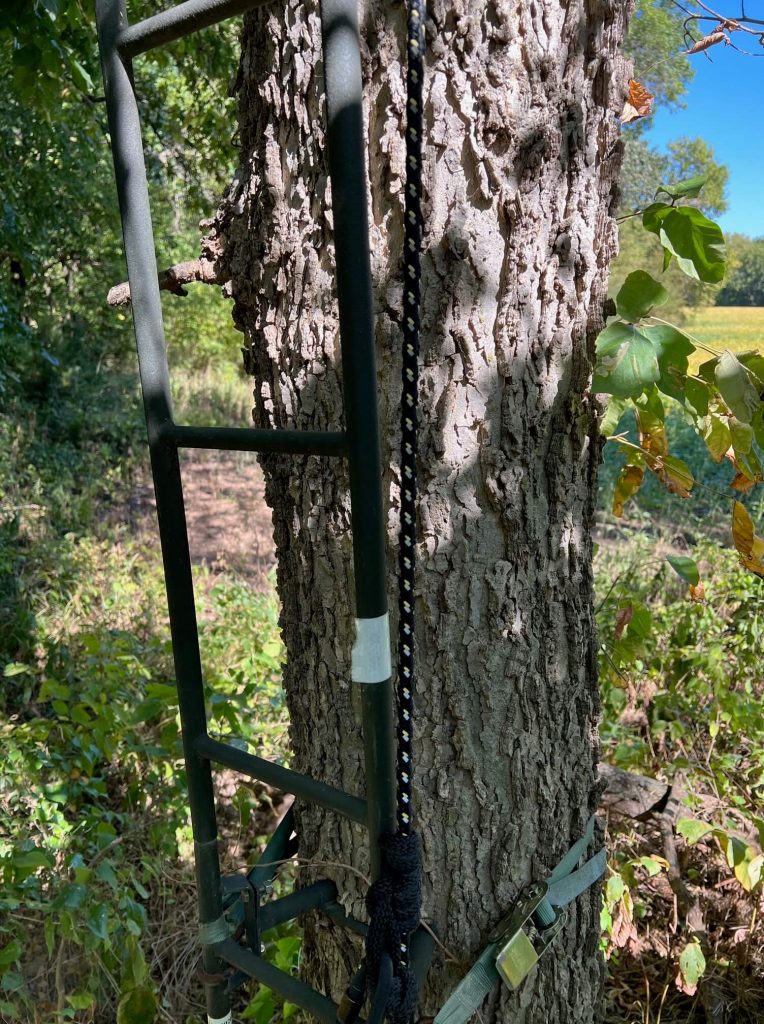
Be sure to go into each setup during the daylight and trim any low-hanging branches and clear as much unwanted brush from your pathway to keep from getting hung up or making unwanted noise while going in and out of the setups.
Trail Camera Set Ups
This is another topic where you can spend hours and hours researching numerous types of trail cameras. From cell cameras to the size and the number of pixels each camera uses. This is just a quick tip on the placement of your trail cameras.
If you are in a lot of thick timber be sure to clear out a wide area of any vegetation, and also cut any low-hanging branches. Be sure to cut more than you think you need and remember that the cameras made now have a very good and sensitive trigger on them and they pick up motion in a V view. Take it from someone who has to check over 100 cameras several times a month. Looking at thousands of pictures of grass, limbs or any other moving object makes a man or woman grumpy.
Placing the camera about mid-thigh high seems to work best. Also always, always point the camera in either a North or South direction whenever possible. Having your pictures washed out by the rising or setting sun is also aggravating. Be sure to pick a large tree to avoid swaying in the wind which will also trigger the cameras to take ghost pictures. Walk back away from the camera and turn and face it to ensure it is pointed properly and at the correct angle and be sure to turn it on before leaving. It sounds like an easy task, but I can tell you from experience that coming back 10 days later and seeing the camera is in the off position will drive you crazy.
Tree Stand Placement
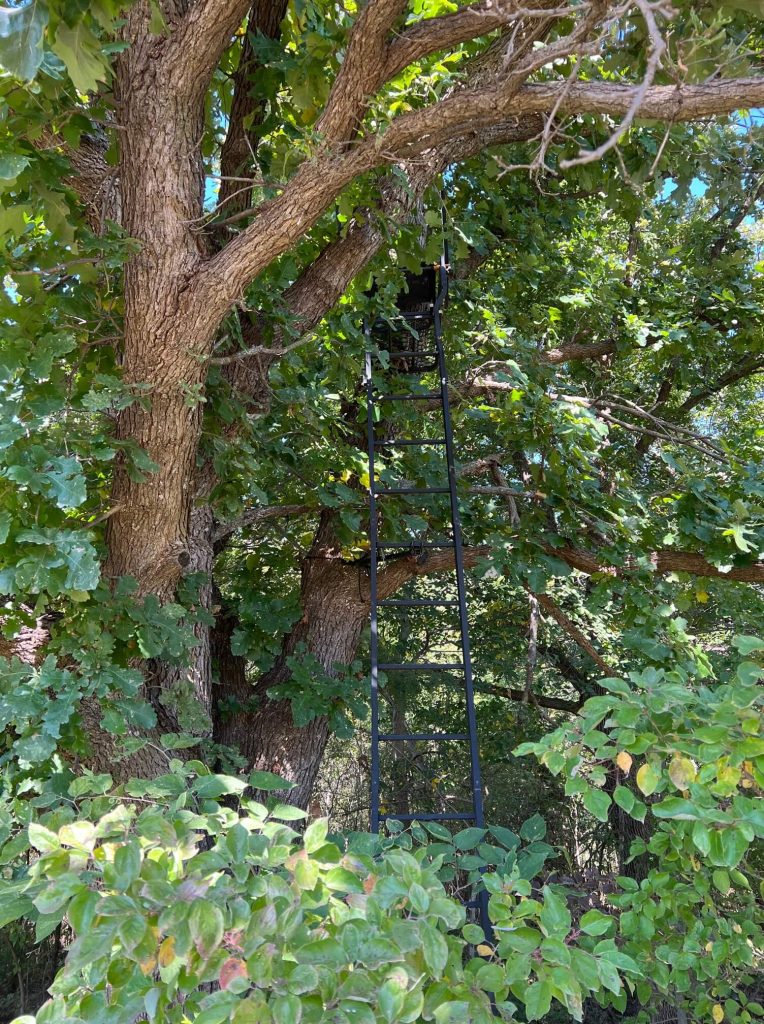
After you have done the extensive scouting required and found a place to put up your tree stand be sure that you have some great back cover. Being concealed without choking off your shooting lanes is very important. Remember that as Fall progresses and the leaves start to fall your once-hidden elevated perch might look like a fire pole during mid-November. If possible, find trees that have several trunks or limbs coming from them to help hide any movements, you might make when drawing a bow or raising up your firearm for a shot. In the mid-west, we have a lot of large hardwoods that provide great cover and concealment.
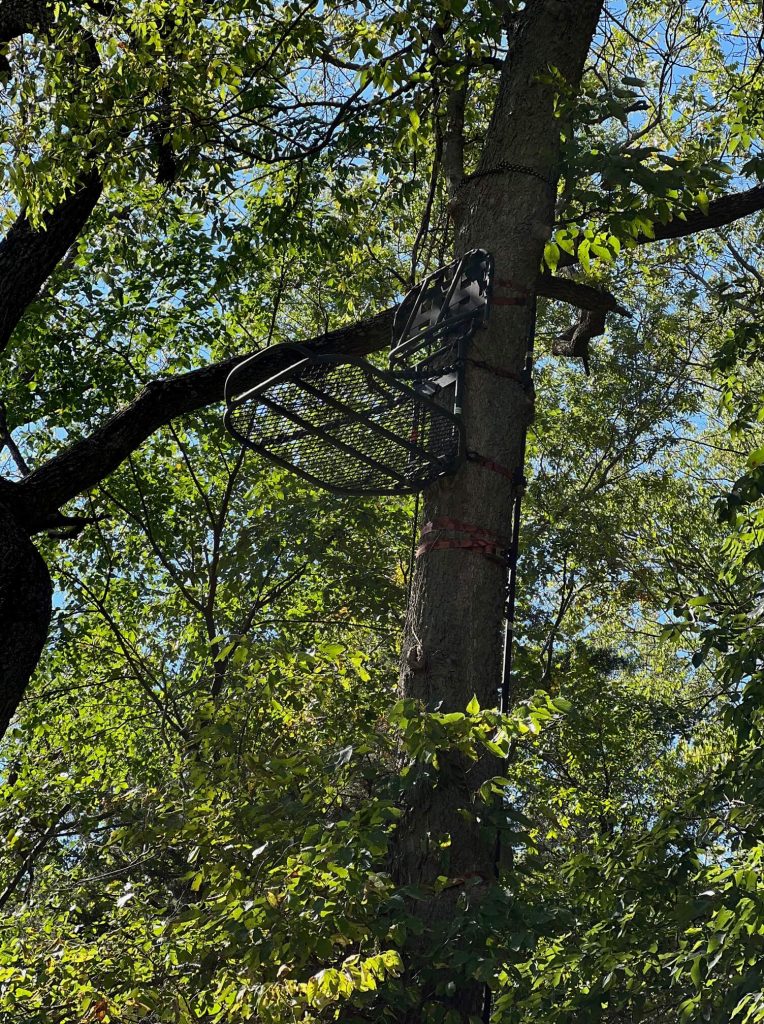
Be sure to place the stands accordingly for a right-handed or left-handed hunter to avoid having to twist awkwardly while drawing. It sounds like a simple thing but can be overlooked by many.
Kill Plots
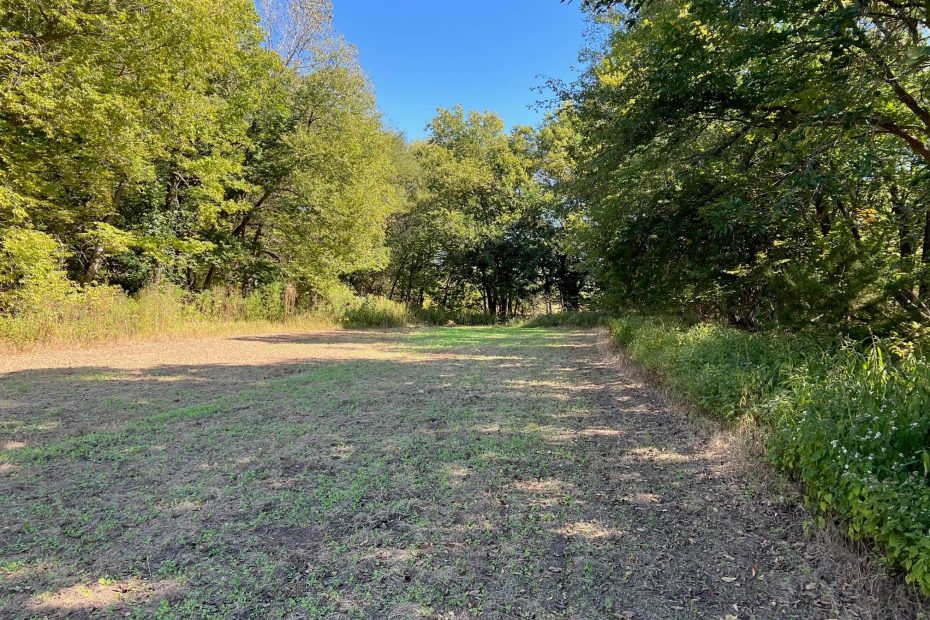
This is another area where one can spend days researching and learning about food plots. This again will be just a short bullet point of what a kill plot might look like. They are called killed plots because a hunter can cover the entire plot with archery or firearms and the animal will be in range. They are smaller in size and are usually surrounded by timber. This way deer will feel more comfortable with the seclusion and tend to come out during legal shooting light, if all goes as planned. This plot is roughly 60 yards long and 20 yards wide. A well-placed tree stand or ground blind in the middle will enable the hunter to have a great chance.

Early Scrapes
It’s the first week of October and the deer have scraped the velvet from their antlers. Now is the time you will see an abundance of small scrapes along field edges. These are made mostly at night as deer travel to and from feeding and bedding areas. Their testosterone is beginning to build, and they will make these scrapes to establish territory as well as marking the ground with scent from the interdigital gland on the hoof. You usually will not see a licking branch above them this time of year. As the month progresses scrapes will increase, and multiple deer will begin to visit them.
Do not set up your stand locations based solely on these scrapes. They will tell you that you have bucks in the area but again most are hit at night and not revisited so hold back on jumping in with both feet and popping up a set just yet.
What you can do is start to make some mock scrapes yourself and use some scent. Once the bucks start to really get closer to the rut it could be an excellent location to catch a mature buck refreshing these during shooting light. If you find scrapes more in the timber and some that can be as large as a car hood, I will pick that spot for a hunting location. Bucks tend to hit these during light and can move through at primetime vs the field edges that again are hit mostly right at dark or overnight.
***Buy and Sell on GunsAmerica! All Local Sales are FREE!***
