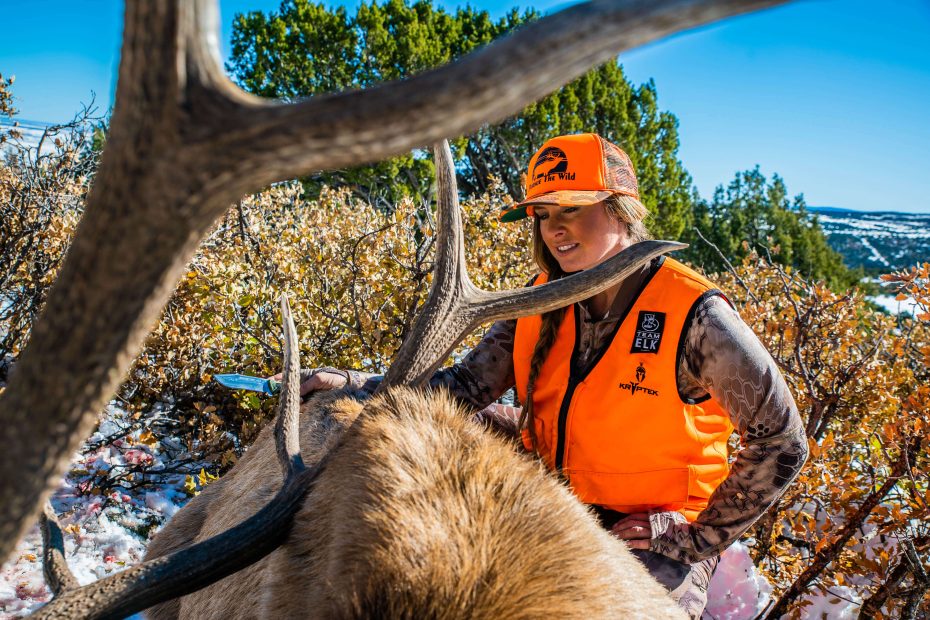
The locavore movement is one of the latest trends in food consumption. Locally grown and sourced food can reduce your carbon footprint which positively impacts the environment and supports local economies. This movement is helping to educate children about where their food comes from and how it is processed.
Hunting has always been a means of harvesting food, however, there are many people that may not have been raised in hunting households that have recently developed an interest in hunting local wildlife in order to consume hormone-free, wild meat. Having a connection to the animals in which we consume and the process of putting meat in the freezer is an extremely rewarding process.
Going full circle from hunting to filling your freezer can seem like a daunting task, especially if you have little experience doing so. With a few simple tips, you will be more than confident and ready to process your harvest.
Tips Afield
Many hunters find themselves having harvested a big game animal in an area that may require them to quarter the animal for ease of field removal. The key is to remove the quarters from the carcass or to remove the entrails as quickly as possible. This will help to cool the meat faster.
The video below demonstrates how to do the gutless field dressing and quartering method.
Those that are field dressing the animal and removing it from the field whole will want to leave the kidneys and fat attached to the carcass in order to prevent your tenderloins from drying out while transporting and hanging. Always be aware of local game laws that may require evidence of sex attached to the carcass or quarters.

Store the carcass or quarters in a cool, clean environment while processing.
Processing

After skinning and while processing your meat, do your best to keep the meat as clean as possible. This includes removing any hair or debris from your meat and maintaining a clean workstation. Prior to removing the meat off of the bone, re-skin the quarters removing any surface dried meat and all the fat.
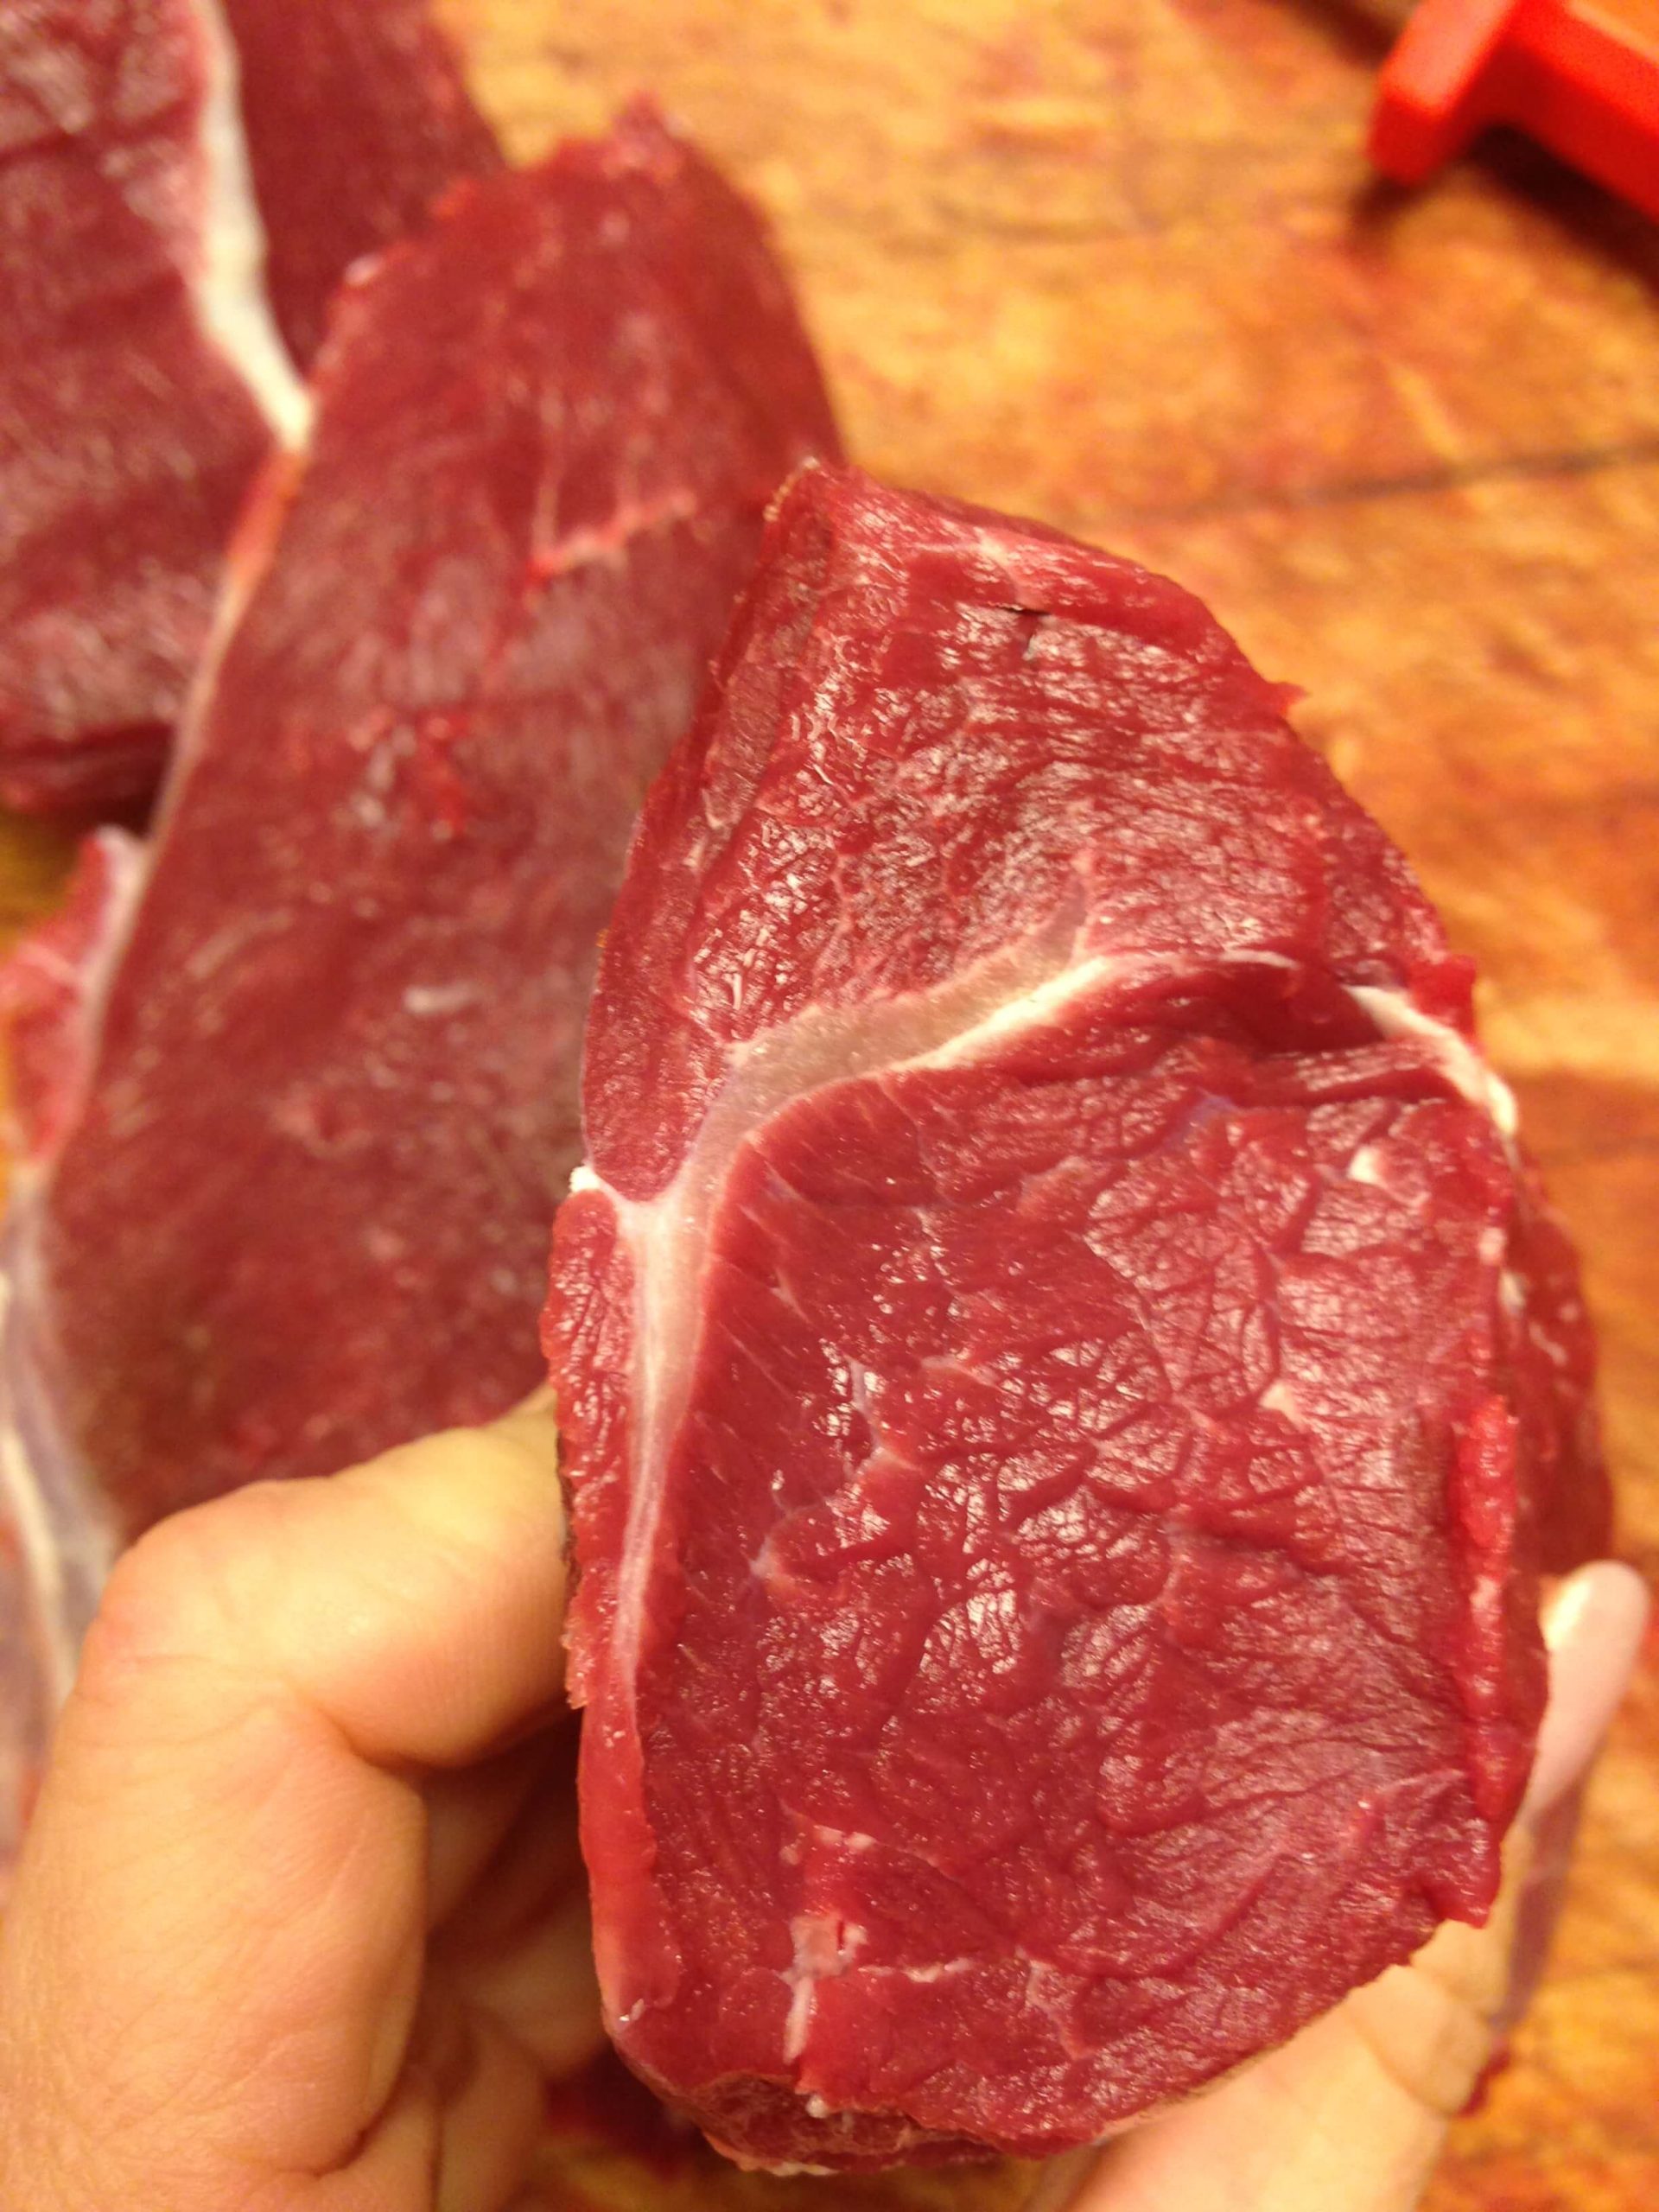
The front shoulder meat or flat iron steaks will have a gristle vein throughout the meat. Remove this gristle vein prior to slicing into steaks. These steaks can be cubed to ensure tenderness.

For grind mixture, you can include all of the meat and gristle vein from the front shoulder, including the front leg shank to create sausage or burger. You will want to remove any components that you do not want to eat.
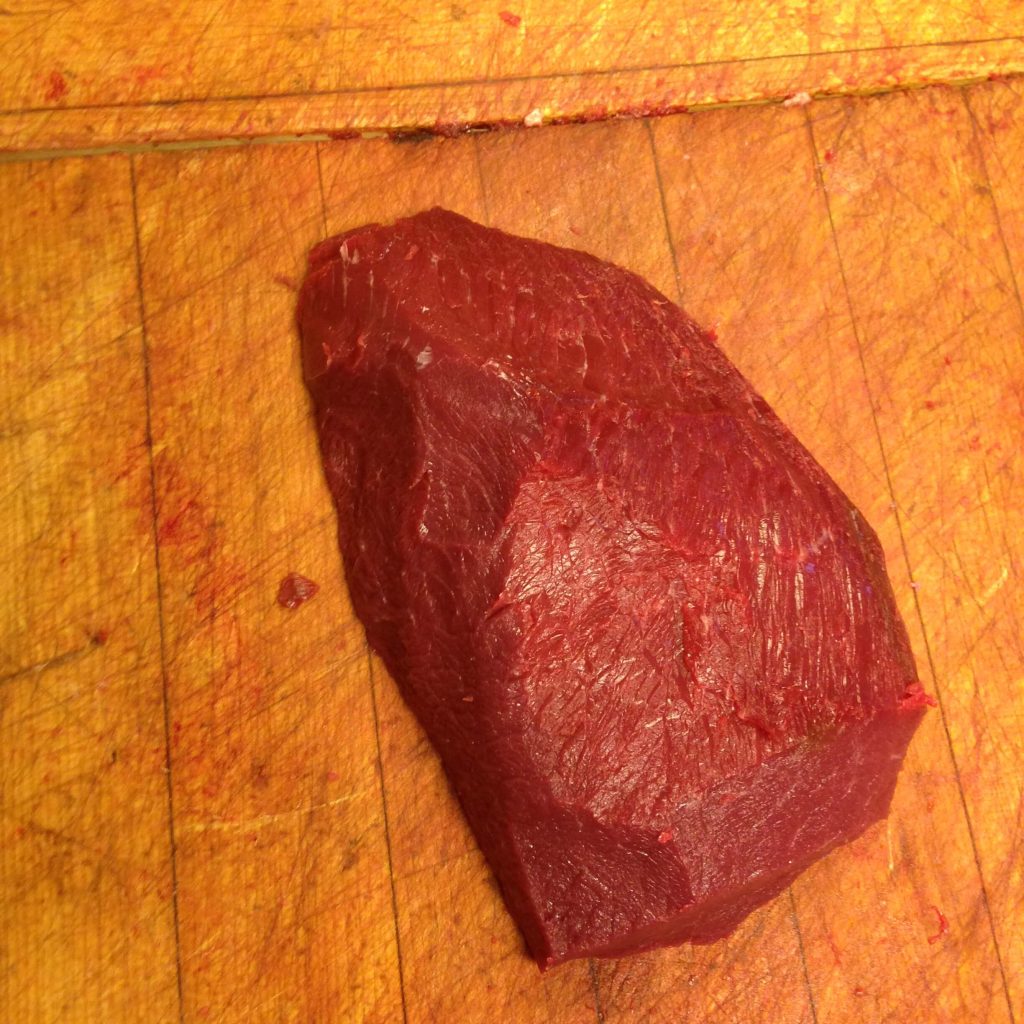

Hindquarters or bottom round make for premium choice steaks. When you are processing the sirloin tip, separate and remove the gristle from the cut prior to cutting it into steaks. Your hindquarters can also be made into roasts and the shank can be placed into your grind.
The neck meat can be tough so keeping it whole as trimmed off the spine will make for excellent pot roasts. It can also be cubed into stew meat or simply added to your grind for burger or sausage.
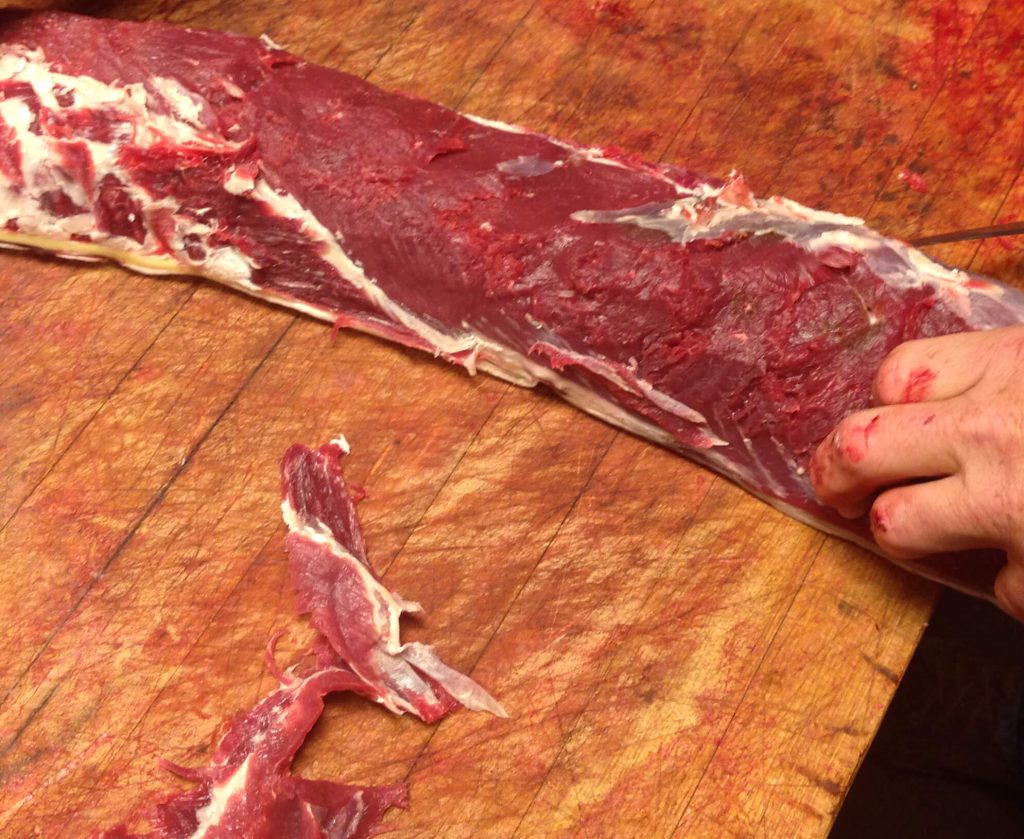
When processing backstraps, be sure to remove all of the fat that is located on the outside of the meat prior to cutting it into your choice steaks. You can also leave your backstraps in large segments to be sliced later or grilled whole. The tenderloins can be prone to drying out as they are small sections of delicate meat but can be packaged into steaks or left whole.
To process your grind meat, you are going to need a meat grinder. The meat can be ground as is or you can add beef or pork suit. This fat can often be purchased at your local grocery store or butcher. A popular fat addition ratio is between 10-20% which may help to bind your meat to create burgers. If you have the desire to make your own sausage, Cabela’s or Bass Pro sells a wide variety of easy to prepare sausage seasoning kits.
Another option is to have your meat ground at a local butcher into burger and/or have specialty sausages made if desired.
Cutting Tips

The thickness of steaks is a personal preference and can vary from ¼”-1” so if you are not processing your own big game animal, let your butcher know how you like your steaks cut and how many you would like in each package. Keep in mind that while slicing your steaks you want to cut across the grain for more tender bites.
Cubing your steaks is a quick, easy way to ensure that every steak is tender. The added bonus with cubed meat is that the meat will fry faster and flour sticks to it better.
Preparing for the Freezer
Wrapping your game meat is the final step in processing before the freezer and arguably the most important step. There are many trains of thought when it comes to wrapping game meat but the most important thing that you can do is adequately remove air from your packages. Removing the air will help prevent freezer burn keeping your harvest fresher for longer periods of time.
Keep in mind that people eat with their eyes. If your meat packages are bloody and dirty looking, your guests are not going to be as excited to share in the joy of dining on your harvest. In order to keep your packages clean, your workstation must also be kept clean and free from blood or other debris from processing.
Vacuum sealers cleanly and efficiently remove the air from your packages extending the freezer life of your harvest. However, vacuum sealers require a financial investment and the seals can fail.
Butchers and families have processed game meat for years without the aid of a vacuum sealer with simple white butcher paper, plastic wrap or baggies.
Here are a few simple steps to follow if you are not using a vacuum sealer:
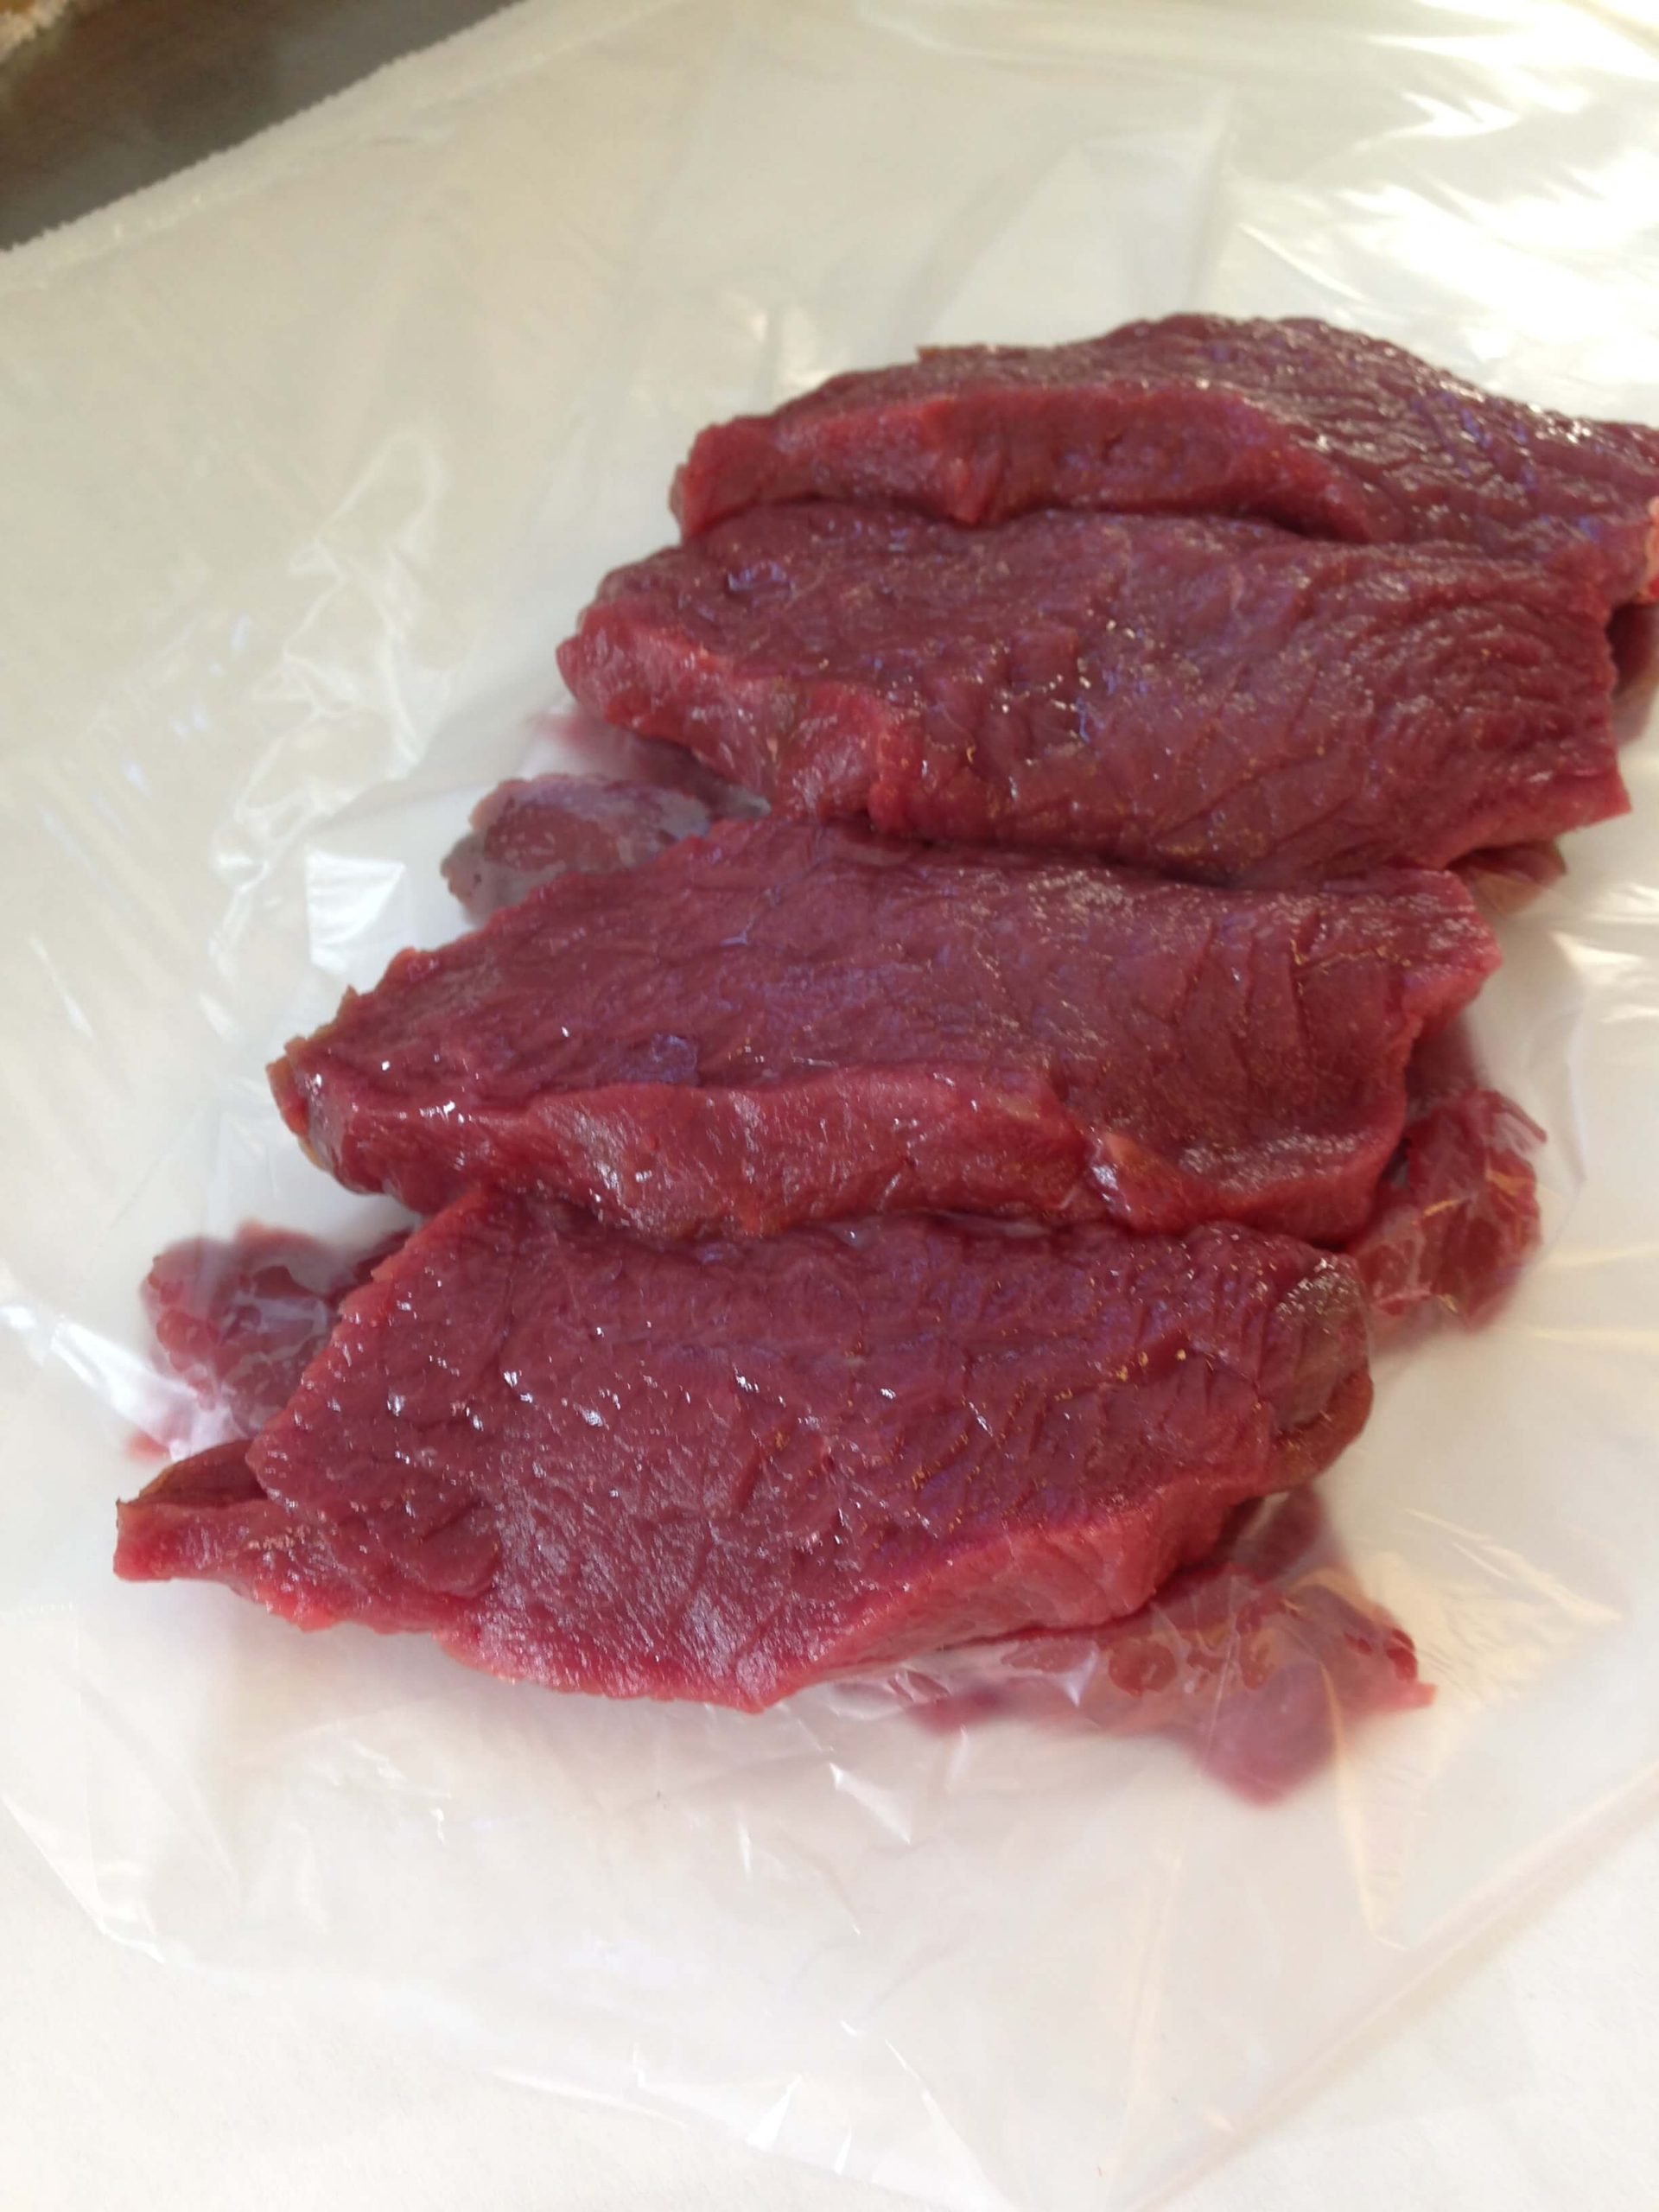
1. Lay white butcher paper out with the waxy side facing your meat.
2. Place an additional layer of clear deli film over the butcher paper. This double layer will help keep the cold air from your freezer from coming into direct contact with your meat which will help prevent freezer burn.
3. Place your first layer of meat on the deli film.
4. Separate additional layers of meat in the package with an additional layer of clear deli film.

5. Use your fingers to “pull” the meat into the layer of plastic wrap that was placed over the butcher paper in step 2. This will help remove excess air from being packaged.

6. Wrap the meat package in the butcher paper. Keeping the wrap as tight as possible.

7. On the outside of the finished package list the species and cut of meat as well as the year with a permanent marker or stamp.
Marinating
Life gets busy and it certainly comes in handy to have meat that is frozen pre-marinated. This makes meal prep easy, simply thaw and cook. If you are going to marinate your meat, use freezer bags instead of flat clear deli film.
Here are a few simple steps to follow if you would like to freeze some packages of pre-marinated meat.
1. Lay white butcher paper out with the waxy side facing your meat. Place the additional layer of clear deli film over your butcher paper.

2. Fill a plastic bag with the desired amount of meat.
3. Place the desired marinate into the bag with your meat.
4. Remove as much excess air from the bag as possible.

5. Wrap the meat package in the butcher paper/deli film. Keeping the wrap as tight as possible.
Into The Freezer
If you have meat that remains from the year prior, be sure to set that aside for immediate consumption. For additional organization, compartmentalize meat by species and cut when possible which makes for a quick grab from the freezer.

Serving up your own locally harvested and processed wild game meat is a great way to introduce meat-eaters and perhaps, non-hunters to the rewarding and delicious process of being a hunter and processor of your own wild game meat.
