Years ago, when I first started slinging carbon, I took an entire winter off—no indoor league or time on the indoor range punching paper. I was new to the stick-and-string game and didn’t give my bow sabbatical a second thought, and I figured it would be like riding a bike.
How wrong I was.
Shooting a bow is a discipline that requires you to form a bond with your bow and continue to build on that bond. Whether you took the winter off, are looking to boost your spring/summer practice sessions, or are a brand new shooter, these three drills will help you be at your very best when fall arrives.
Blank Bale
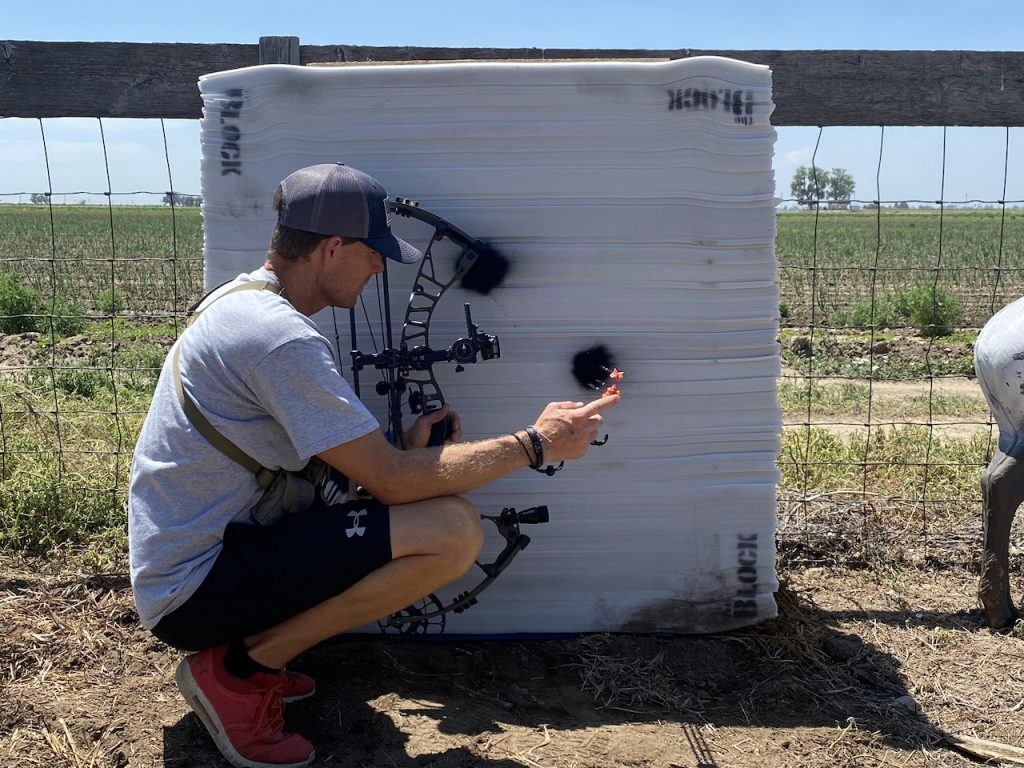
No, it’s not a new technique. For years, bowhunters have used the blank bale method to defeat target panic and better hone their shooting skills. While I love the stand at 10 yards and fire arrows into an empty target face routine, I recommend taking it up a notch.
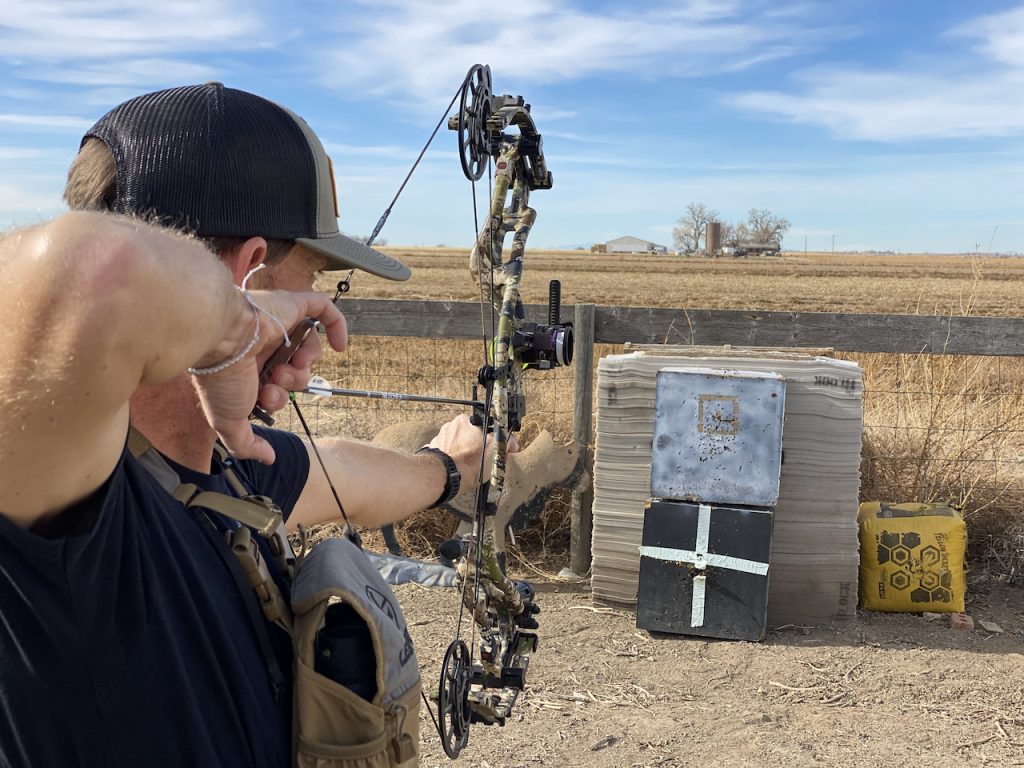
Start your spring/summer shooting routine standing 10 yards from a blank-face target. The reason for the no dots, spots, triangles, and the like is that you need to learn to let your pin float, trust that float, go through your shot routine, and let your release fire the bow. With no exact spot to hit, there is zero pressure.
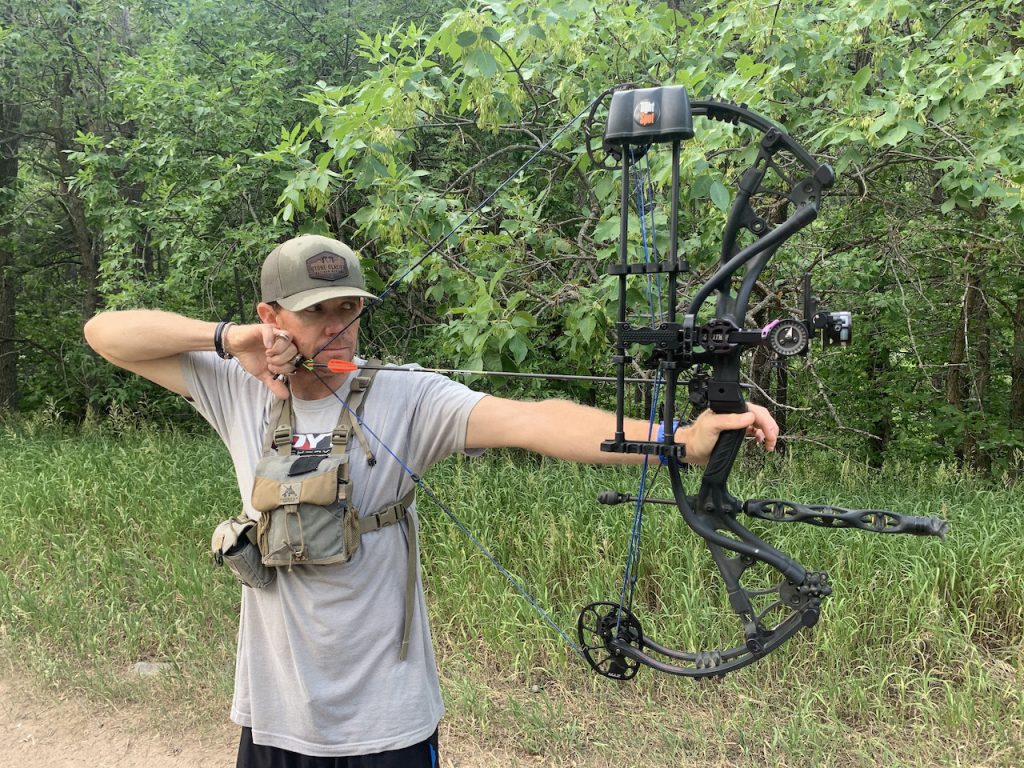
I recommend staying at 10 yards for several days and shooting numerous purposeful arrows. Purposeful doesn’t mean fast. Slow down and perfect every aspect of your shooting routine, from how you get into your grip to how you acquire your target to how you crawl into your anchor. While you’re perfecting your shooting routine, you’re also shooting multiple, purposeful arrows.
You’ll know when things are clicking. Every part of your shot routine will feel right, and you won’t be focusing on the art of shooting but instead aiming and aiming and aiming until the release breaks. You’ll be full of shooting confidence, and now it’s time to move back.
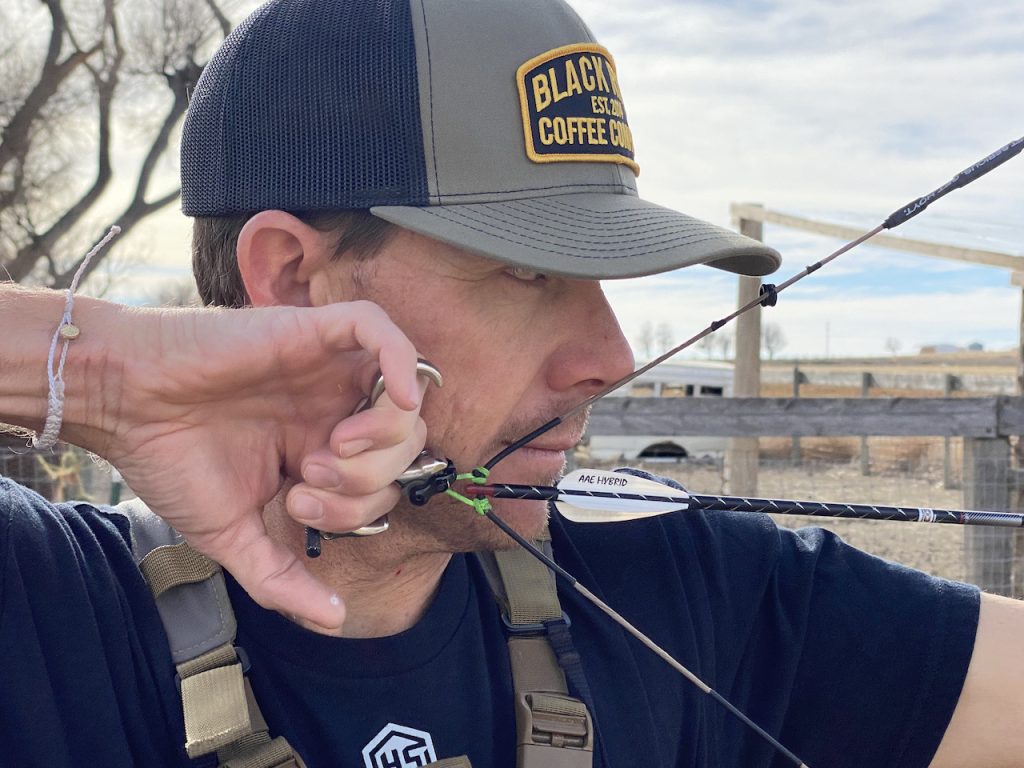
Too many archers stop blank baleing at 10 yards. I don’t see it this way. I recommend spending weeks shooting at distances between 10 yards and your furthest practice distance at nothing but empty foam. When you blank bale from 10 yards and then step back to 60 yards and see an orange sticker on the target, anxiety will naturally creep in. If you spend a week shooting at blank foam from 60, your subconscious mind learns to accept what the distance looks like, and later, when you put a spot or dot on the target, there is no shooting anxiety because you’ve executed the shot dozens of times with no spot or dot in place.
Double Distance Practice
I had an archery coach tell me once, “The shot you make at 20 yards is the same shot you make at 70 yards.” He’s right. However, at 20 yards, you won’t discover serious imperfections in shooting form. At 70 yards, you will. Get too deep into your grip at 20 yards and put torque on the riser, and you may miss your spot by an inch or two. Do this at 70 yards, and you’ll likely be 10 inches or more off the mark.
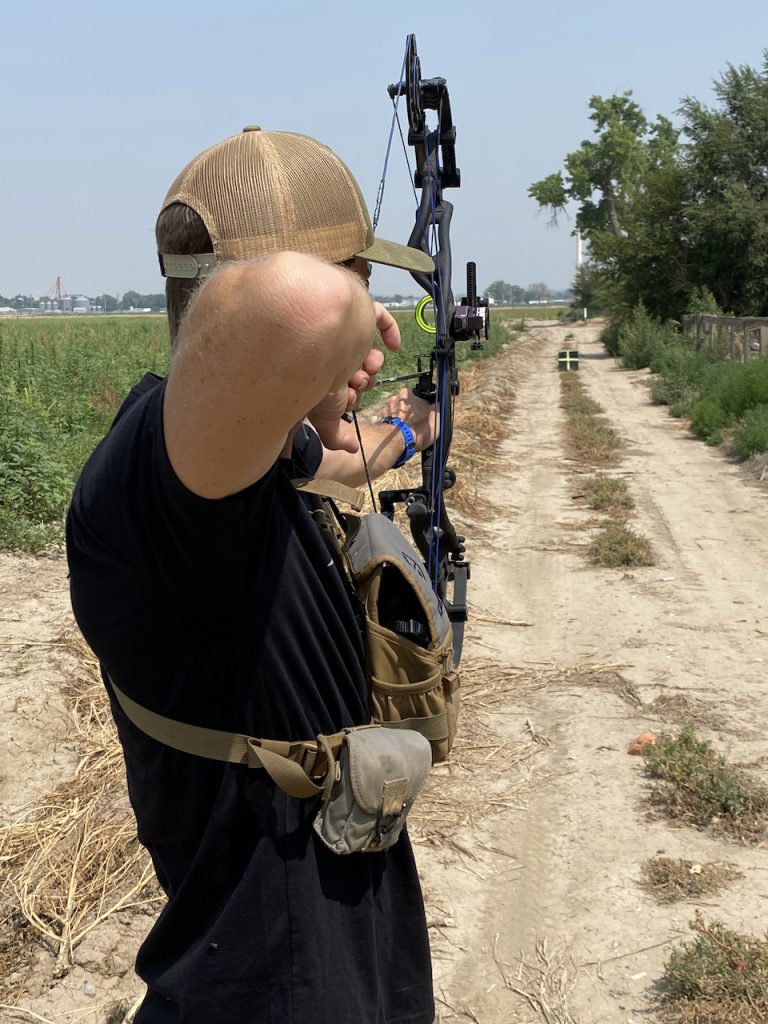
Few things will make you a better shooter and put moment-of-truth-ice-water in your veins like double distance practice. You know the furthest distance you feel comfortable taking an animal, and I’m suggesting you spend more than half of your practice sessions sending arrows at double that distance. For instance, let’s say you’re a serious whitetailer and limit your shot distance to 40 yards. If that’s the case, more than half of the arrows you shoot between now and whitetail season should be from 80 yards.
After shooting group after group from 80 yards, move up to 40 yards and fire a three-shot group. You’ll be amazed at how accurate you get and how close the target looks. When coupled with the blank bale method, these two drills will undoubtedly increase your lethality in the bowhunting woods.
Stop Shooting Dots
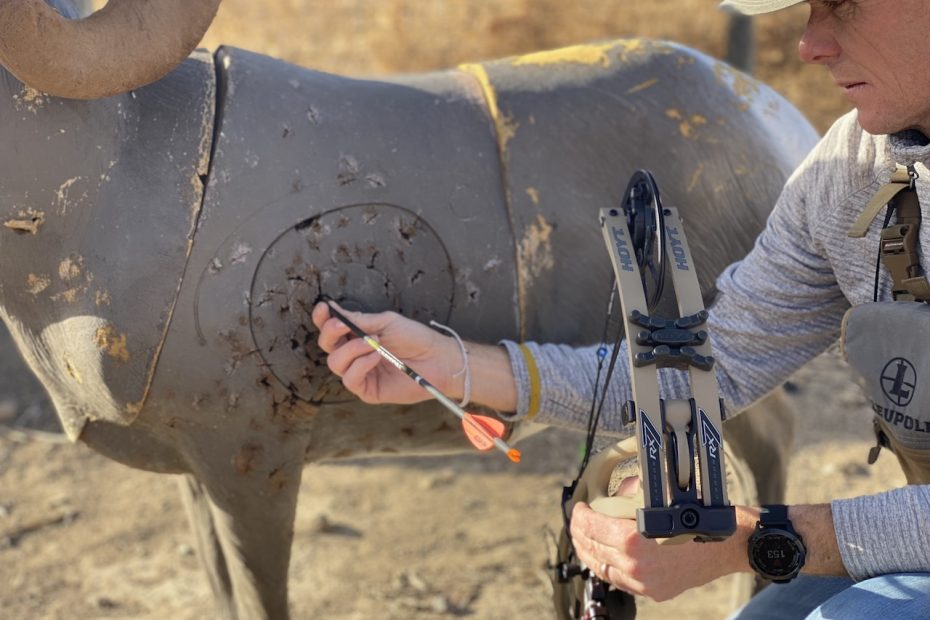
I like bag and block targets with spots and dots for some things, but nothing trumps shooting at a lifesize 3-D target. Shooting 3-D targets is another step in becoming the most accurate, proficient archer you can be. Yes, they are a bit pricy, but the investment is worth it. I buy a pair of 3-D targets every year and add them to my outdoor range.
When shooting a 3-D target, you have open space over its back, under its chest, in front of and behind its brisket and rump. The open space is what you have to deal with in the field, and you need to get used to firing at foam and realizing if you miss too high, too low, too left, or too right, your arrow may be lost or destroyed. In addition to mastering the open space issue, you’re not trying to weld arrows into a dot. Instead, you’re shooting for double-lung hits, and you can turn the target to simulate quartering-toward and quartering-away shots.
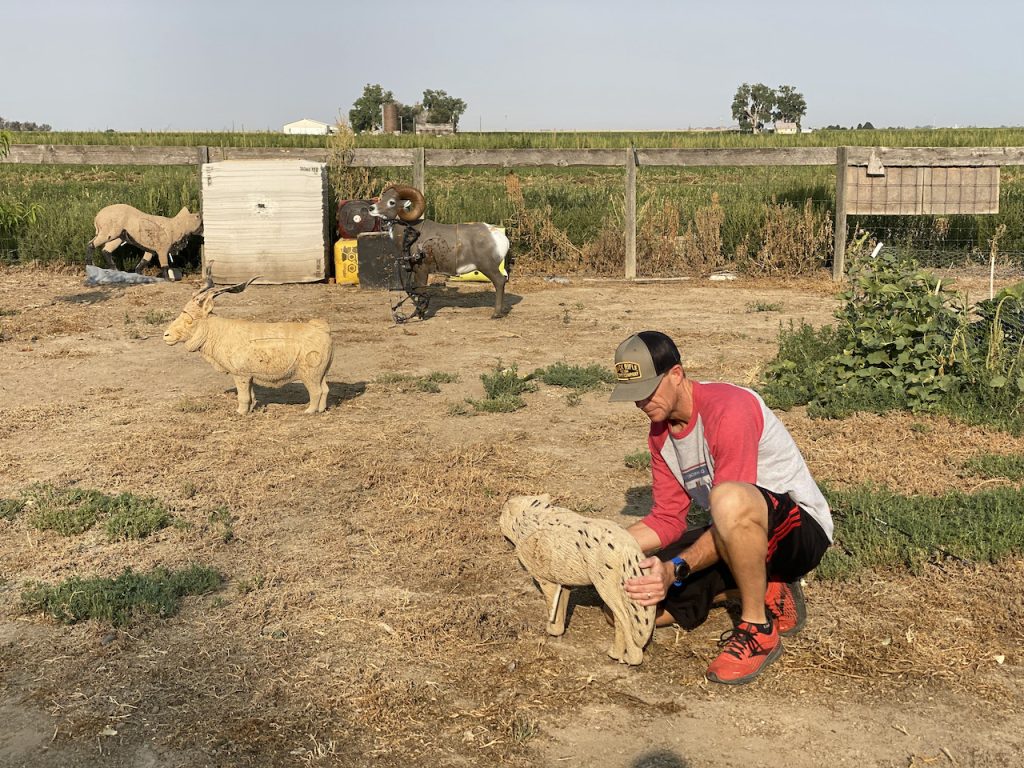
Something else I very much recommend is shooting with your peers. My bowhunting amigos and I share our 3-D targets and set up courses at each other’s houses. After a course is set, we make a game out of it and shoot it. Doing this gets the competitive juices flowing and tests the nerves. Few things will help you shoot better and get to the top of your bowhunting game, like shooting in front of people.
In addition to shooting with friends, I recommend toeing the line at as many 3-D shoots as you possibly can. Of course, these shoots are great for confidence building but are also fun for the entire family.

There you have it—three drills to keep you busy on the archery range this spring and summer. Remember, it’s not about how many arrows you shoot before now and opening day. Instead, it’s about how many purposeful arrows you shoot.
