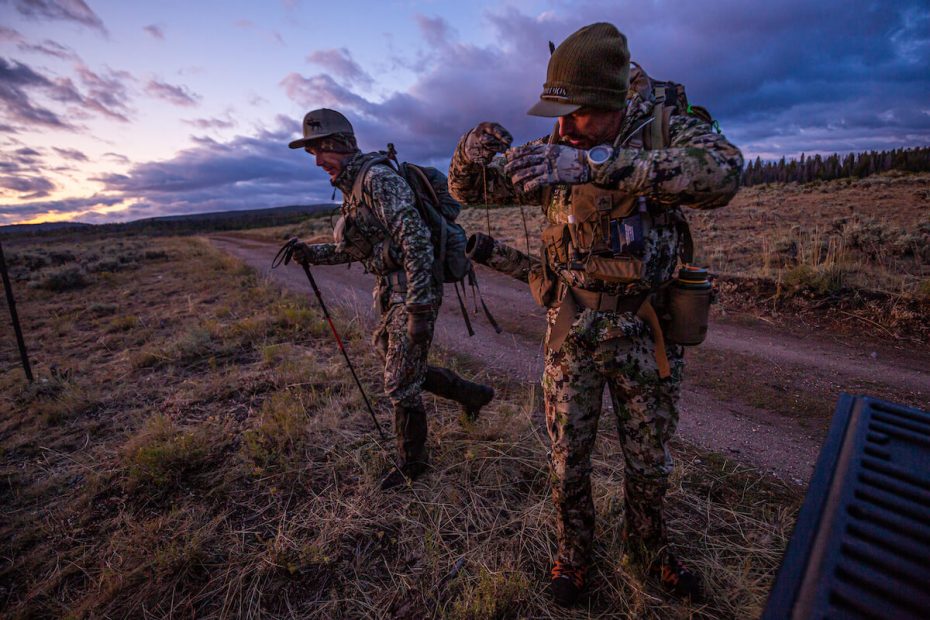
Few things trump a backcountry wilderness adventure but make no mistake, these far-off-the-beaten path hunts have been over-romanticized and can be flat miserable if you’re not prepared.
Let me explain.
We’d gone deep into a remote Colorado wilderness. Too deep. Twelve mountain miles in, two of my elk amigos had horrible blisters. My lower back and shoulders were screaming at me due to a Walmart backpack that was loaded way too heavy.
Then, the rain came.
For five days, the heavens opened, and moisture fell. My tent turned out to be water-resistant, not waterproof, and two of our three one-person stoves crapped out.
We tried to hunt, but it was hopeless. We were cold, wet, and miserable; to add insult to injury, the elk weren’t talking. We constantly slipped and fell in the wet terrain and even snapped arrows in a few quivers when those carbon shafts encountered some rocks when my buddy took a tumble.
No, we couldn’t control the weather, but we could have boosted our comfort level in the weather by taking time months before our backcountry excursion to test every piece of our mountain gear thoroughly.
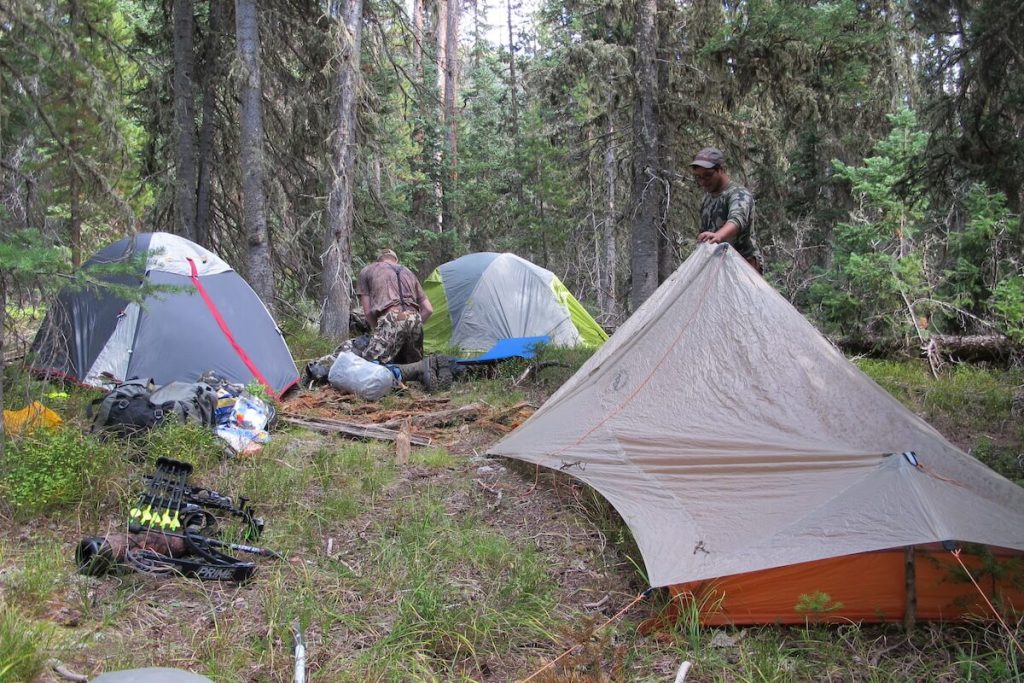
Gear testing, to some degree, is a lost art. We read the ink on a manufacturer’s label, watch a YouTube video, read a blurp on social media and assume the product we dropped green on is as good as they come. Not a good plan.
The only gear that should accompany you into the backcountry is the gear you have put to the test in the months and weeks leading up to your hunt. If it doesn’t prove worthy, it shouldn’t be part of your backcountry arsenal, and I’m referring to everything from your boots to your trekking poles.
Let’s start with some testing how-to. If you’re going to roam the backcountry hoping to find big-game nirvana, there’s some pivotal gear you’ll need, and this gear needs to perform without fail. A tent is one such item; my go-to is Alps Mountaineering Tasmanian 2 Two-Person. I like the extra room a two-person tent provides, and this four-season shelter is as tough as they come, but I didn’t learn that by reading ink about the tent. I started the process by setting up the tent multiple times in my backyard and living room. Why? I needed to see how easy it was to assemble, and I wanted the setup process to be 100 percent ingrained in my memory come season. Nothing sucks worse than putting up a tent for the first time on the mountain when Mother Nature is at her worst.
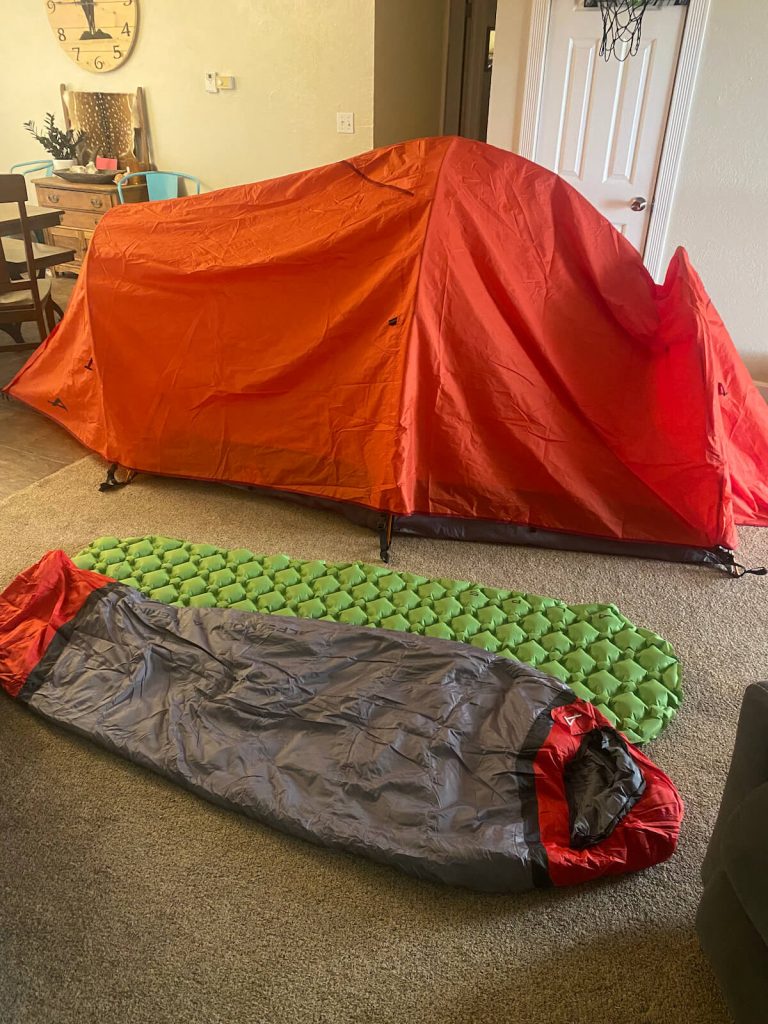
In addition to setting the tent up, I also slept in it several times on calm, starry evenings and nights of rain and fierce wind. Doing this showed me how well the seams, poles, zippers, etc., held up, and it gave me a chance to test my sleeping bag, inflatable camp pillow, and inflatable sleeping pad.
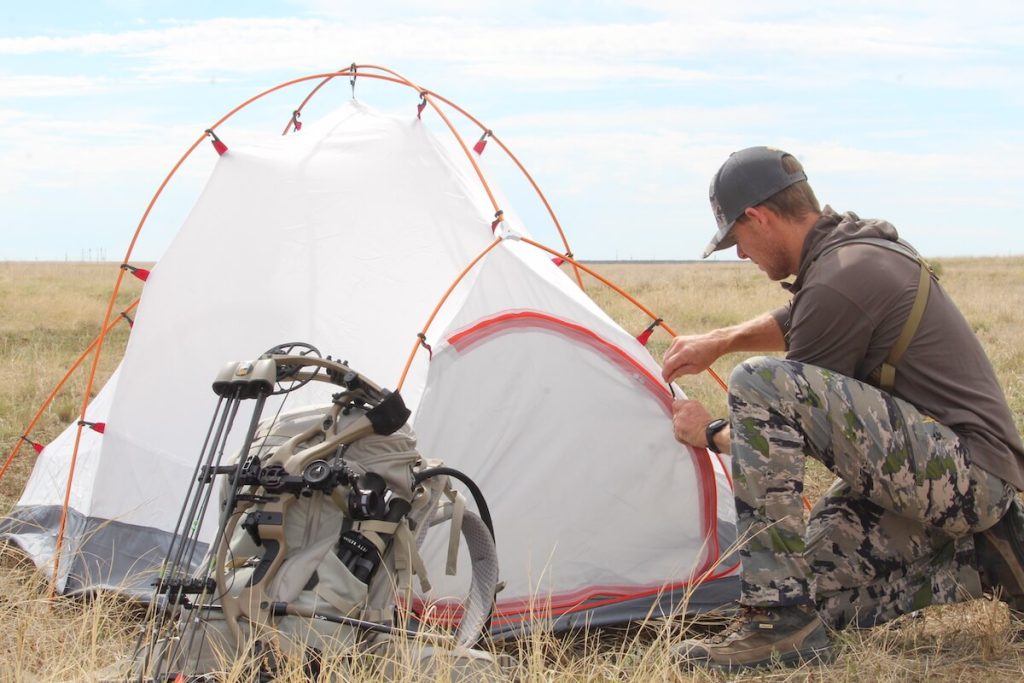
Boots are another must-test item. Don’t make the mistake of thinking a boot doesn’t need to be worn before the season. I’ve used the best for years, Kennetrek and Crispi, to name two, and while both are built exceptionally well, you’ll want to put miles on them before your hunt.
Testing a new pair of boots is simple. Grab a pair of trekking poles; I recommend lightweight carbon poles like MSR’s Dynalock Ascent and Leki’s Makalu FX Carbon and go hike. You can walk dirt roads and break the boots just fine, and as you put miles on the soles and start getting your body in better physical shape, you can add a quality mountain backpack to your daily treks.
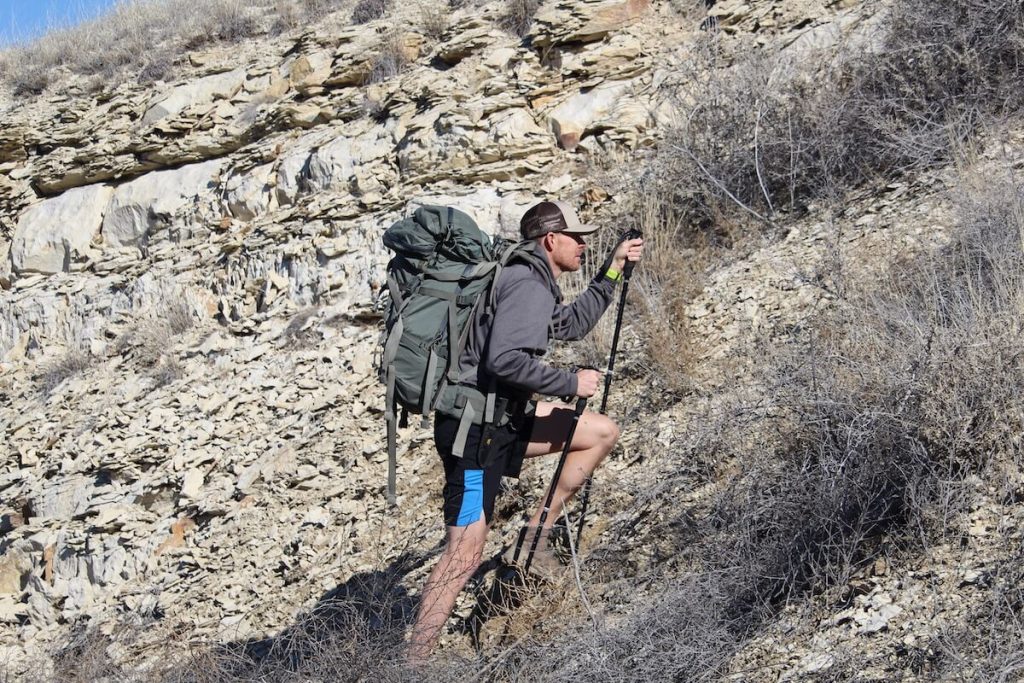
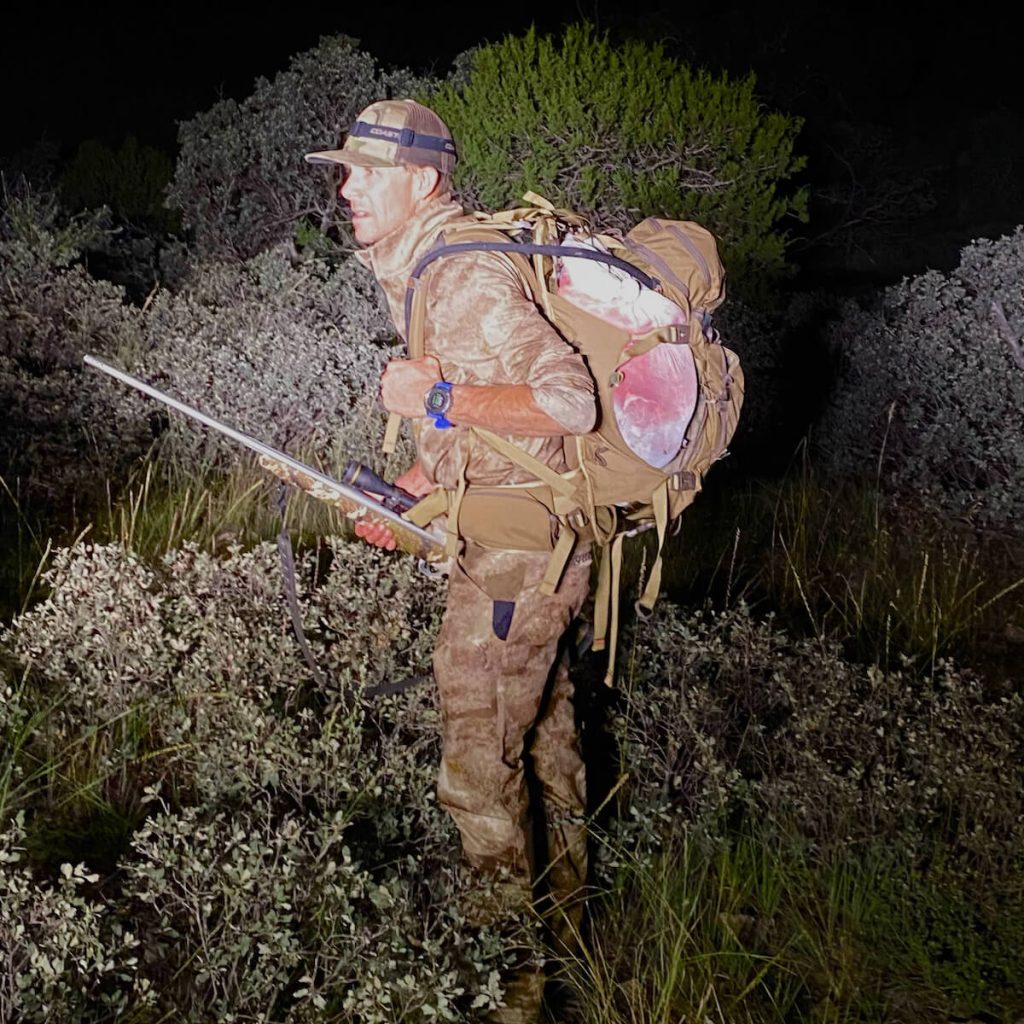
Pick a top-notch pack with lots of space, custom adjustments, quality zippers, and a purposeful build. Over the past two seasons, my go-to’s are Stone Glacier’s Sky 5900 on the Xcurve Frame and Alps Outdoorz’s Elite Frame + 3800 Pack. The best weight to add to your pack is your hunt gear, which gives you an excuse to pack all of your equipment into your pack multiple times. Doing this creates a system, and you quickly learn what goes where. As you add more gear to your pack and walk with that pack, you discover how to use the pack’s adjustments to make the weight ride on the hips, create torso adjustments, and the list goes on.
Now you’re rolling. You’re not relying on words or a video to tell you your gear is worthy; you’re proving your gear is excellent, which builds confidence.

While I recommend testing everything, a few items often overlooked are cook systems, hydration bladders, and water purification systems.
Use whatever cook system you pick for your backcountry hunts at home and on family camping trips. If the system has a flaw, you want to find it. I have used MSR’s WindBurner Personal Stove System for years, and this all-in-one stove, pot, and cup combo are lightweight and bombproof, but again, don’t take my word for it. A quality cook stove should be able to withstand wind, altitude, and weather; and bring water to a boil in minutes.
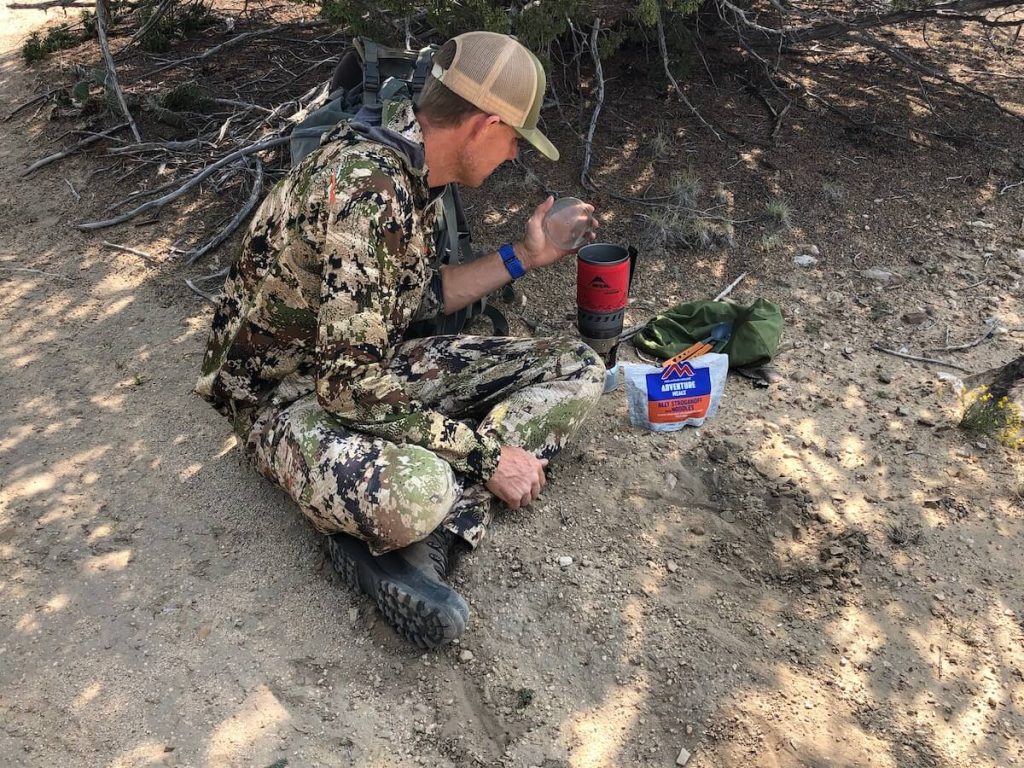
Not all hydration bladders are created equal, and I’ve popped more than one in my bag and had hose failures on more than one occasion. Go with a heavy-duty 2-liter (more water is better) like the Big Zip Evo from Platypus. Fill this hydration reservoir as full as possible, and tote it with you in your pack when you’re breaking in those boots and testing that backcountry tote.
When it comes to water filtration, you want simple, safe, and effective. Don’t go with a unit that requires an MIT degree to operate, but don’t go with a system that appears to be sub-par either. For backcountry hunting, I like a lightweight filter like MSR’s MiniWorks EX Microfilter or Katadyn’s Pocket Water Filter. Again, you must prove them. Take them on a scouting trip or use them in a small stream or creek near your home. Learning the ins and outs of your water filtration system is essential. When water needs to be filtered, you need to accomplish the task quickly, and know that you’re doing the job right to prevent getting sick.
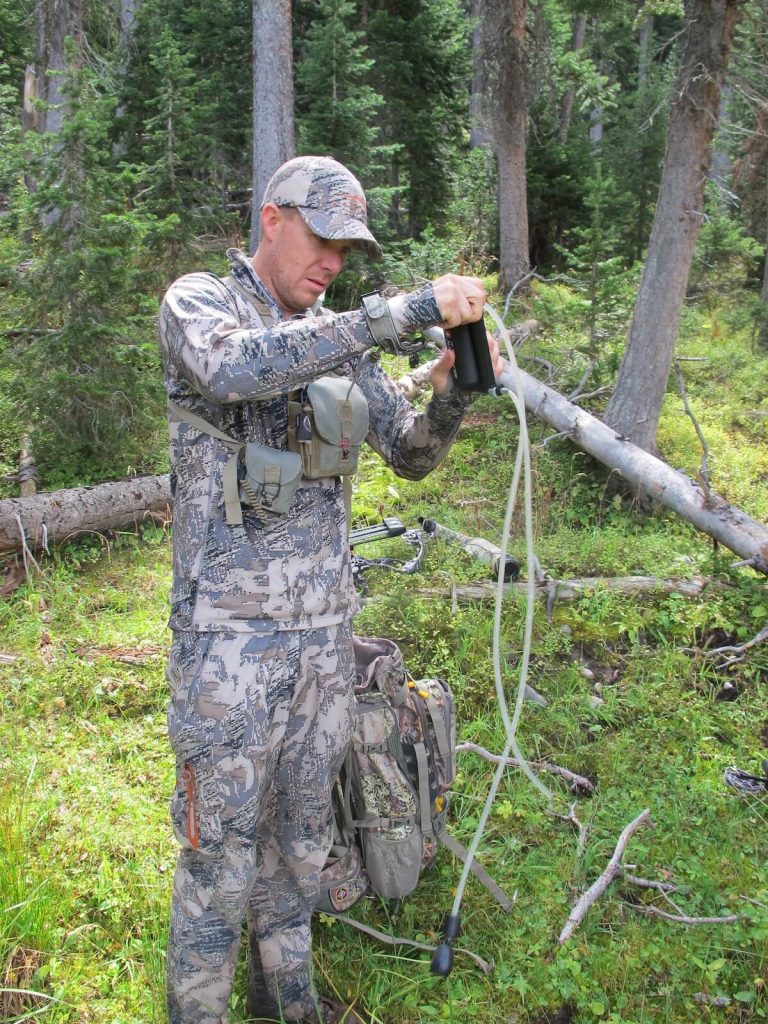
Of course, this isn’t everything, but hopefully, you’re catching my drift. If you’re taking it to the backcountry, you should know the product in and out, and it needs to be field proven.
