Estimated reading time: 0 minutes
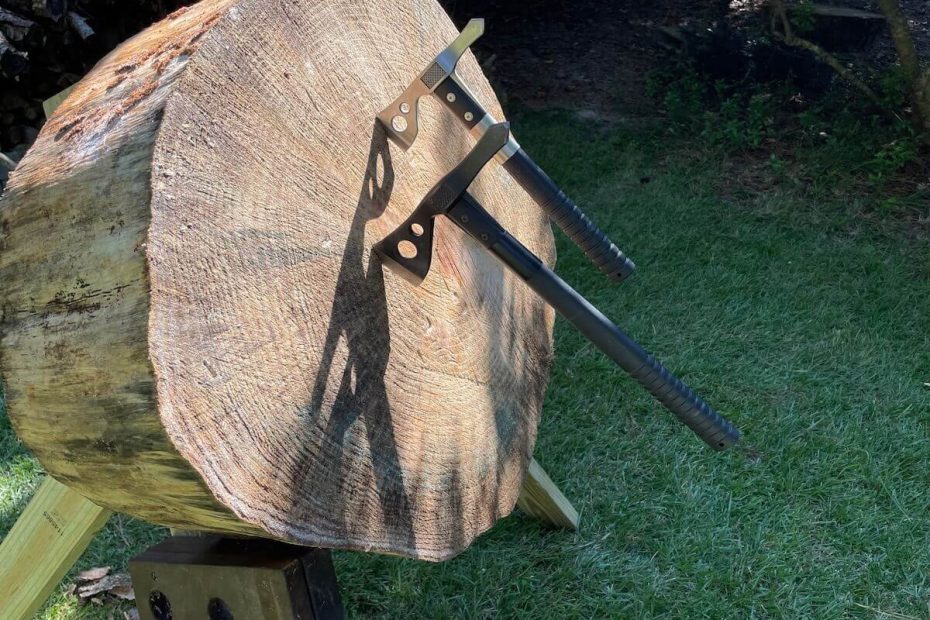
Throwing a tomahawk is one of the things you need to punch on your man card or woman card. But to throw a tomahawk you need a sturdy stand for the target. Here’s a step-by-step guide on how to build a rugged stand that adapts to different types of tomahawk targets, and is portable.
Table of contents
Tomahawk Targets
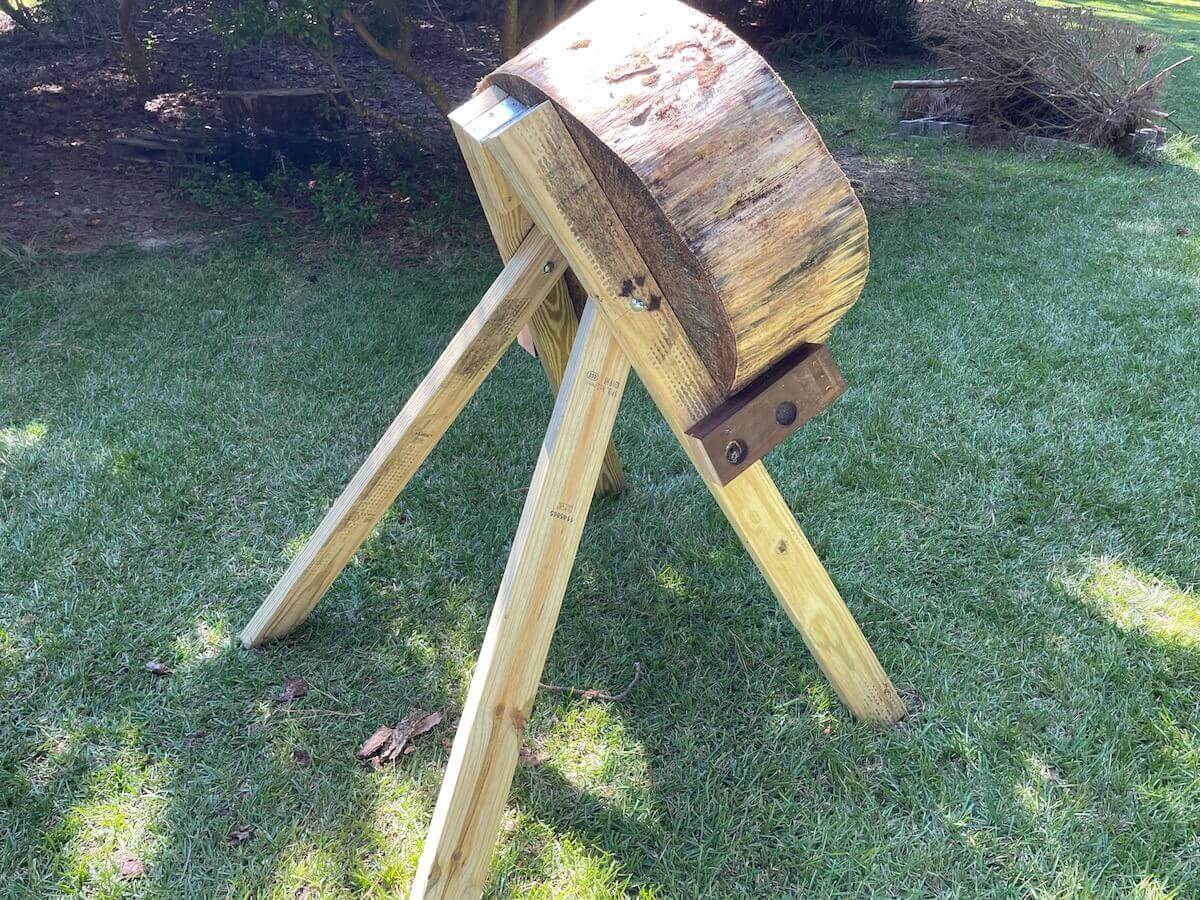
One way to build a tomahawk target is to cut small 2×4 pieces, stack them so the end grain is facing you, and build a frame around it. I’m frugal and if I had some scrap 2×4 I’d build one of those styles of targets. Luckily, or unluckily, Mother Nature decided for me. Recently some tall pines came down during a hurricane and I took a few slices off the trunks to make a no-cost tomahawk target.
The best tomahawk targets have the end grain of the wood facing the thrower. This makes it easier for the tomahawk to stick into the wood. Some targets, like at axe throwing places, use soft spruce boards that are butted up against each other like wood flooring except it is vertical. That works but you need to drench the spruce in water to make it soft so the axe or tomahawk will stick.
Now that I had my slab of pine, I needed a target stand. What’s the phrase—there are a lot of ways to skin a cat. And just to be clear no cats were harmed when constructing this tomahawk target stand.
What’s Needed For Your Stand
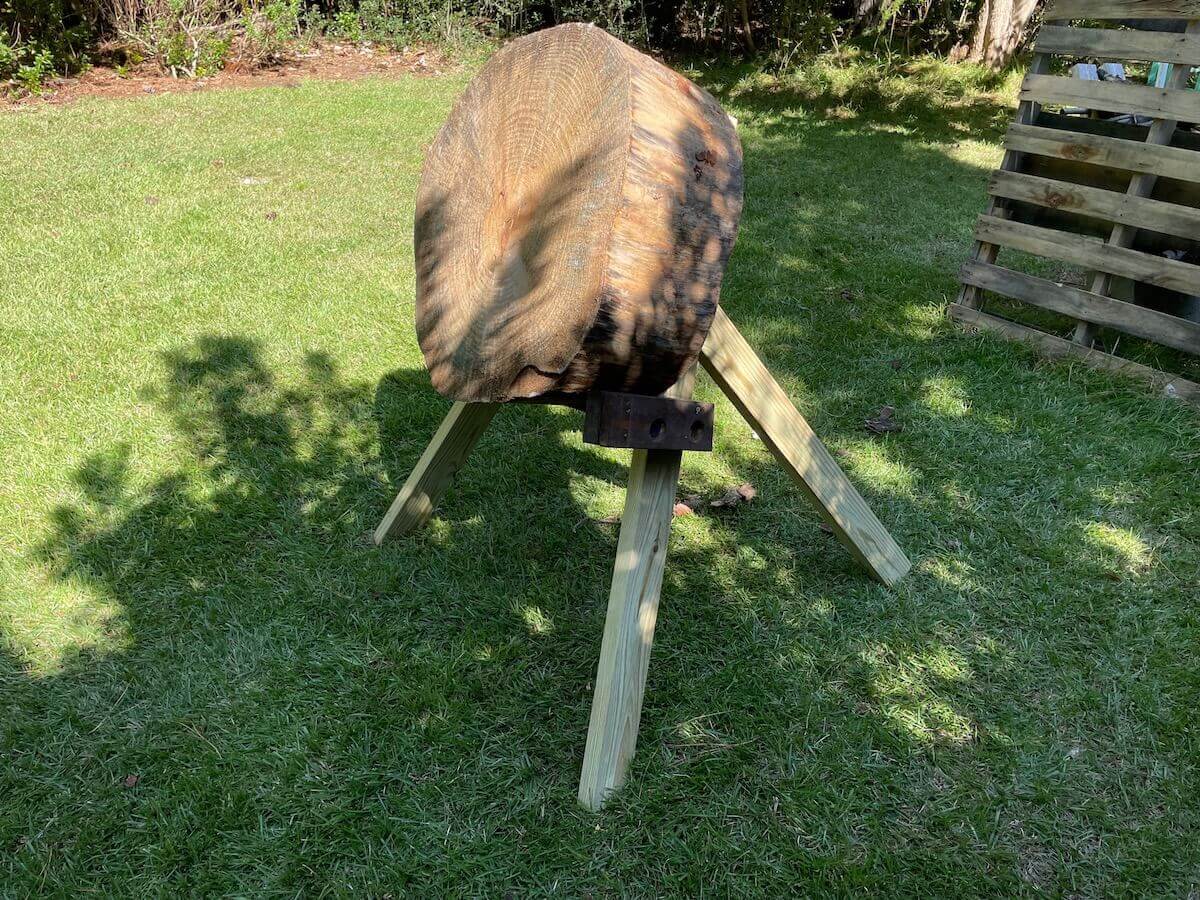
There are less expensive ways to build a target stand. Bolting or screwing legs on a pine slab and propping it up against a tree works, or just prop it up against a tree. The problem with these set-up is you need a tree and some are not that stable. I chose a folding stand design that can be used with nearly any kind of target.
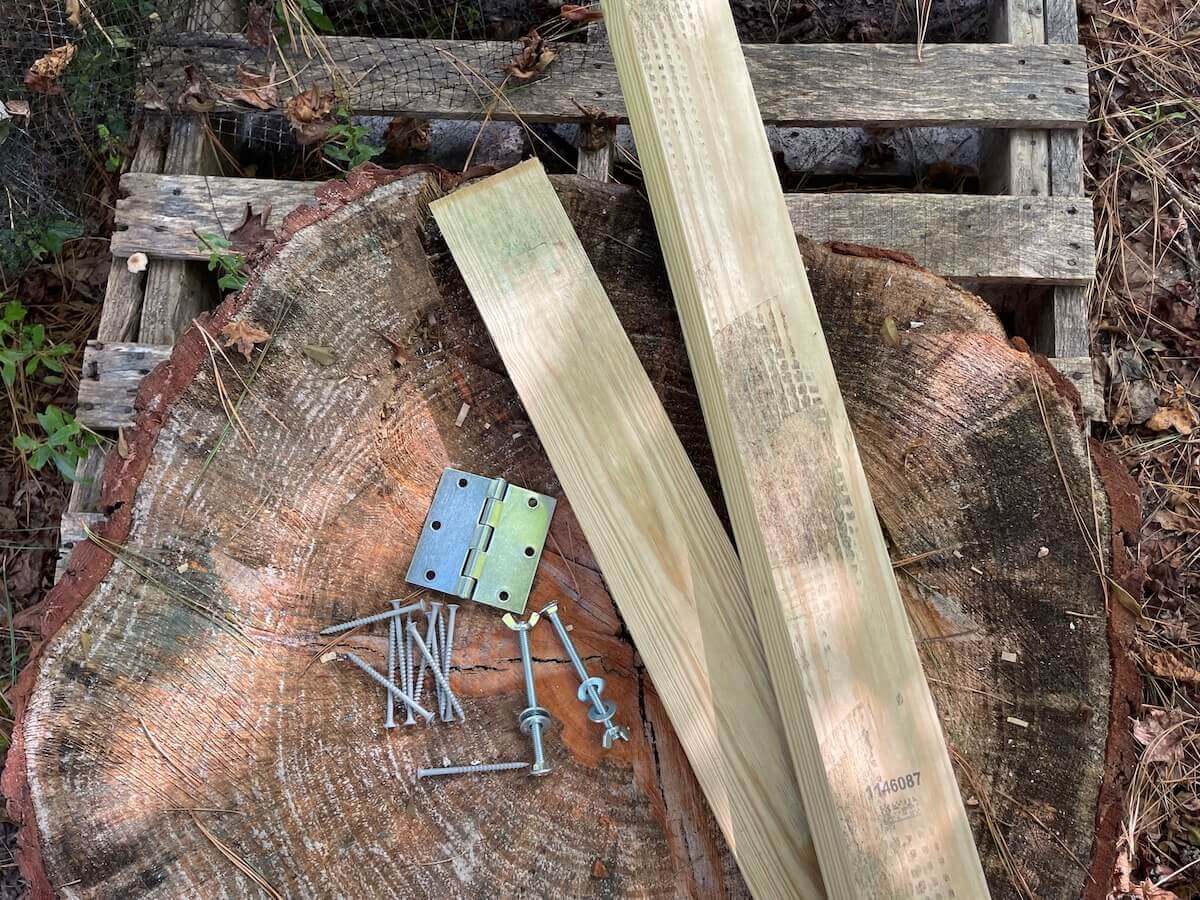
Material for the build consisted of two eight foot 2×4’s, a hinge so that the stand can be folded flat, two 5/16 inch bolts with washers and wing nuts for the support legs, two 2x4x9 inch support arms, and a bunch of 3-inch wood screws. I splurged and bought pressure treated 2x4s. You should too because it will be outside in the elements. The support arms I made from scrap lumber. It took me about 30 minutes to completely, actually longer since the battery on my drill died and in needed to be re-charged.
How To Build A Tomahawk Stand
First Cuts
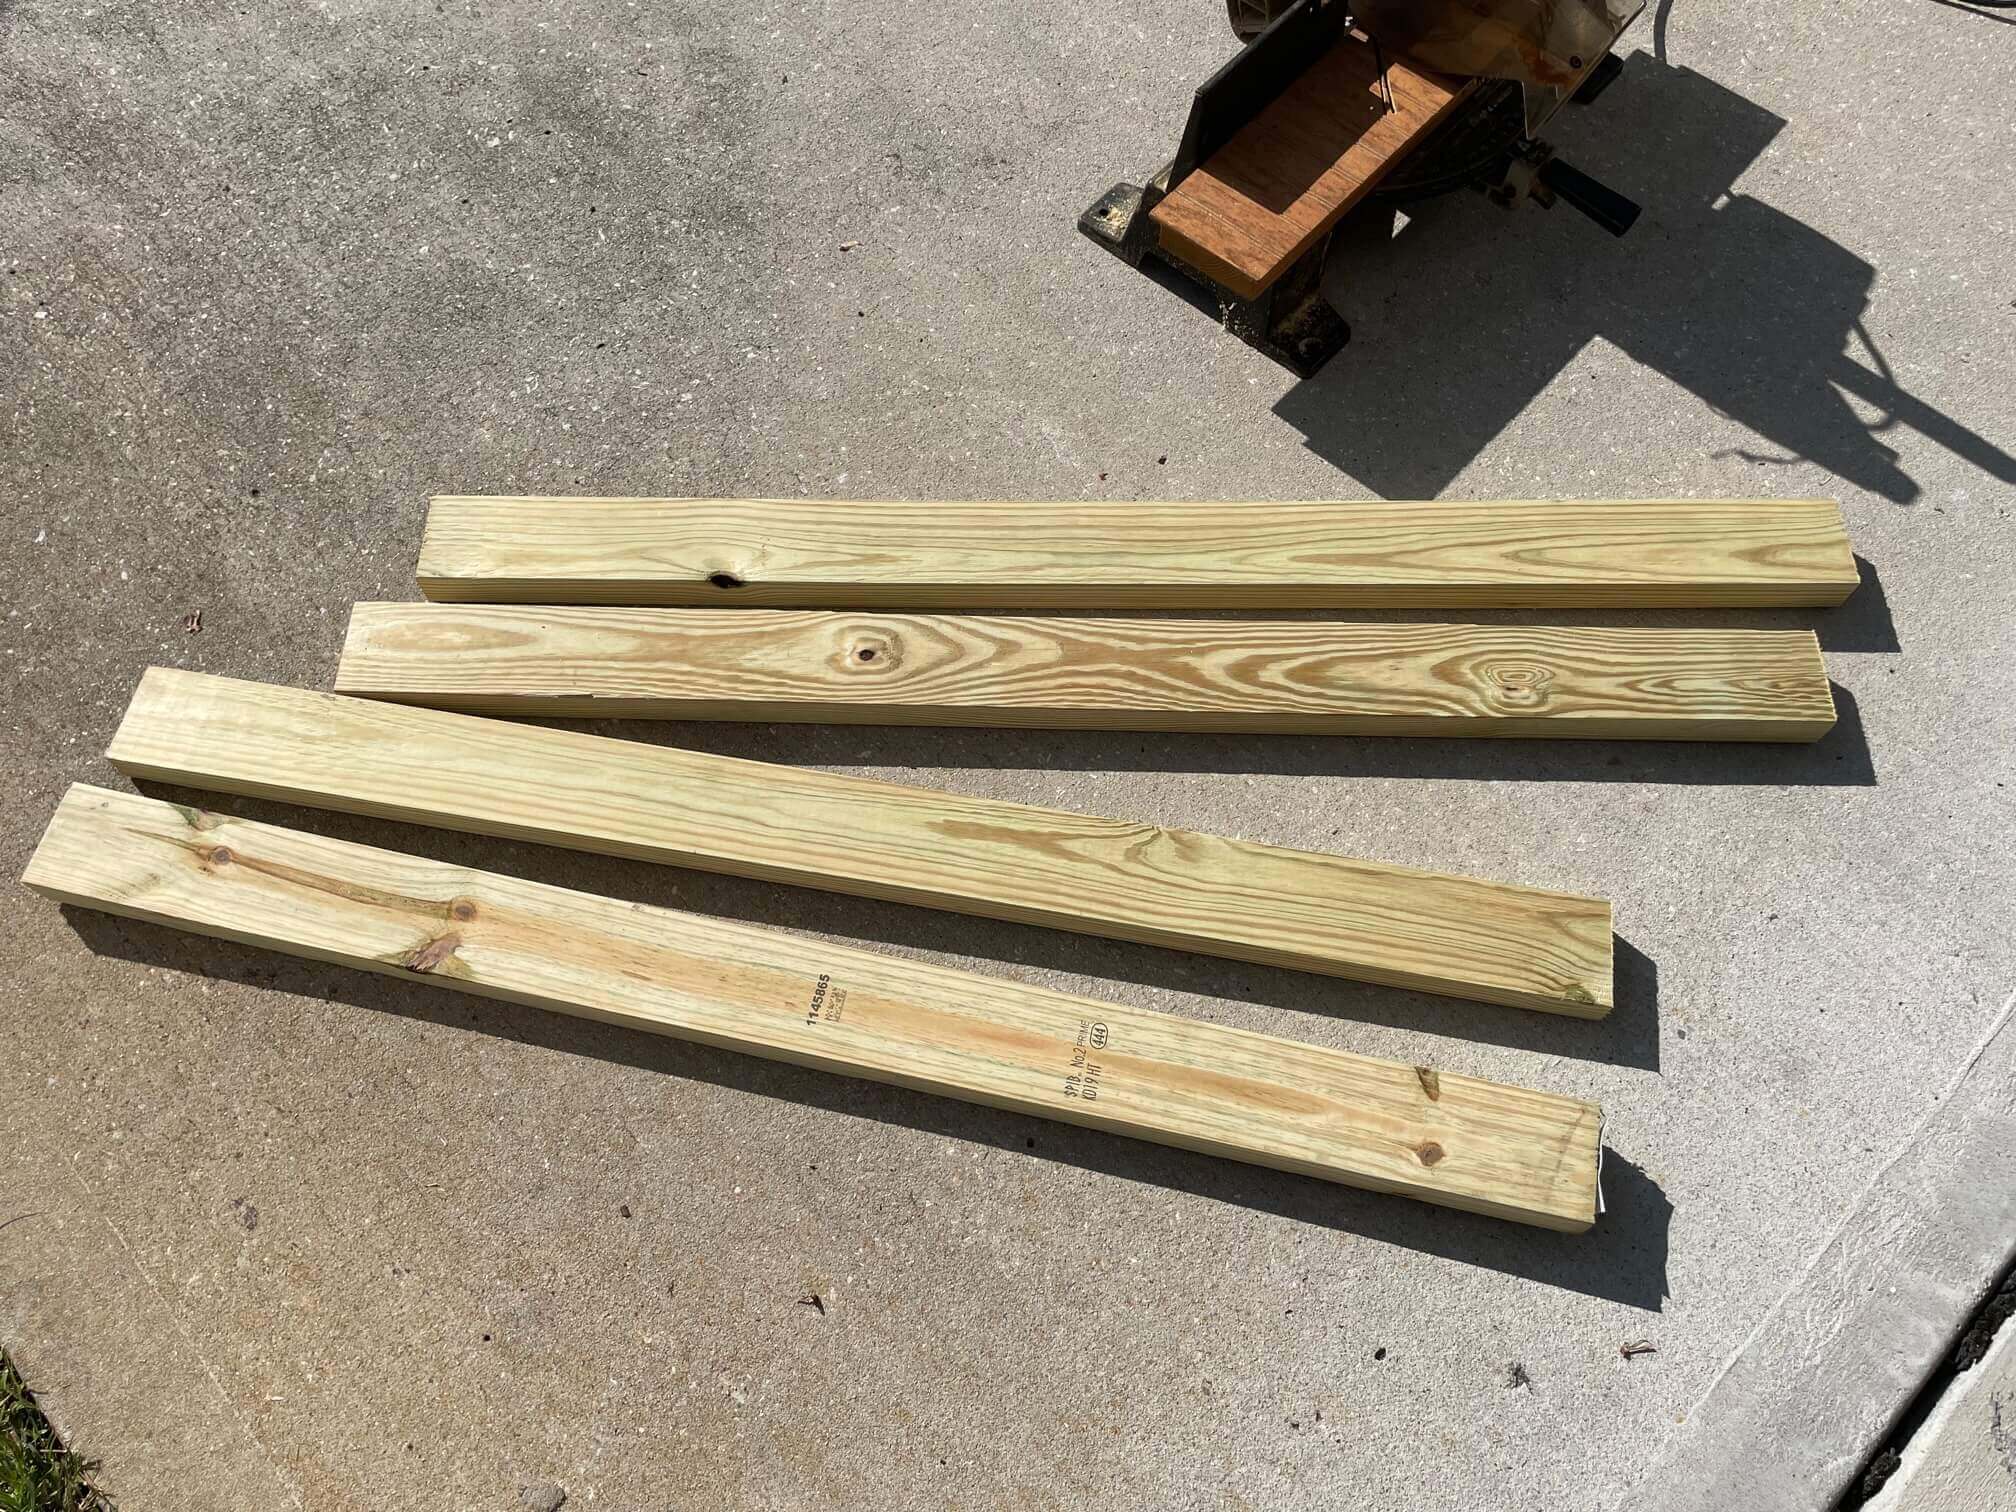
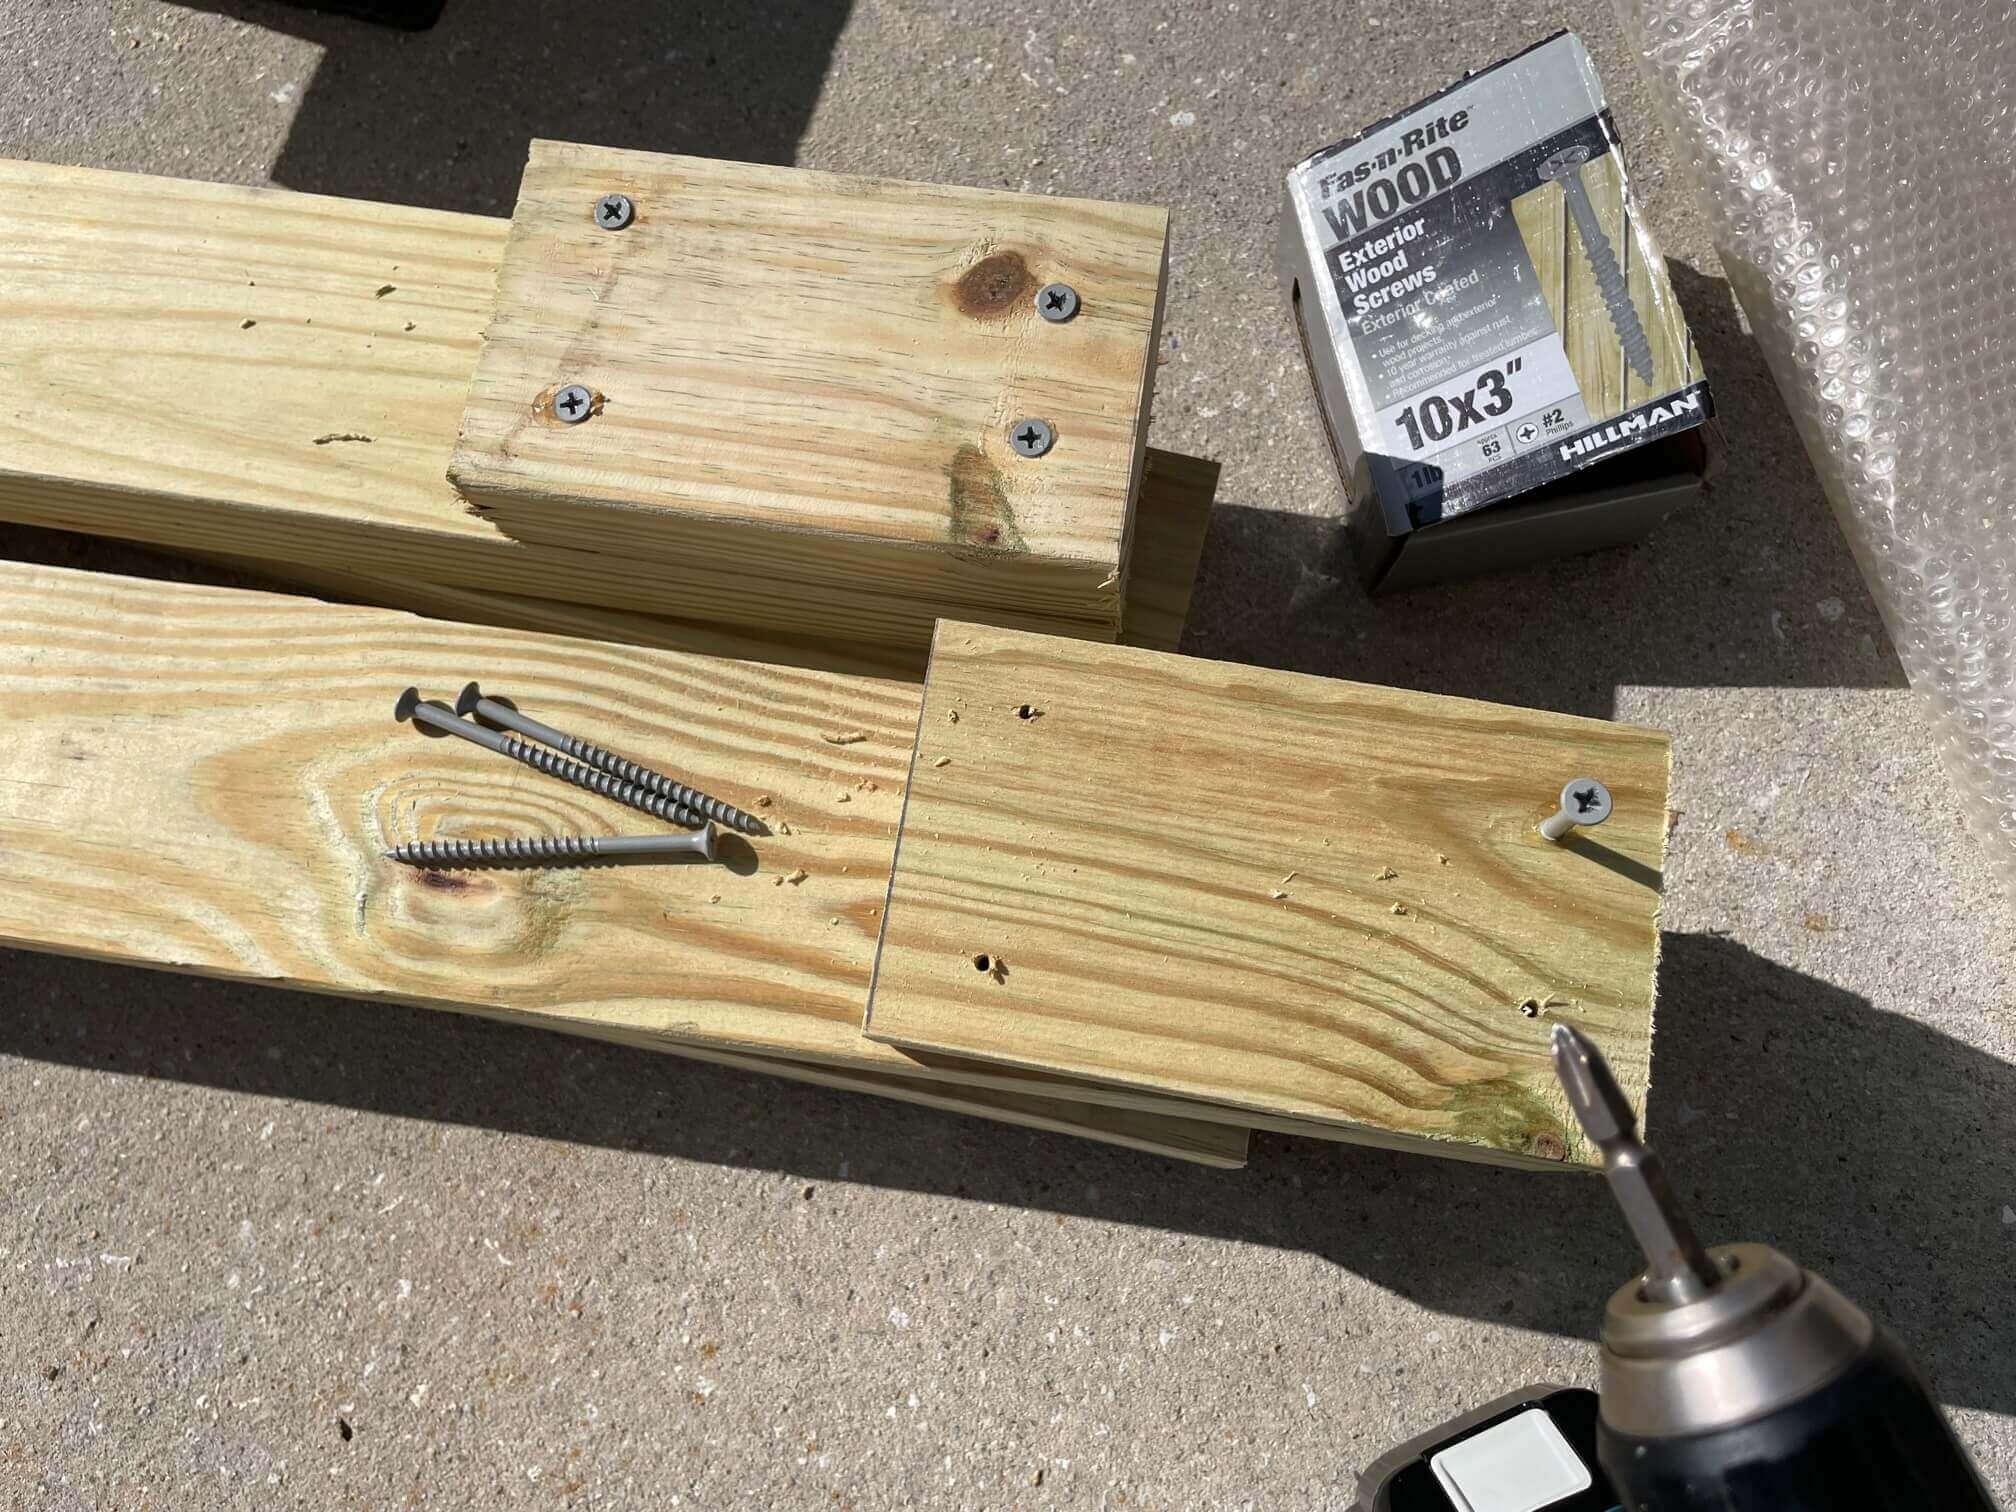
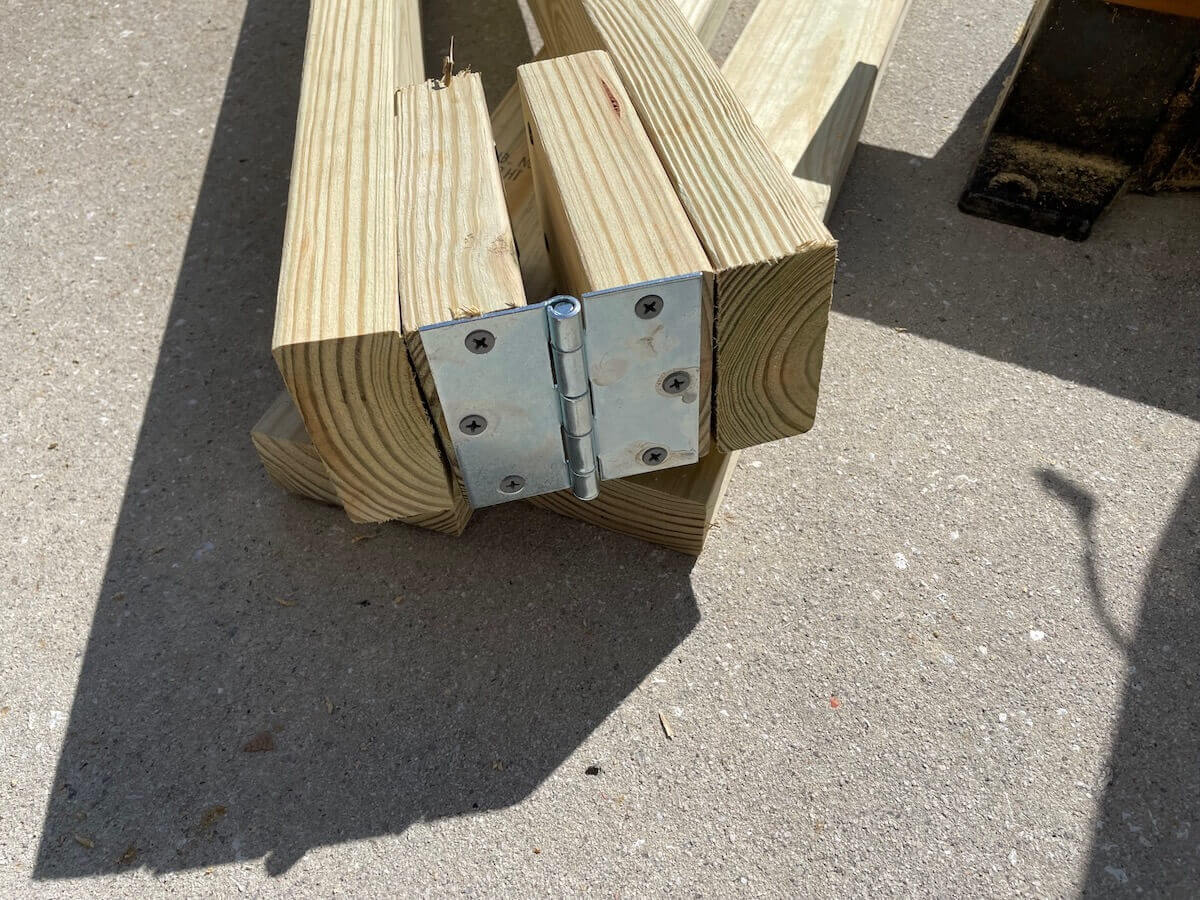
First cut the 2×4’s in half so you have four 48 inch pieces. Cut 6 inches off two of the pieces, now you should two 48-inch pieces, two 42-inch pieces, and two 6-inch pieces. Flush up the 6-inch pieces to the ends of the 48-inch pieces and use 3-inch screws to attached the 6-inch pieces to the ends of the 48-inch pieces. I drilled pilot holes to ensure the wood would not split when I screwed in the screws. These 48-inch pieces with the attached 6-inch pieces form the two front support legs for the target. The hinge is then screwed into the end of two 6-inch pieces. The hinge allows the legs to fold flat.
Drill Some Holes
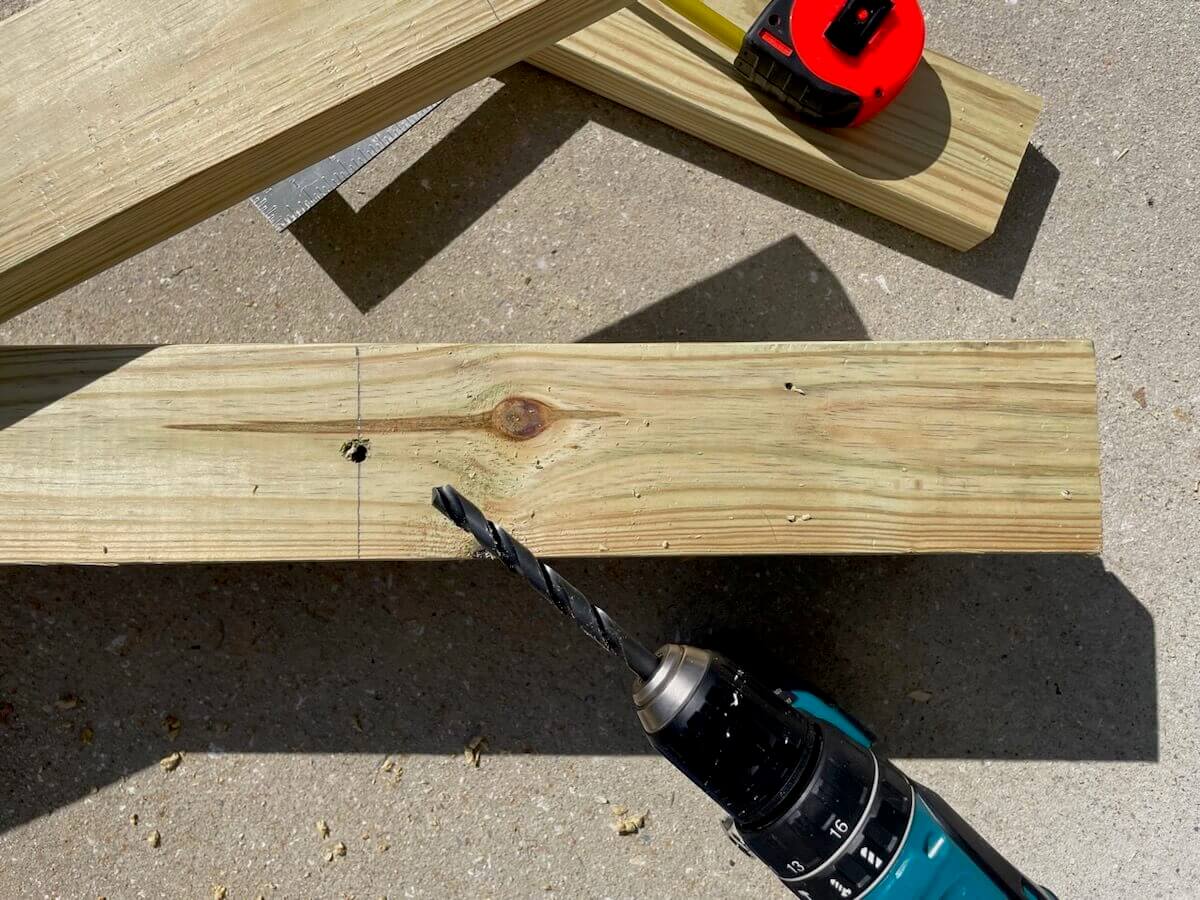
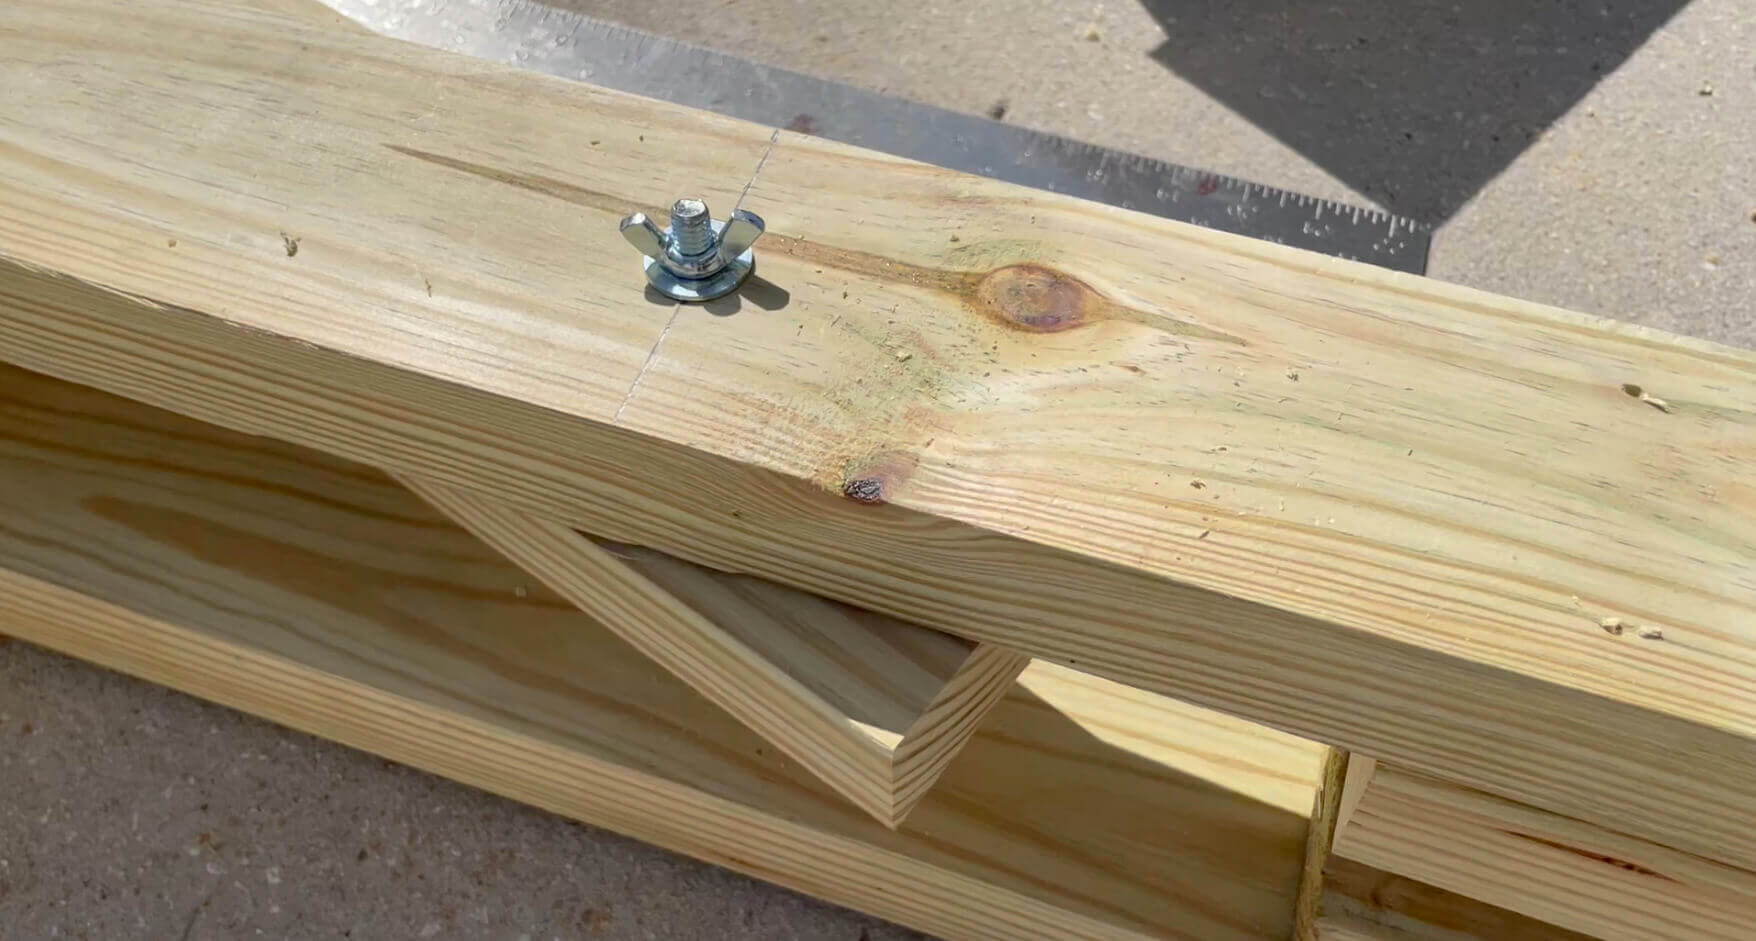
Measure 12 inches from the hinge end and drill a hole to allow the 5/16-inch bolt to go through. I used a drill bit slightly larger to allow some give. Measure 4 inches from end of the two 42-inch pieces and drill another hole for the bolt. Insert the bolt from the inside of one of the support legs and one of the front legs. Use a washer at the head end and threaded end and loosely tighten the wing nut. Do the same for the other front leg and support leg. The bolts and wing nut allow the support legs to pivot and fold flat along the inside of the front legs.
Assembly
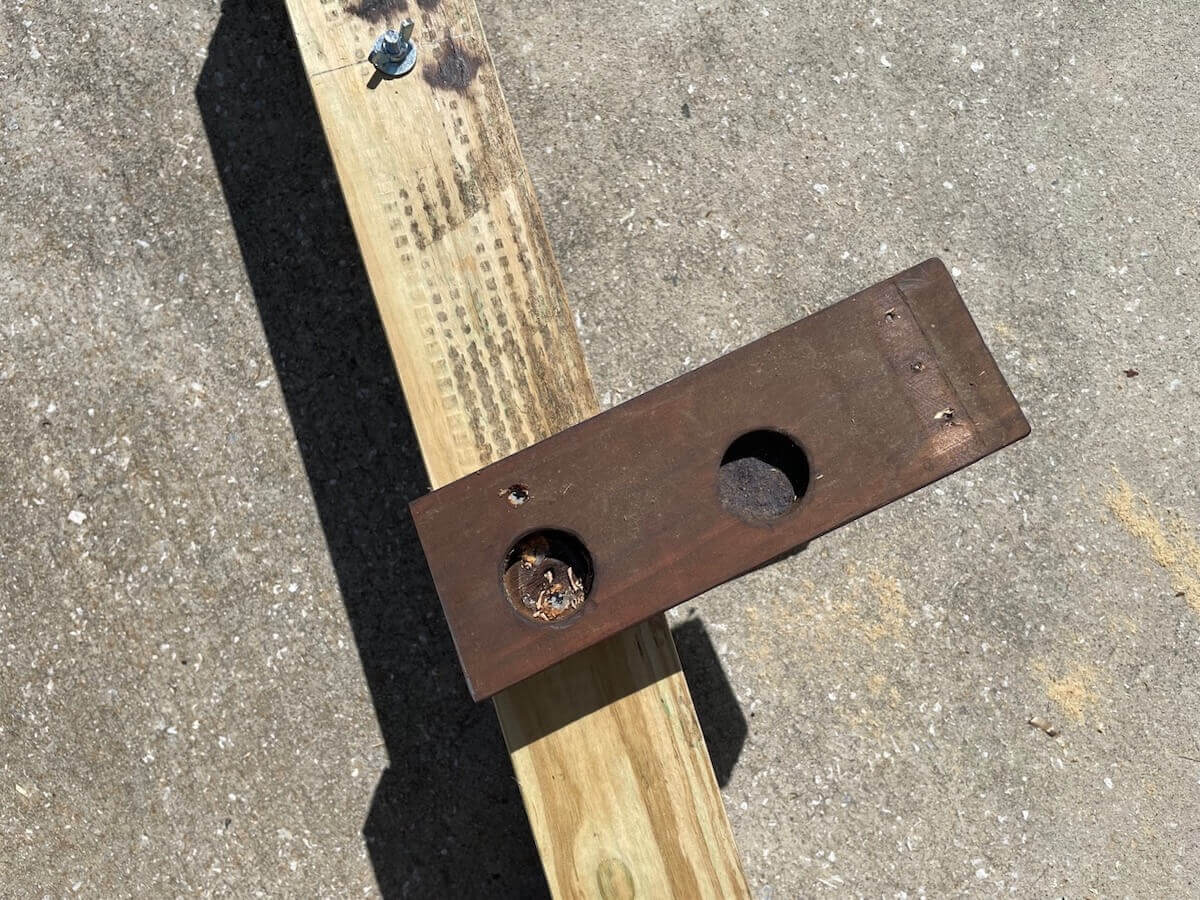
The next step is to attach the support arms. The arms hold the target in place. The placement of the support arms depends on the height of the target. You want to be sure the target covers the hinge. My pine slab measured 25 inches in diameter so I place the support arms 20 inches from the hinge. That means the target covers the hinge by 5 inches. I screwed the two 9-inch support arms to the front legs at a slight upward angle about 5 degrees. Before placing the pine slab on the stand, I positioned the front legs and support legs so the stand tilted back slightly.
The weight of the slab should push the stand down and back. With the support legs positioned, I used a hand saw to cut the ends that protruded past the front legs so the target could lay flat against the front legs. The next step was the hardest. A pal and I lifted the slab, well over 200 pounds, and placed it on the stand. I pushed on the slab and looked for any wiggle. It was solid and that’s important because you don’t want the target and stand to topple over if hit hard on an edge.
Types Of Tomahawks
There are basically three types of tomahawks, those with a single head, a double head or a head with a spike. The frontier and Viking style tomahawks have a wood handle. Modern tomahawks have nylon or polymer handles, handles wrapped in paracord, or G-10.
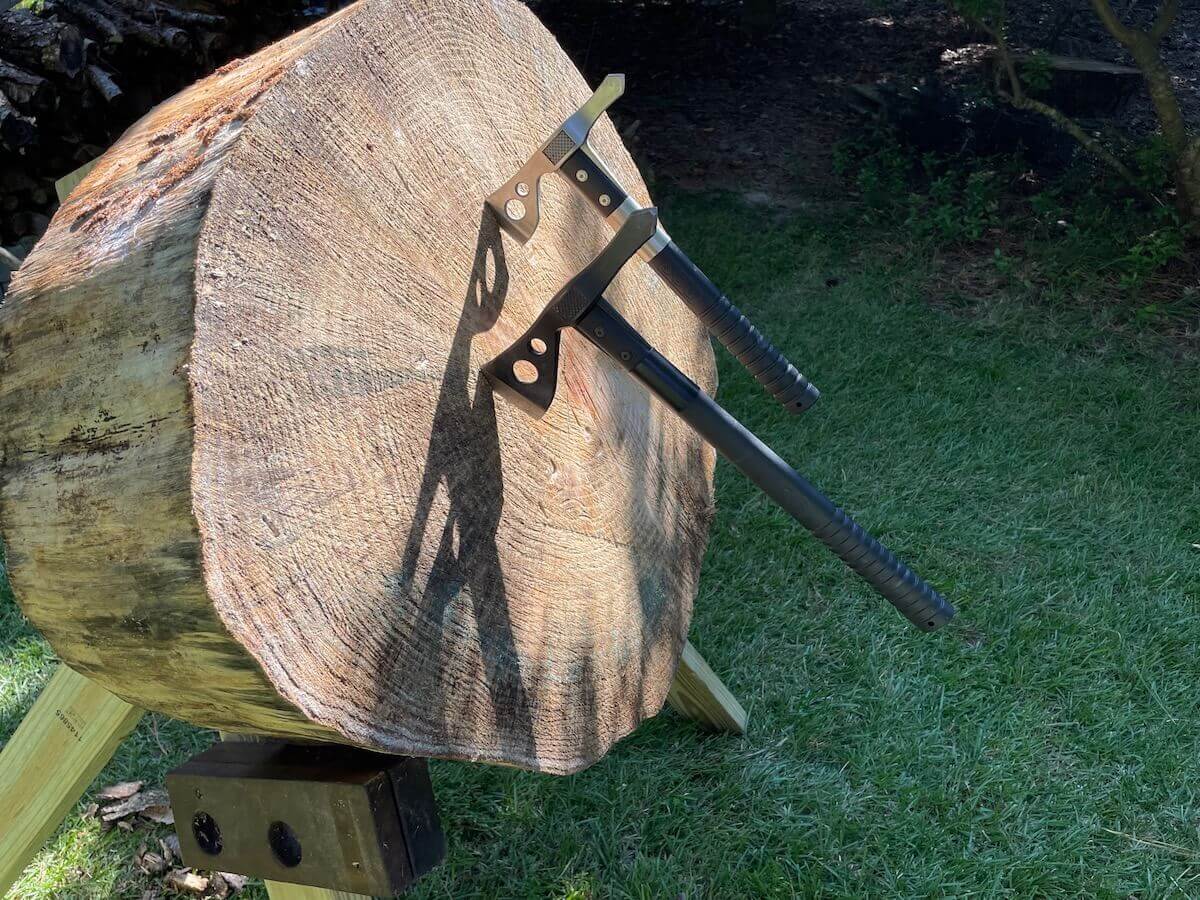
My modern-style tomahawks are made by SOG. The Fasthawk is short, only 12.5 inches in length. It is more compact than my other SOG, the Tactical Tomahawk. The Tactical Tomahawk is 15.5 inches in length and weighs 24 ounces. The balance of the two are different and rotate differently, The heads have a blade on one side and spike on the other. Either of these SOG tomahawks can chop, cut, hammer, break, pierce, pry, dig, pound, notch, shave, or open nearly anything. Both are great for camping and throwing. They come with a nylon sheath that can be worn on a belt, pack, or gear.
Old style mountain man ‘hawks and those by Nordic invaders have a wood handle and can’t do everything a modern ‘hawk can, but they are fun to throw.
Time To Punch Your Man Card and Woman Card
The blades on a tomahawk do not need to be razor sharp. It doesn’t even need to be sharp to stick in the target. Safety is common sense. No one down range by the target. No one directly behind the thrower. Tomahawks come in a variety of head shapes and designs and handle lengths can vary. Rule of thumb is a tomahawk should be as long as you elbow to the tip of your fingers. If the handle is larger or smaller, no worries, the ‘hawk will just rotate faster or slower.
How To Grip A Tomahawk
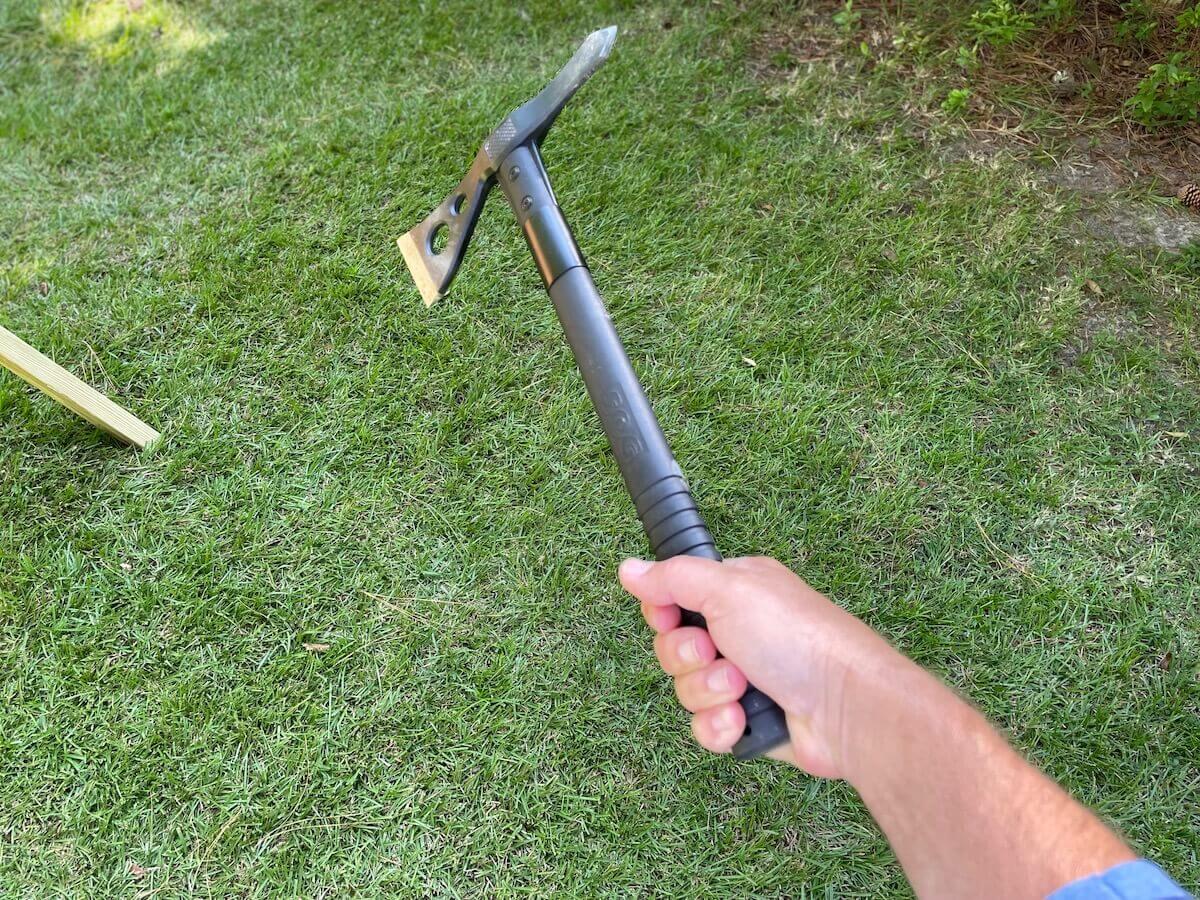
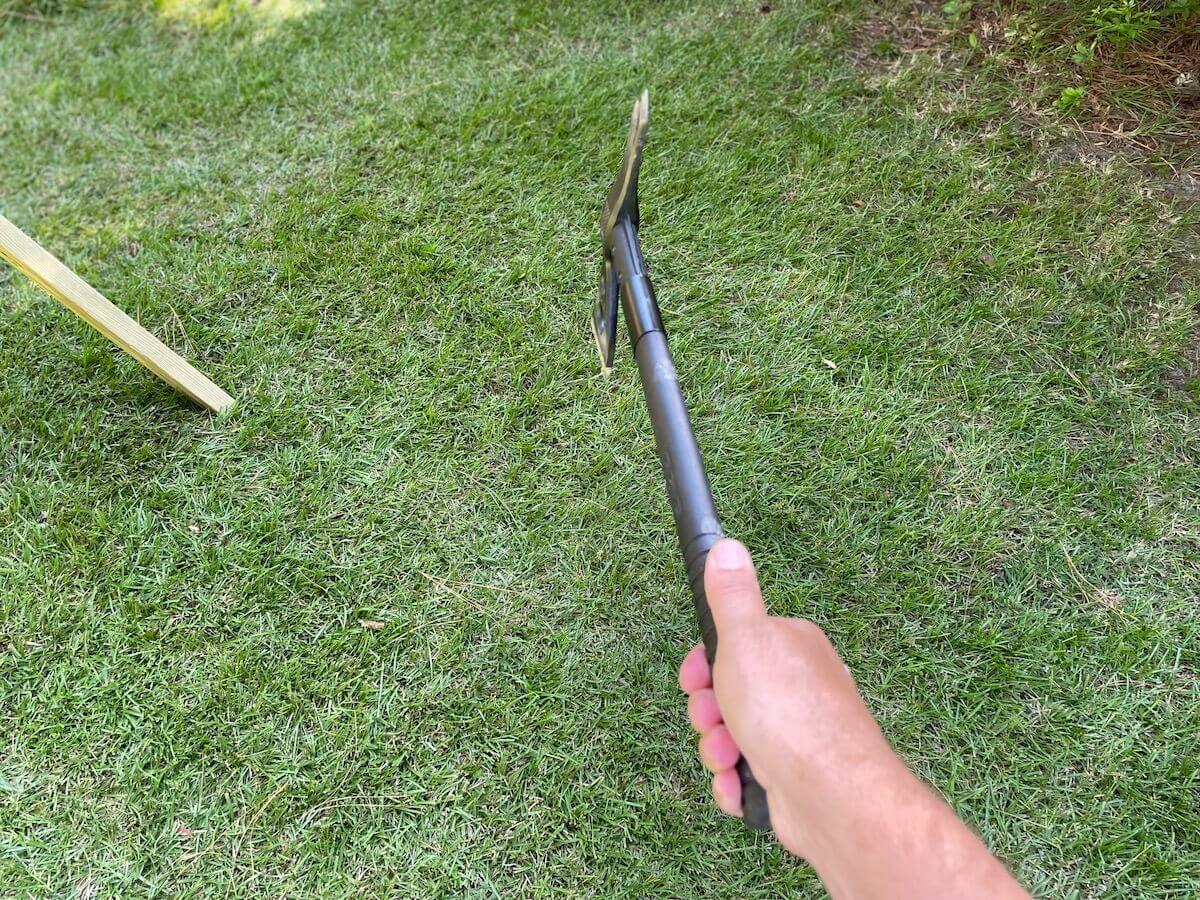
Grasp the end of the ‘hawk like you would a hammer or if you were to shake hands with someone. Hold the tomahawk in your throwing hand and let it hand along side your leg. This allows the head to be straight and not rotate left or right. When you throw a tomahawk it will rotate head to handle.
How To Throw A Tomahawk
The tomahawk should stick in the target at the top edge of the blade. If the tomahawk hits head first it rotated too far and you can move slightly closer to the target. If the tomahawk hits the target with the end of the handle against the target, the ‘hawk is not rotating enough and you need to back up a bit. To slow down the spin of the tomahawk you can place your thumb on the top of the handle. This slows the rotation.
READ MORE: Travel To Hunt? Tips for Traveling with Hunting Gear
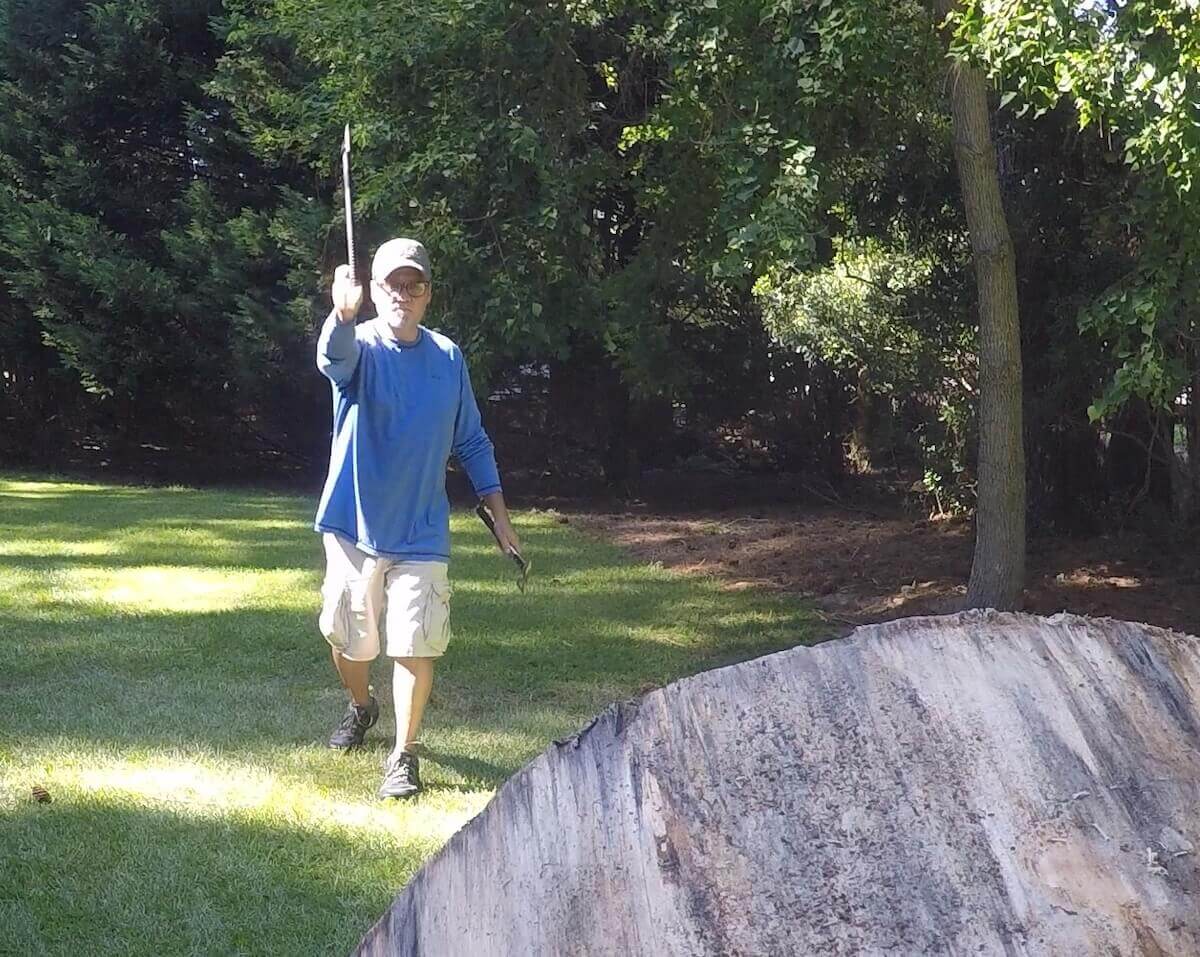
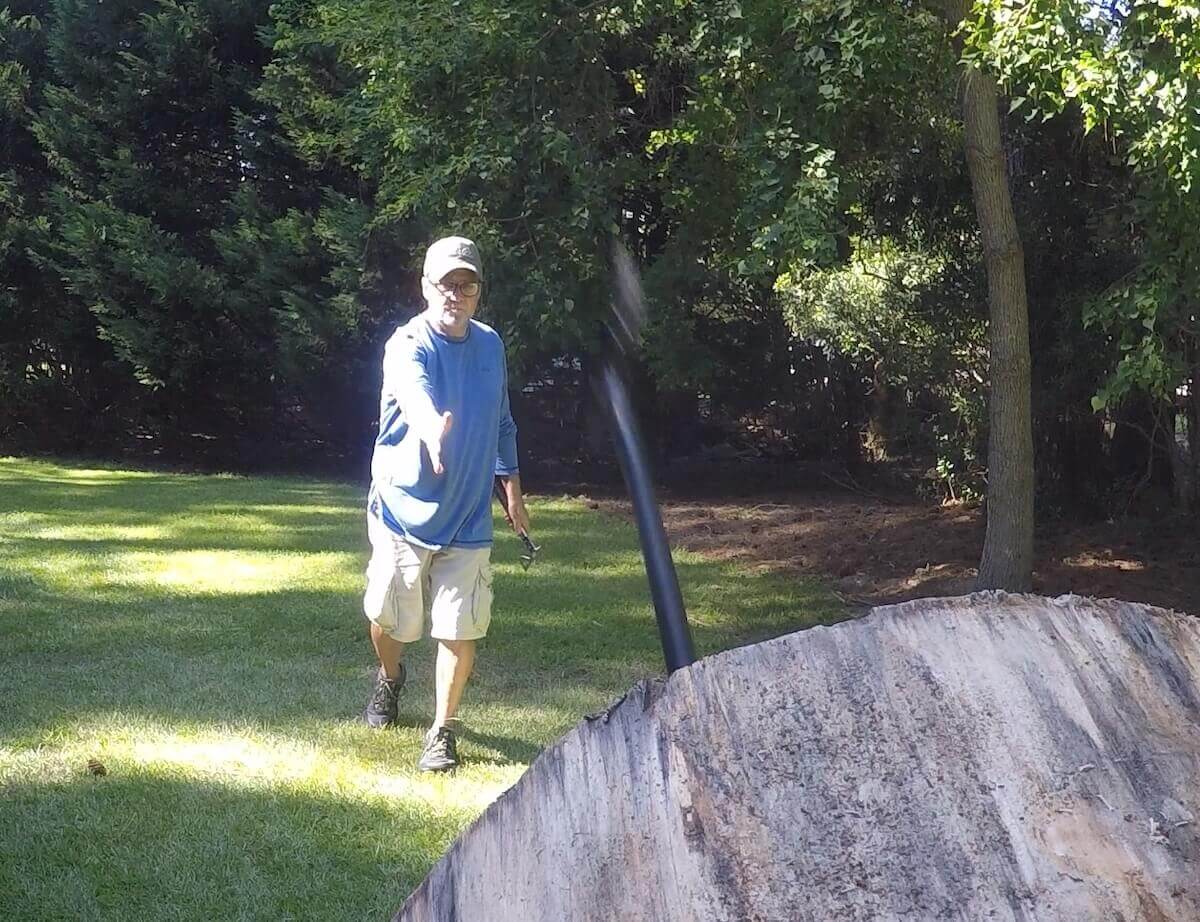
Start by pacing about 5 steps away from the target. The distance will take a little trial and error to get your right distance. This initial distance allows for one full rotation of the tomahawk. Just grab the handle light, focus on the center of the target, use your arm to throw it, and release the tomahawk when your hand is straight up. The tomahawk will spin and stick in the wood if you do it properly. Remember to follow through with your arm after you release the ‘hawk.
