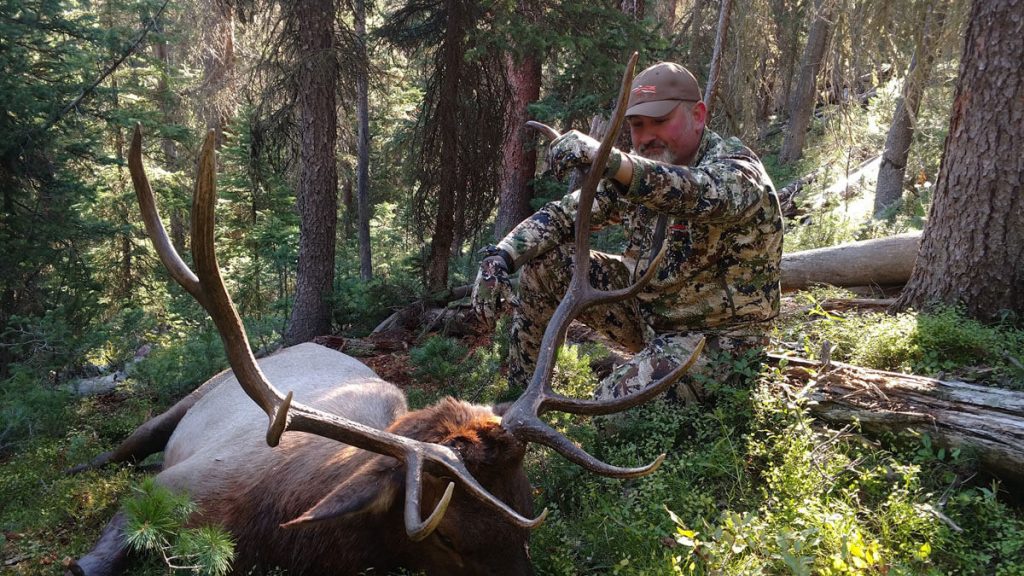
Elk hunters take to the field each fall with high hopes of notching their tag on a big bull elk (or even a small bull or cow). Often times success slips through their fingers through a comedy of errors. I’ll cover a few big mistakes that can wreck your hunt, that can easily be avoided.
Tune your bow AND broadheads

Every year I hear the same old story of how some hunters will simply screw on their broadheads to their arrows and go hunting. “Can’t believe I missed that bull by a foot”! Never considering that their arrows may impact differently from where the field points did.
The first step in having a deadly bow set up is to have it perfectly tuned. Whether by a professional pro-shop or if you have the skillset and equipment, you can do it at home. You can paper tune or bare shaft tune, but what matters is your arrow is flying perfectly straight. This will allow for better penetration as all the arrow’s force is directed in a straight line into the elk. If your bow isn’t tuned and your arrow flight isn’t correct, it will be exaggerated when the broadheads are installed.
After your bow is tuned, the broadheads being matched and tuned to your arrows comes next. Here are the following steps I take before ever gluing the inserts.
- Begin with 12 arrows and 6 heads. Install each broadhead to the insert.
- Without gluing the insert, slide it into the shaft being sure to match blades to the fletching.
- Spin the shaft on an arrow spinning device (you can pick these up on Amazon for around $20).
- If the broadhead wobbles, turn the head one position with the fletching. Spin again. Repeat until you’ve tried it at every fletch position.
- If the head still wobbles, try it in a different arrow until you find a perfect match and the shaft and head spin perfectly smooth. Mark the blade, insert and shaft where it aligns and set it aside for gluing it later.
- You may even want to swap the inserts to each head to find the perfect combo.
- The last step is gluing the inserts, paying special attention to the marks from earlier.
What I’ve found is that as you go through mixing and matching 6 heads to inserts, it may take fitting into all 12 arrows to complete this for perfect alignment. This seems extreme, but once you’ve tuned your bow, and then broadheads to the arrows, they will impact the same as field points. Which allows you to be confident of making deadly shots in the field.
Make a complete game plan, A-Z

How many times have you done your homework to find the perfect spot, only to find there are no elk there when you show up. “There were elk everywhere in august and now they’re all gone”. Yep, I’ve heard it 100 times (including seeing it myself).
Scouting begins in January and February when it’s too cruddy to do anything else. This is the time to spend hours on Google Earth and OnXmaps familiarizing yourself with the areas you want to hunt. Putting placemarks on Google Earth first, then marking them on the desktop version of OnXmaps is key. Once marked on the desktop, they transfer to your mobile devise version.
This allows you to explore and mark as many waypoints you want and when the hunting gets tough, you have a “plan B”, and many others as well. Sometimes I will go as far as to print maps from Google earth to review once I’m in the field. Being able to take a 3-D look at the terrain features may just connect the dots on where the elk have disappeared to. Having multiple plans in place will keep you hunting and give you more confidence for your next hunt.
Practice your elk calling

With all today’s information on elk calling, there’s no reason why you can’t purchase calls that will work for your style and then become proficient with them. Waiting until a week before the season starts to try out a new call is just a practice you will want to avoid. To become proficient with elk calls, it takes some time and effort. I’m not talking about hours per day, but more along the lines of 10-15 minutes per day. Lots of hunters will practice in their vehicle on the commute to work. One thing to note if you are using the calls in your vehicle, keep them stored in a cool dry place out of the sun’s harmful rays. The UV light will break down the latex in diaphragm reeds.
Remember, you don’t have to sound like a world champion elk caller to call in a bull. You need to call with emotion to evoke anger in the bull you’re calling to. But if you have practiced your calls in the months leading up to the season, then you will have built the muscle memory required to confidently make consistent elk sounds.
Carry the right equipment

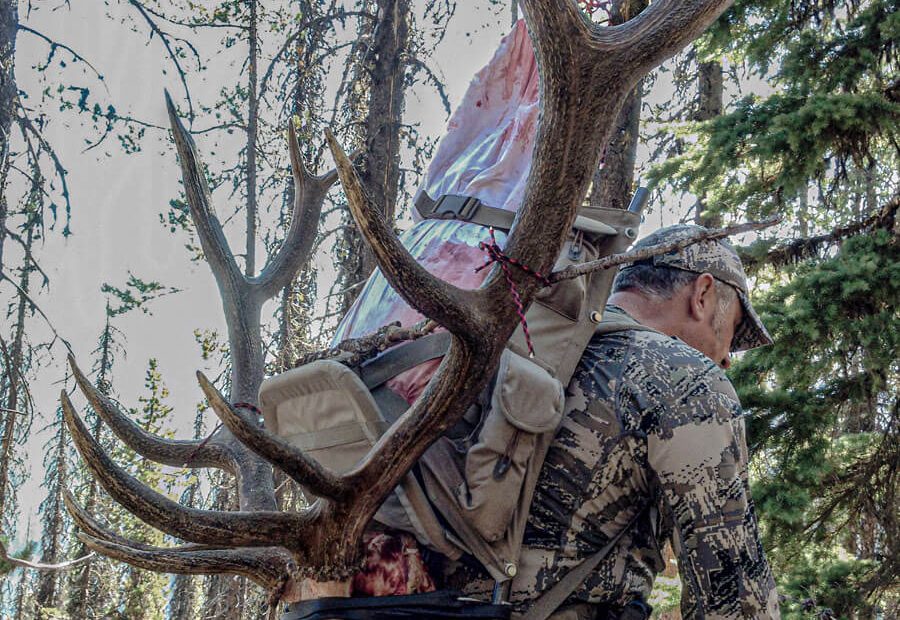
Raise your hand if you carry high-quality meat bags in your pack every day of the hunt. I’ve heard stories every year from other hunters about how they didn’t have meat bags when they were successful in taking an elk. Without high-quality meat bags, your meat (the most precious part of the harvest), is exposed to the elements. Bugs, dirt, pine needles, the list goes on to what can turn your meat from the best thing you’ve ever eaten, to the worst. When I talk about high-quality bags, I’m referring to the antimicrobial synthetic bags, not the stretchy cheesecloth style. Flies can blow right through the cheesecloth type and lay maggot eggs on your meat!
This goes for all of your equipment. Whether it be your flashlight and extra batteries, or a sharp knife and having the ability to re-sharpen it. Carrying task-specific gear is important to the success of your hunt and having it with you in a high-quality day pack that is capable of carrying meat on the first trip out will make your life better. You should not leave the truck without all of your necessities.
Dirk’s Day Hunt gear list
- Headlamp
- Flashlight
- Extra batteries- I prefer the Lithium batteries from Energizer
- Havlon replaceable blade knife and knife blades
- Small Custom fixed blade knife
- Trioxane fire starter
- Waterproof matches
- Small first aid kit
- Leukotape- for covering blisters and hot spots
- Black Ovis meat bags
- 100’ of paracord
- Large 72+ oz water bladder
- Rain jacket
- Puffy jacket
- Extra elk diaphragm reeds
- GPS/Smart Phone loaded with maps
- Camera
- High caloric snacks- Almonds, jerky, trail mix, protein bar
- Lunch- Bagel sandwich X-2 if I’m getting back well after dark
- Energy drink in a 32 oz Nalgene type bottle- MTN OPS Yeti or Ignite
- A sidearm or bear spray- In grizzly bear country I carry both
- Trekking poles
- Exo Mountain Gear K2- 2000 day pack
Plan for success

Planning for success is more than carrying a well-tuned weapon, well-stocked pack, and being proficient with elk calls. It also means having a plan for once you’ve got an elk down. Knowledge of how to efficiently break down the animal in the field, and how much effort it will take to get that sacred meat back home safe and sound. It’s having the physical ability and mental toughness to pack out every ounce of meat. Knowing where to take it to keep it cool before it’s processed is key during those hot September days. How will you transport the cooled meat back home in the bed of your truck or by airplane?
There are a lot of details that come into play once you’ve got an elk on the ground.
- Know how to skin, quarter, de-bone the elk meat.
- Know how to hang the meat with paracord in a tree.
- Understand how many trips it will take to pack out the meat.
- Be physically fit enough to carry 50-100 lbs of meat per trip for distances exceeding 2 miles one way.
- Be prepared with enough food and water to get the meat extracted from the woods.
- Research the surrounding towns for a meat cooler or processor if you don’t cut it up on your own.
- Have plenty of cooler space to transport the meat in your truck or understand what it will take to ship your meat back home on the airplane. Some hunters donate a portion of the meat to a local food bank.
- Understand State game laws in regards to transporting meat, skeletal remains, and heads.

As you can see, there is a lot of preparation in being ready for elk hunting. But don’t be overwhelmed by all the details, as part of the fun is just planning your hunt. Devour every bit of content you can and network with other hunters who have been successful in the past. By planning for success and identifying those details, it will help make your hunt one to remember.
