You’re a bowhunter and you love it. Me too! In my opinion, it’s a healthy addiction. Maybe you’re new to the game or maybe you’ve been toting a stick-and-string for years. Regardless, there are some things, quick fixes, every bowhunter should be able to do. No, you don’t have to be at the level of a bow shop technician, but you should be able to handle these five things with ease.
Tying A D-Loop
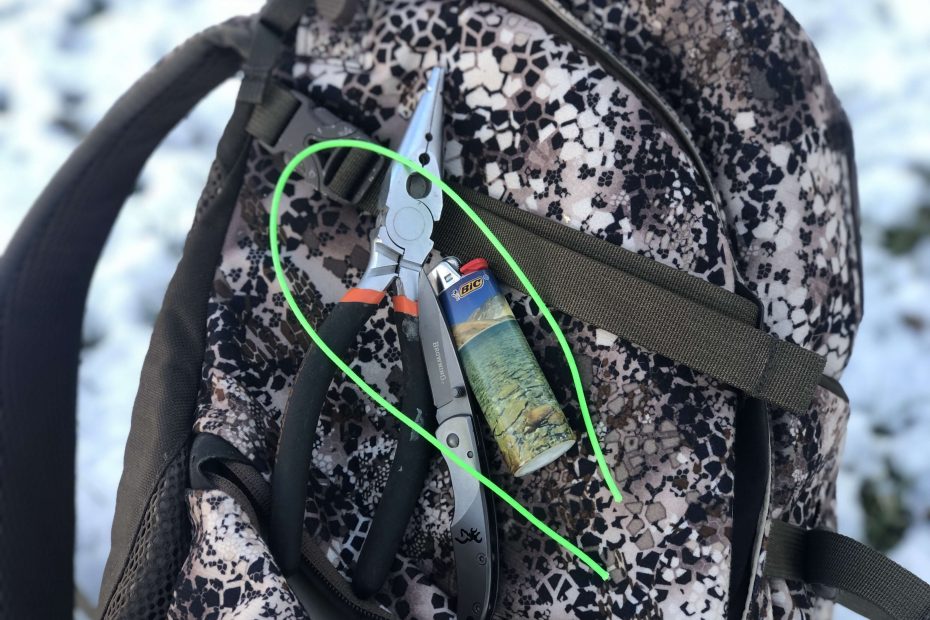
This is a must learn. I’ve seen guys come across the country to hunt elk, break a D-loop, and then loose two hunt days driving to a pro shop. Not good. D-loops are braided cord. They wear and break. Always have extra D-loop cord in your pack, bow case and truck. You’ll also need a lighter, sharp knife, and a pair of needle-nose pliers.

Start by cutting a piece of D-loop cord. Typically, I cut my cord just a shade over four inches. Next, fray both ends with your hand and burn each end. Bubbles will form. Don’t press or flatten the bubbles. Leave them. They will help knots to hold. Next, run one tail of the cord under the string, bring the excess cord around the tail, back under the string and through the created loop. Use your hand to pull the longer tail of the cord upward. This will cause the other burnt end tail to snug down and form a knot. Use pliers to pull the knot tight. Now, loop the free end of the cord underneath the bowstring and run it back through the created loop. Push the remaining cord in front of the bowstring and bring the tail back through the created loop. Use needle-nose pliers to pull and create a permanent D-loop. You’ll know you did the job right if one burnt end is facing away from the riser and the other is facing toward it.
Yes, there are multiple ways to tie a D-loop. This is the one that works for me and has yet to fail.
Proper Waxing
Waxing a bowstring is essential to string and cable longevity. Ignore the process and it will bite you in the butt at some point. With that noted, waxing a string and cables is a little more complicated than smearing on wax and pushing it in with your fingers.

First, remove any obvious debris and the like from the string and cables. Next, choose a quality wax like Bohning’s Seal-Tite. This silicone-based wax keeps moisture out. Apply wax to the exposed (not wrapped with serving) sections of the string and cables. I also like to lightly coat the serving from time to time. While you can massage the wax in with your fingers and then run your fingers up and down the strings and cables to create friction, I highly recommend using a piece of cut leather. Leather keeps you from burning your flesh, and it does a great job of pressing the wax into the string and cables. Don’t rub too hard. The leather heats the wax up quickly. Nice and light does the trick. Lastly, take a piece of dental floss or string serving, loop it over the string and cables, pull the ends together and remove any excess wax.
Tie That Cord
More and more bowhunters are going to limb-driven rests. It makes sense. Side of the rests being extremely accurate and easy to tune, they are also a breeze to fix in the field if a cord is damaged or a knot comes loose.
Have at least two limb-driven rest cords in your pack at all times. A small screwdriver and a pair of needle nose are also must-tote pack items. I carry a multi-tool and it works fine in a pinch. Remember, for clearance issues between the limb and cam, put your knot on the outside of the limb using a double half-hitch knot. This knot is a breeze to tie. Basically, a double half-hitch is a simple overhand knot. Take your cord’s tail-end, place it over the limb and run the cord back over (not under) itself. To complete the double half-hitch, repeat the process one more time.
Tie That Peep
A proper peep tie-in is essential to repeated accuracy. I see lots of peeps that aren’t tied correctly. If your peep moves up or down, even just a little, your accuracy will suffer. To tie your peep in correctly and ensure it won’t move, take a two-foot piece of serving string, make a loop, place the loop under the string and pull the ends through the loop. Snug down tightly. Repeat this half-hitch process four times. On the fifth wrap, wrap the half-hitch four times without snugging down; running the ends back toward the peep. Now unwrap the four half-hitch knots, pull out the slack and you’re set to go. Repeat this process below the peep as well. Now cut and burn excess material. To finish the peep tie-in, mark the position of the sides of your peep on the string, take a measurement from the middle of your D-loop to the center of your peep and record. Shoot your bow multiple times and check your marks. If your marks are good, I like to go around the actual peep with a piece of serving, pulling the serving into the peep grooves tightly. This process is not a must but it really prevents the peep from moving.


Mark It All
This last know-how tip takes nothing more than a silver Sharpie. Take a moment to mark the position of your cams where the limbs intersect them. In addition, mark your rest position on the riser. I also like to take photos with my smartphone of the location of my rest and sight. This way if something moves or gets knocked off, I can reset quickly and easily.

